Handheld scanner hand strap – Opticon OPI 4002 User Manual
Page 11
Opticon
OPI 4002
Instruction Manual
11
ID# Name
Function
1. Scanner
identification
2.
Product type identification
label
Wireless certification label
3.
Trigger switch
Press the switch when scanning a barcode.
4.
Reading window
LED light for barcode reading will be emitted from here. The camera
module (consisting of lighting LED, aiming LED and light detecting
lens) is equipped from inside this window.
5.
Battery case cover
Protect the battery from moisture, dust etc.
6.
Hand strap hook
Attach hand strap here.
7.
Speaker
Emits a “beep” indicating a successful scan.
8.
LED window
Shows the status of scanning, transmission of barcode data to USB
dongle, charging, and remaining battery power.
9.
DC jack cap
A cap to protect DC jack. Uncap when charging the scanner by
plugging the dedicated AC adapter (accessory) directly into it.
10.
Electrical contacts (+)*
Positive contact point from charging base.
11.
Electrical contacts (-)*
Negative contact point for the charging base.
* When using the dedicated charger CHG 4001 (optional), the power will be supplied via the
feeding terminals.
Table 1: OPI 4002 Handheld Scanner components
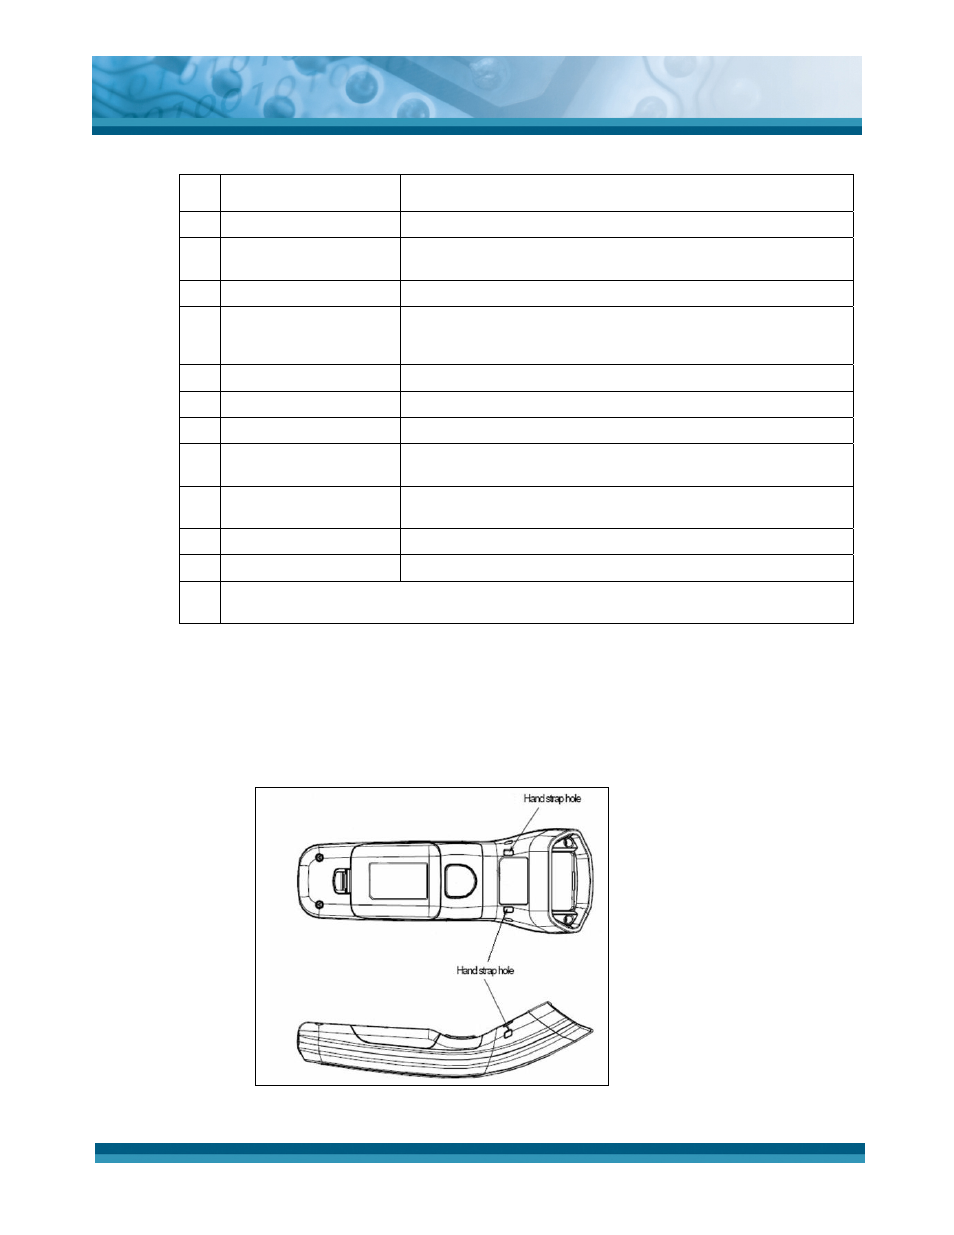
3.1.1.
Handheld Scanner Hand Strap
Use the hand strap (Figure 2) to avoid dropping the handheld scanner while
carrying it. Attach the strap to the scanner by threading it through the hand strap
holes on either the left side or right side of the scanner.
Important: Do not swing the scanner by the strap!
Figure 2: Strap attachments