Quick start instructions, Pump reset, Ne-9000 peristaltic pump – New Era NE-9000 Series Programmable Peristaltic User Manual
Page 2: Setup pumping parameters, Load the peristaltic tubing, Prime/purge tubing, Start the pump, While pumping
New Era Pump Systems Inc.
www.SyringePump.com
Model NE-9000
Publication #1200-04
i
7/28/2014
NE-9000 Peristaltic Pump
Quick Start Instructions
Assumes that the pump was not previously
programmed with a multiple Phase Pumping
Program. Otherwise execute pump reset.
•
Plug in the pump. Use appropriate power
supply.
•
Press the power switch on the back of the pump
to turn on power.
•
Press any key to stop the display from blinking.
Setup Pumping Parameters
To Change Numbers:
•
Press the up arrow keys to increment individual
digits.
•
To set/clear the decimal point
:
Simultaneously press the 2 up-arrow keys under
the 2 digits next to the decimal point position.
•
Press any non-arrow key, or wait for the display
to blink. The new value is entered and stored in
memory.
Peristaltic Tube ID (Inside Diameter):
•
Tubing diameter is pre-set to 3/16” ID. See full
instructions to change the default tubing
diameter.
Set the Pumping Rate:
•
Display the pumping rate by momentarily
pressing the ‘Rate’ key.
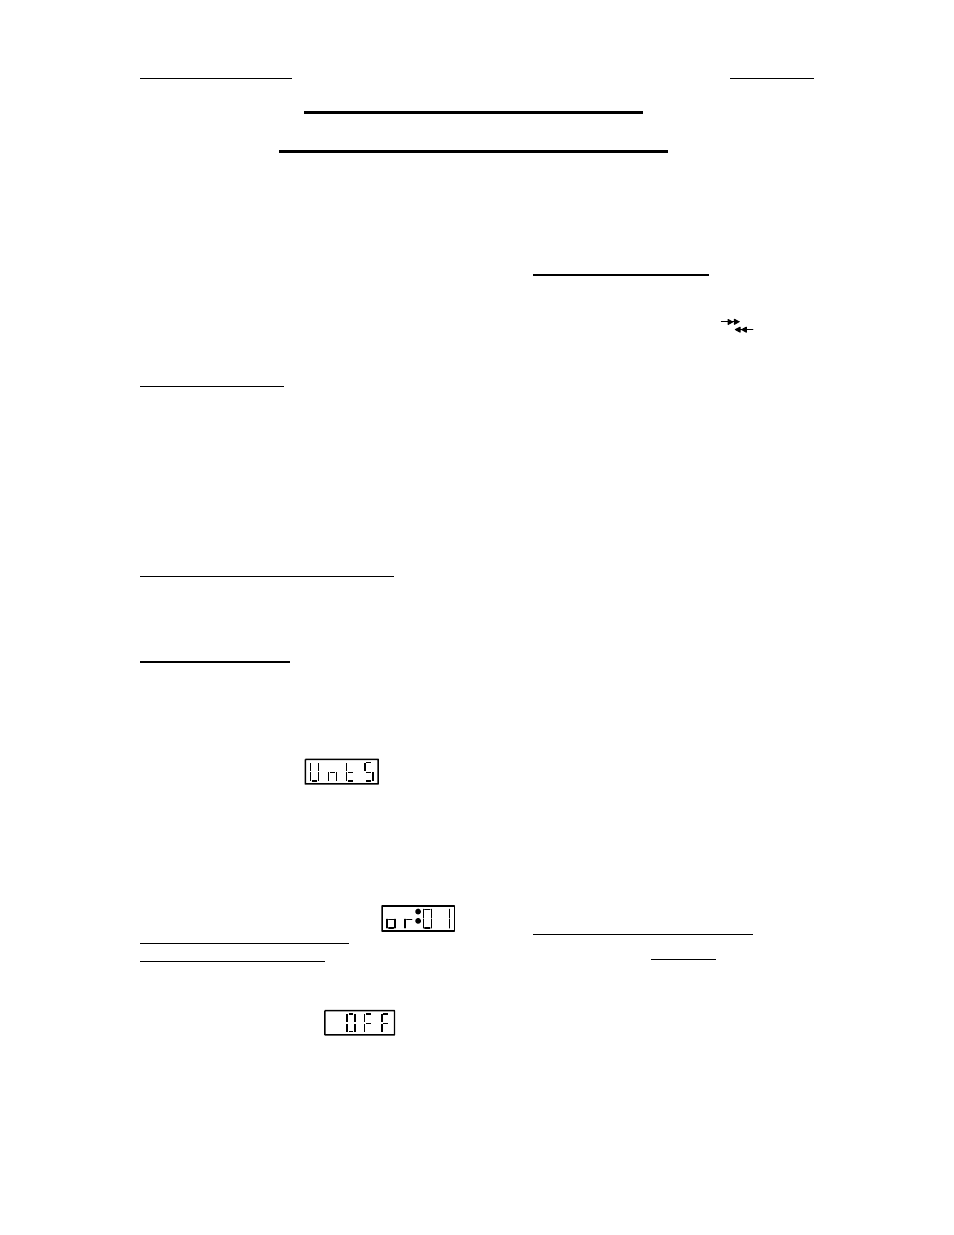
•
To change the
pumping rate units
:
−
Momentarily press the ‘Rate’ key again. The
display will show:
−
Press any up arrow key to select the next
available rate units while they blink.
−
Press any non-arrow key, or wait for the time
out to set the rate units.
•
Set the pumping rate. If the pumping rate is out
of range, the display will show:
Set the Volume to be Dispensed
or Set Continuous Pumping
•
Display the volume by momentarily pressing the
‘Volume’ key. ‘Dispensed’ LED should be off.
•
When the display shows
, the pump
is set for continuous pumping. Pressing any up
arrow key will change the display to 0.
•
For continuous pumping: Set the volume to 0.
•
For a Volume to be Dispensed: Set the volume.
•
To change volume units, momentarily press the
‘Volume’ key again. The ‘Dispensed’ LED
should be lit. Use the up arrow keys to select the
volume units.
Set the Pumping Direction
•
When the ‘Withdraw’ LED is lit, the pump is set
for withdrawing. When not lit, the pump is set
for dispensing. Use the ‘
’ key to change
the pumping direction.
Load the Peristaltic Tubing
•
Prepare new tube with two tie wraps 5 3/8”
apart, both knots facing the same direction.
•
Remove pump head by turning cassette
counterclockwise, Remove rotor.
•
Add grease to pump Shaft and Tubing.
•
Insert rotor onto Shaft, placing Tubing between
Cassette and rotor. Tie Wrap knots facing
Cassette.
•
Install pump head to base by first, lining up rotor
and driving axle, and second, applying forward
pressure and rotating cassette clockwise until it
enters its groove. Continue turning until it stops.
Prime/Purge Tubing:
Press and hold
the ‘Start/Stop’ key for one second. Release
to stop.
Start the Pump:
Momentarily press
the ‘Start/Stop’ key to start or stop the
pump.
While Pumping
•
The pumping rate can be changed.
•
With continuous pumping, the pumping direction
can be changed.
PUMP RESET:
Press and hold the right-most up arrow key while
turning on power to the pump.