Install environmental chambers with u-plugs – MTS Series 647 Hydraulic Wedge Grips User Manual
Page 51
•
If the environmental chamber has upper and lower U-plugs, install the grips first, then install the
environmental chamber. Simply remove the U-plugs from the chamber, move the environmental chamber
around the grips, and reinstall the U-plugs (see
Install Environmental Chambers with U-Plugs
on page
51).
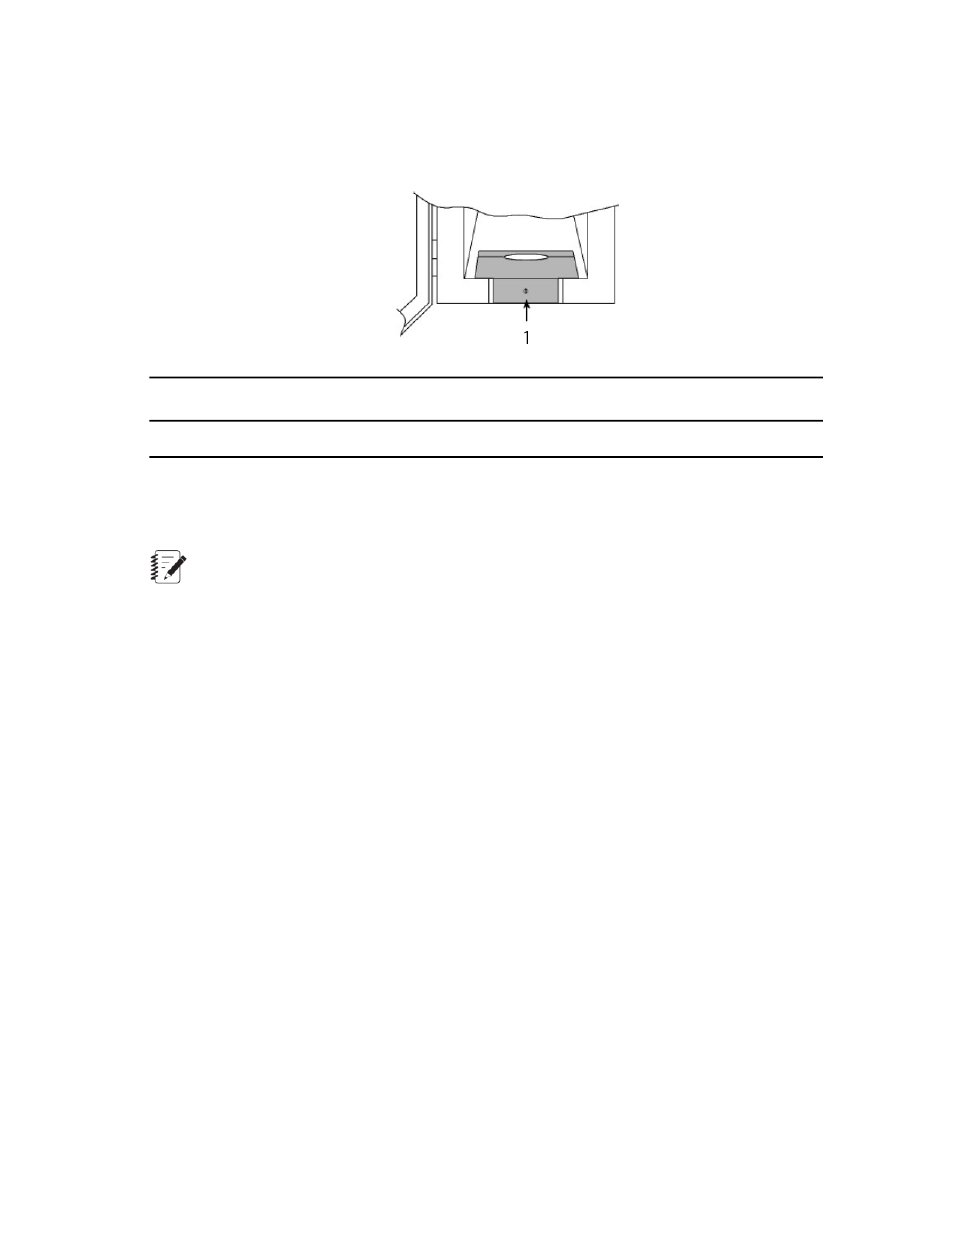
Description
Item
Lower U-plug
1
•
If the environmental chamber has no U-plugs, the environmental chamber must installed first. Then the
grips must be partially disassembled and reassembled after the environmental chamber is installed (see
Install Environmental Chambers Without U-Plugs
on page 55).
Note:
See the environmental chamber product manual for additional information.
Required equipment
Equipment and materials required to install the all-temperature grips include:
•
The appropriate attachment kit includes the components to install the grips
•
Appropriately sized device to lift the heavier grips
•
Appropriately sized double swivel eyebolts and wood blocks or plywood sheet for lifting the heavier grips
•
Lubricant
•
Hydraulic plumbing capable of withstanding the temperature extremes
•
An environmental chamber
•
A heating/cooling kit
•
A tool kit is provided with each set of grips. It contains a set of spare extension springs for securing the
wedges in the grip, a utility hook, the tools required to disassemble the grip, and eye bolts and a swivel
eye for installing and removing the grips.
Install Environmental Chambers with U-Plugs
The following procedure assumes the actuator is mounted in the base of the load unit and that the force
transducer is mounted to the crosshead. If you have a load unit with the actuator mounted to the crosshead,
make the appropriate changes to the following procedure.
For an assembly reference, see
Axial-Torsional Grip Installation Components
on page 45.
Series 647 Hydraulic Wedge Grips Reference Manual 51
Installation