Rubber torsion axle with the suspension built-in – Let's Go Aero LittleGiant Trailer LGT 1107 - T (Torsion based model) User Manual
Page 4
– 4 –
l
iTTle
G
ianT
T
railer
™
LGT1107rev0614
Wiring
•
The LittleGiant Trailer has a four flat-connector wire style plug. This is a common pin hole configuration for the wir-
ing of towables. Check to verify your vehicle’s wiring plug style. Should it differ, consult your local hitch installer for a
wire plug adaptor.
•
Always check all lights before towing for brake, running, signal, and side marker light operation. Make sure that all
your connections are solid and that all wiring is in good condition. Should the brake, signal, or running lights not be
working, first check that the vehicle’s lighting is operating properly.
Note: Bare, stripped or pinched wire will cause a short in the trailer, which will cause the vehicle fuse to blow. A solid
ground is required for your lights to work properly. All contacts must be to bare metal. Light covers should be
well maintained and kept clean. Be sure that your lights are always visible, not obstructed by your load.
To test vehicle wiring:
You will need a 12v light tester. Attach the wire clamp of the tester to the ground wire on the vehicle plug. Then
touch the tester pin into one of the vehicle plug contacts. Turn on the corresponding vehicle operation, i.e., run-
ning lights. This will illuminate the tester light if the vehicle wiring is correct. Follow this same procedure for the
signal and brake lights.
To test the trailer wiring:
Once you have confirmed that the vehicle trailer plug is operating properly, connect the trailer plug to your vehicle.
Proceed to test each of the lights and power leads using your 12v light tester.
Bearing Inspection / Replacement
The bearings should be inspected any time the hub is removed from the axle or at intervals as outlined in the mainte-
nance schedule shown on page 8 of this manual. The bearing cones should show no signs of excessive wear or damage
such as flat spots on the rollers, broken cages, pitting, or corrosion. The bearing cups that are pressed into the hub should
also be checked for wear or damage. If the bearings do need to be replaced, follow the procedure as outlined and only
use bearings that are approved for use in the following chart.
IMPORTANT: Both the bearing cup and bearing cone should be replaced any time a bearing is replaced.
The following procedure should be used for bearing cup replacement:
1. Carefully tap the existing bearing cup out of the hub using a brass punch
2. Clean the bore area after removing the cup to ensure there are no nicks or burrs.
3. Carefully tap the new bearing cup into the hub making sure the cup is seated against the bottom of the bore.
b
earinG
r
eplaCeMenT
& i
nTerChanGe
Axle
# of
Spindle
Inner Bearings
Outer Bearings
Capacity Bolts Type
Cup Cone Cup Cone
1000# - 1900# 4 or 5 Straight L45410 L45449
L45410
L45449
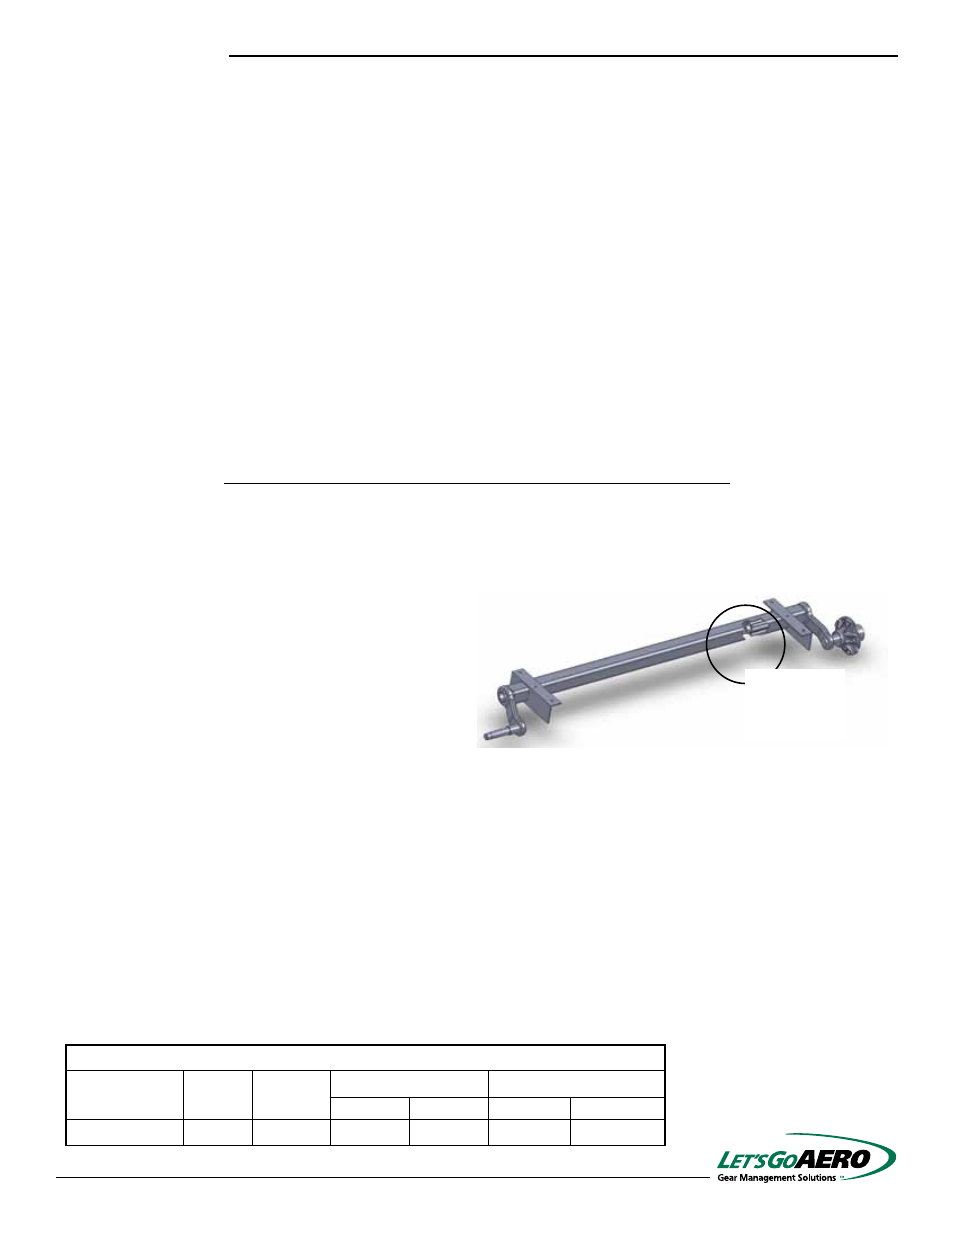
Rubber Torsion Axle
With The Suspension Built-In
•
Durability and Reliability.
•
A Soft, Quiet, No Shock Ride With
Independent Wheel Action.
•
Easy to Assemble.
•
Load Carrying Crossmember.
•
Maintenance Free.
•
Eliminates Sway.
No Coil or
Leaf Springs
Needed