Chapter ten additional features of the cmx, 1 auto find, Using auto find – Dakota Ultrasonics CMX DL plus User Manual
Page 113
109
CHAPTER TEN
ADDITIONAL FEATURES OF THE CMX
DL+
10.1 Auto Find
The CMX
DL+
is equipped with a very handy feature for locating the detection point of
a back wall echo that is not currently in the viewable region of the display. S uppose
the CMX
DL+
is currently setup with a delay of 0.0” and a width of 1.0”, and the user is
measuring material thickness of 2.5”. The CMX
DL+
will make the correct
measurement and display it digitally. However, the waveform will not show up at all
in both A-Scan views, and incorrectly in the B-Scan view without adjusting the range
of the Delay and Width accordingly.
The AUTO FIND feature is a convenient way to let the CMX
DL+
find the detection
point and bring the waveform signal into view automatically. The user can then make
small adjustments to the range once the signal is displayed on the screen. The
procedure to use the AUTO FIND feature is outlined below:
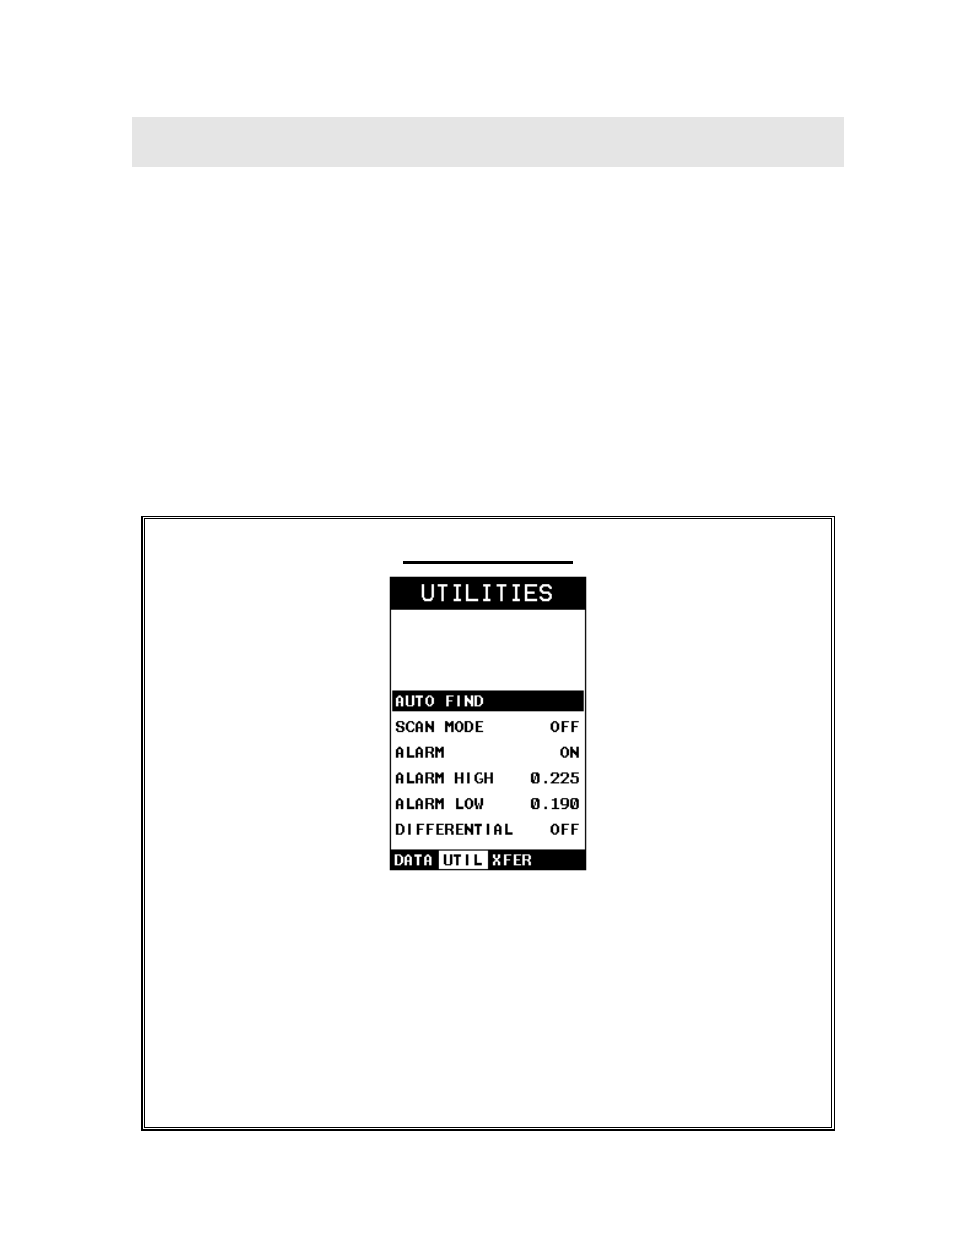
Using Auto Find
1) Press the MENU key once to activate the menu items tab. Press the MENU
key multiple times to tab right, and the ESC key multiple times to tab left,
until the UTIL menu is highlighted and displaying the submenu items.
2) Use the UP and DOWN arrow keys to scroll through the sub menu items
until AUTO FIND is highlighted.
3) Place the transducer on the test material and obtain a reading.