Condux Deluxe Blower User Manual
Page 13
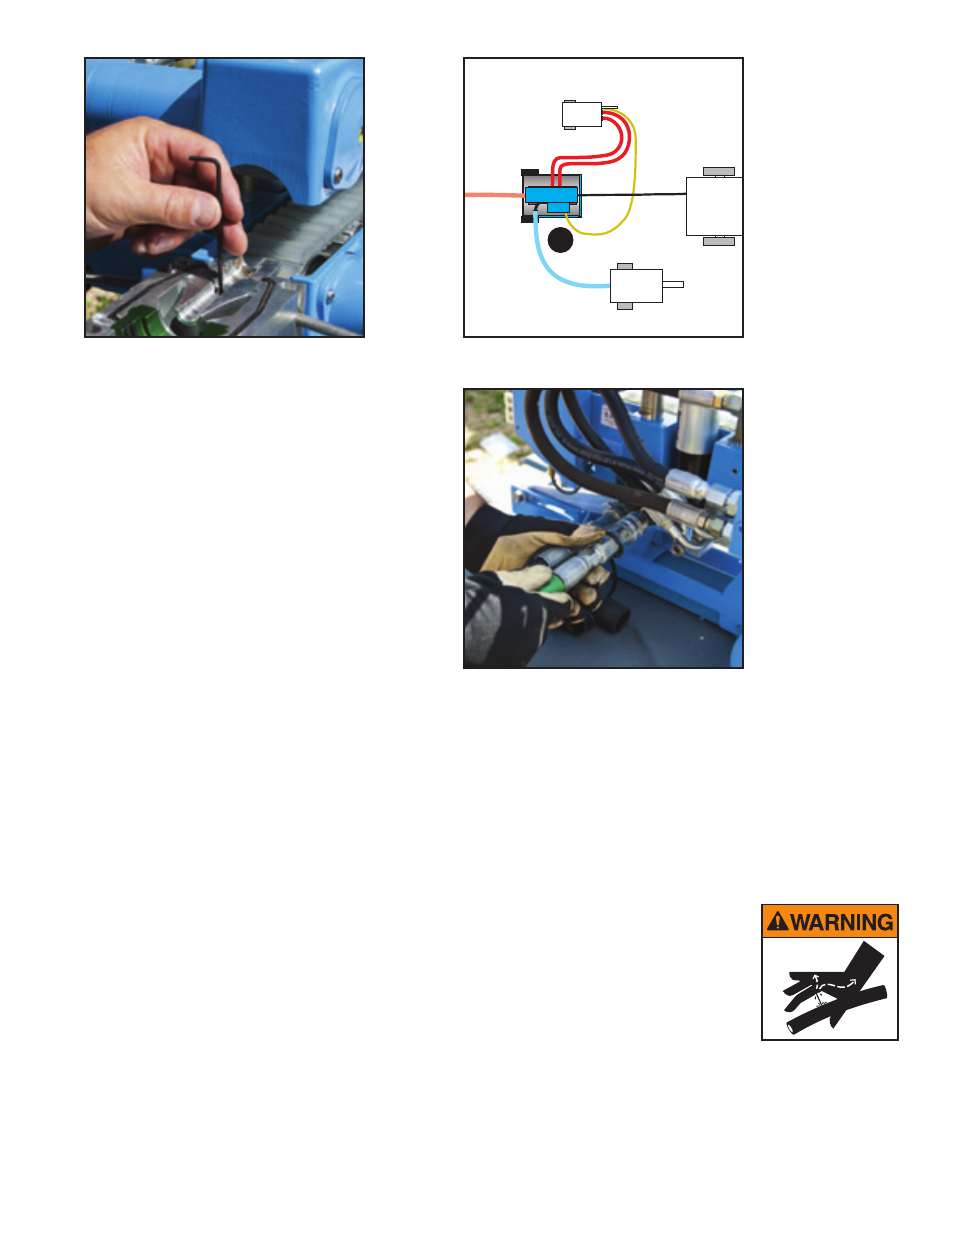
5. Attach
hydraulic hoses (Figure 9).
The Deluxe Blower’s hydraulic system
uses quick-disconnect couplings.
Keep all connections clean to avoid
contamination and possible system
failure. Use hose end caps (supplied).
A contaminated hydraulic system will
effect the operation of the cable
blower and may invalidate your
product warranty. Take caution in
routing the hoses to prevent a tripping
hazard. Follow these steps to
connect the hydraulic components:
A. Attach the quick-disconnect
couplings to the hydraulic power
supply (Figure 10).
B. Start the hydraulic power unit and check all connections for leaks with a
piece of cardboard. In cold weather, run hydraulic power supply until
hydraulic oil warms up.
wARNING: Escaping fluids under pressure can penetrate the skin and
cause serious personal injury. Observe the following precautions to
avoid hydraulic hazards:
• Tighten all connections before applying pressure. Relieve pressure
before connecting or disconnecting hoses.
• Check for leaks with a piece of cardboard. Do not use hands!
• Do not exceed working pressure of hydraulic hoses. Visually
inspect hoses regularly and replace if damaged.
C. Run the blower for approximately 1 minute to remove any trapped air and
then stop the blower and hydraulic power source.
B. ELECTRONIC CRASh TEST
To run the Crash Test utilizing the Electronic Control Boxes
PRESSuRE LImIT
feature, follow Crash Test steps 1-5 to set up the blower.
13
OPERATOR
HYDRAULIC
POWER
SOURCE
INNERDUCT
AIR HOSE
FIBER
OPTIC CABLE
ELECTRICAL HOOK UP
TO POWER SOURCE
CABLE
REEL
HYDRAULIC
HOSES
DELUXE LW
BLOWER
AIR
COMPRESSOR
Figure 8. Install Venturi
Figure 9. Typical Set-up
Figure 10. Attach hydraulic
hoses