Caution, Automobile performance, custom and aluminum wheels – COATS 5030 A/E Tire Changer User Manual
Page 16
12 •
Important: Always read and follow operating instructions.
Automobile Performance, Custom
and Aluminum Wheels
CAUTION
Only tire technicians with experience and
training on custom wheels should attempt
to service expensive custom alloy or alu-
minum wheels and high-performance low-
profile tires.
Pre-Operation Notes:
• Ensure all weights have been removed.
• Assistance will be required on wide wheels.
• Clamp wheel from the outside.
• Use ample lubricant for mount and demounting
•
Always review wheel nicks and/or scratches
with the owner before servicing.
Aluminum and Custom Wheels
Follow instructions provided for standard steel wheels,
except:
A. After loosening and lubricating both beads, rotate
the table top until the clamps are in the 12, 3, 6, and
9 o’clock positions.
Figure 17 - Rotate Table Top to 12 O’clock
B. Clamp wheel from the outside. Position rim edge
into clamp at 12 o’clock position. Lower the wheel
and depress the clamp control pedal. Slowly move
the clamps inward until they securely contact the
outside edge of the rim.
TIP: This is usually accomplished by crouching down
in front of the tire changer, holding the wheel with the
right hand, and operating the clamp control pedal with
the left hand. This allows the operator to watch the
clamps as they move to ensure proper, damage-free
clamping.
Performance Tires and Wheels • Demounting
Follow these instructions for performance type tires
and wheels, including run-flat tires and their associated
wheels, and asymmetrical hump wheels.
1.
Remove the valve core and completely deflate the
tire.
2.
Pull the bead loosener shoe away from the machine
and roll the tire into position against the bumper pad.
Position the tire with the valve stem in the 3 o’clock
position (in direct line with the bead loosener shoe).
Always loosen the bead on the narrow/mounting side
of the wheel first (Figures 4 and 18).
Figure 18 - Position Tire for Bead Loosening
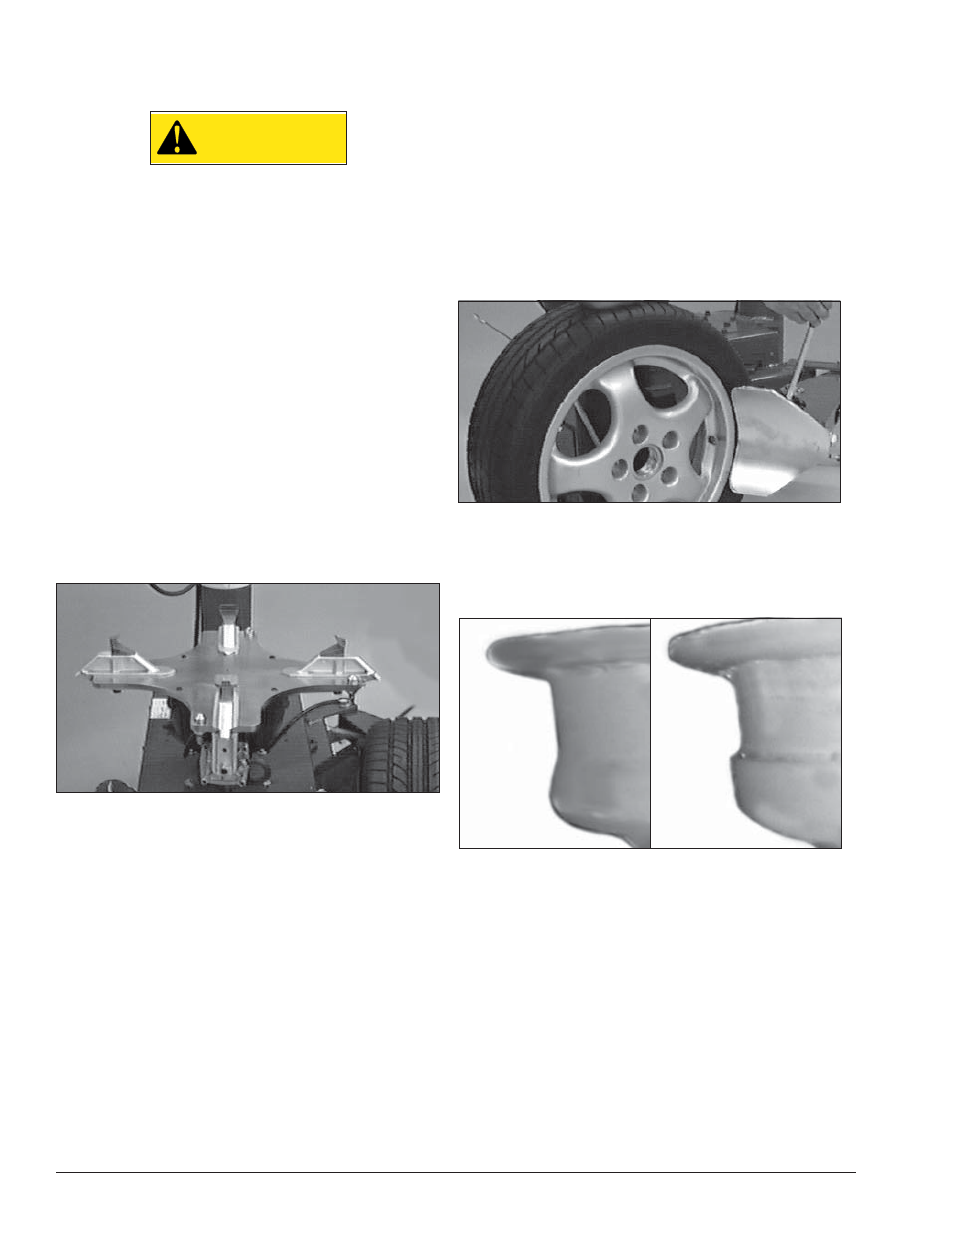
NOTE: Wheels with an asymmetrical hump have a
larger “ledge” type hump around the wheel except at
the valve hole making them more difficult to mount and
demount (Figure 19).
Figure 19 - Asymmetrical Hump Wheel
Smooth
Hump
At Valve
Hole
Ledge
Hump -
Rest of
Wheel