6 tire assembly with 5-piece split ring – COATS CDH-4730 Electric-Hydraulic Tire Changer User Manual
Page 23
9) Move the ramp to free the tirel from the spindle.
10) Remove the tire.
Fig.43
1) Clamp the tire on the spindle as described previously and make sure it is deflated.
2) Lower the tool carrier arm to its working position until its hook is engaged into position on the carriage.
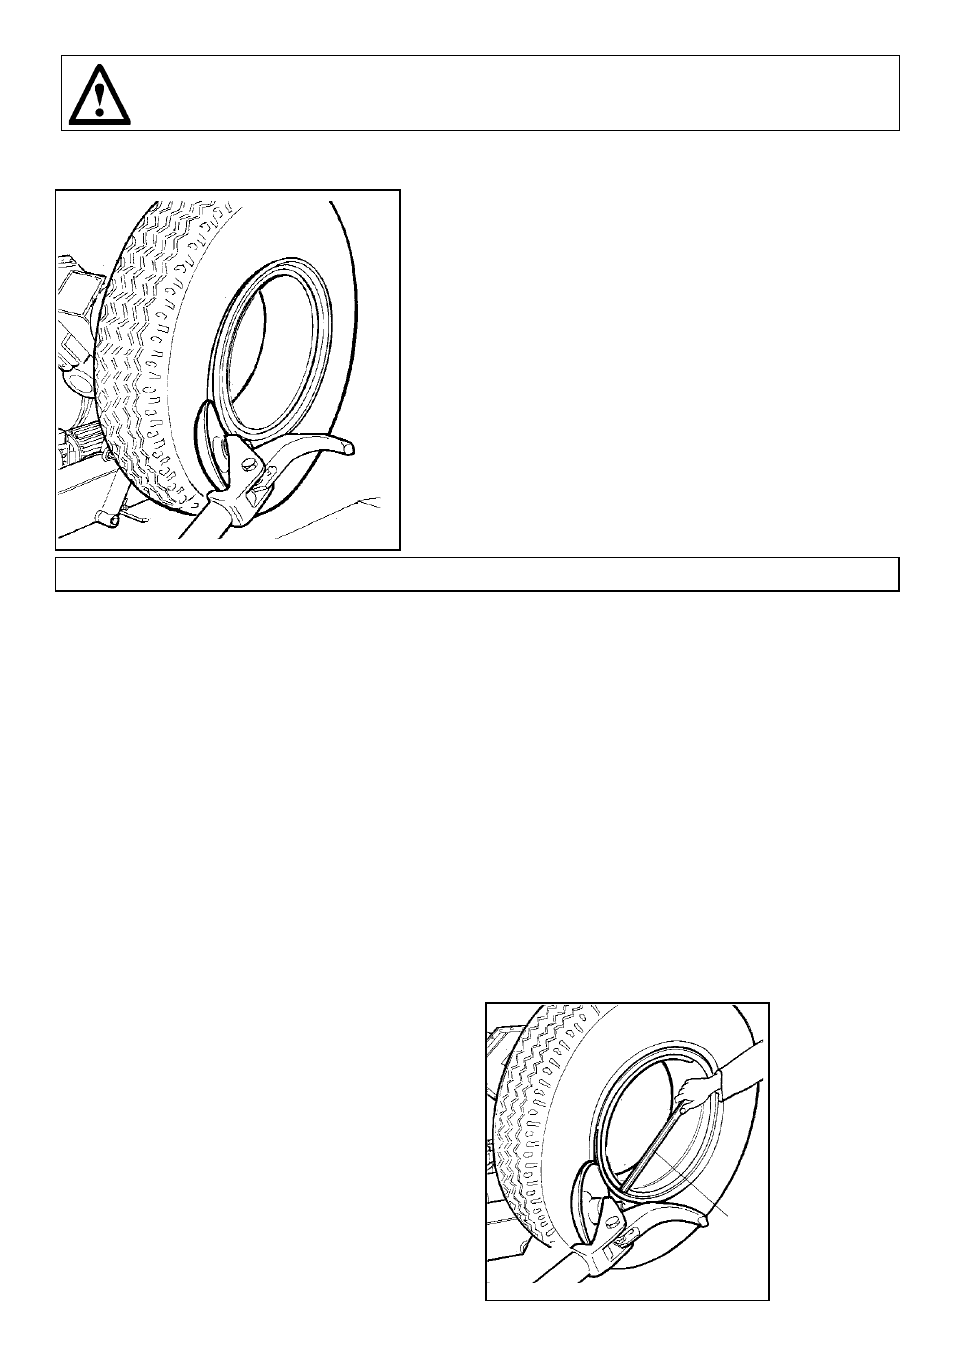
3) Use the control levers (3) (4) to position the tire so that the bead loosening disk touches up against the outside edge of the split-ring.
4) Turn the spindle and at the same time move the bead loosener disk forward until the split-ring is detached. Watch out for the O-ring.
5) Repeat this operation but this time move the disk against the split-ring (See Fig. 44) until the locking ring is released. This ring can be
removed with the special lever (22, fig. 44)
or with the help of the bead disk.
6) Remove the O-ring
7) Move the tool carrier arm back from the edge of the rim. Release the hook and tip the arm to its non-working position.
Move the tool carrier arm to the inside face of the tire.
8) Turn the tool head of 180° and lower the arm to its working position.
9) Turn the spindle and at the same time lower it so as to fit the bead loosener disk between bead and rim edge. Move the disk forward only
when the bead has started to detach from the rim and move the bead to the outside edge of the rim. (lubricate during this process).
10) Tip the tool carrier arm to its non-working position.
11) Move the ramp (10, fig. 36) directly under the tire.
7.6 TIRE ASSEMBLy WITH 5-PIECE SPLIT RING
7.6.1_Bead loosening and demounting with DOUBLE TOOL (optional)
Fig.44
DANGER! PONTETIALLY HAZARDOUS OPERATION!
Do it manually only if you are certain you can keep the tire balanced. For large and heavy tIres an adequate
lifting device must be used.