Apple AppleShare IP 6.1 User Manual
Page 59
Setting Up AppleShare IP
59
3
In the Users & Groups List window, double-click the name of a user for whom you want to
enable mail.
The User window appears.
Note: If you’re installing AppleShare IP for the first time and following the instructions in
this manual, you may only have one registered user, besides yourself, in the Users & Groups
List. After you’ve created your remaining users, don’t forget to set up mail for them too.
4
If the user’s name contains spaces or special characters, make sure there is a name in the
Internet Alias text box.
For information on entering a valid Internet alias, see “Registering a User for the First Time”
on page 46.
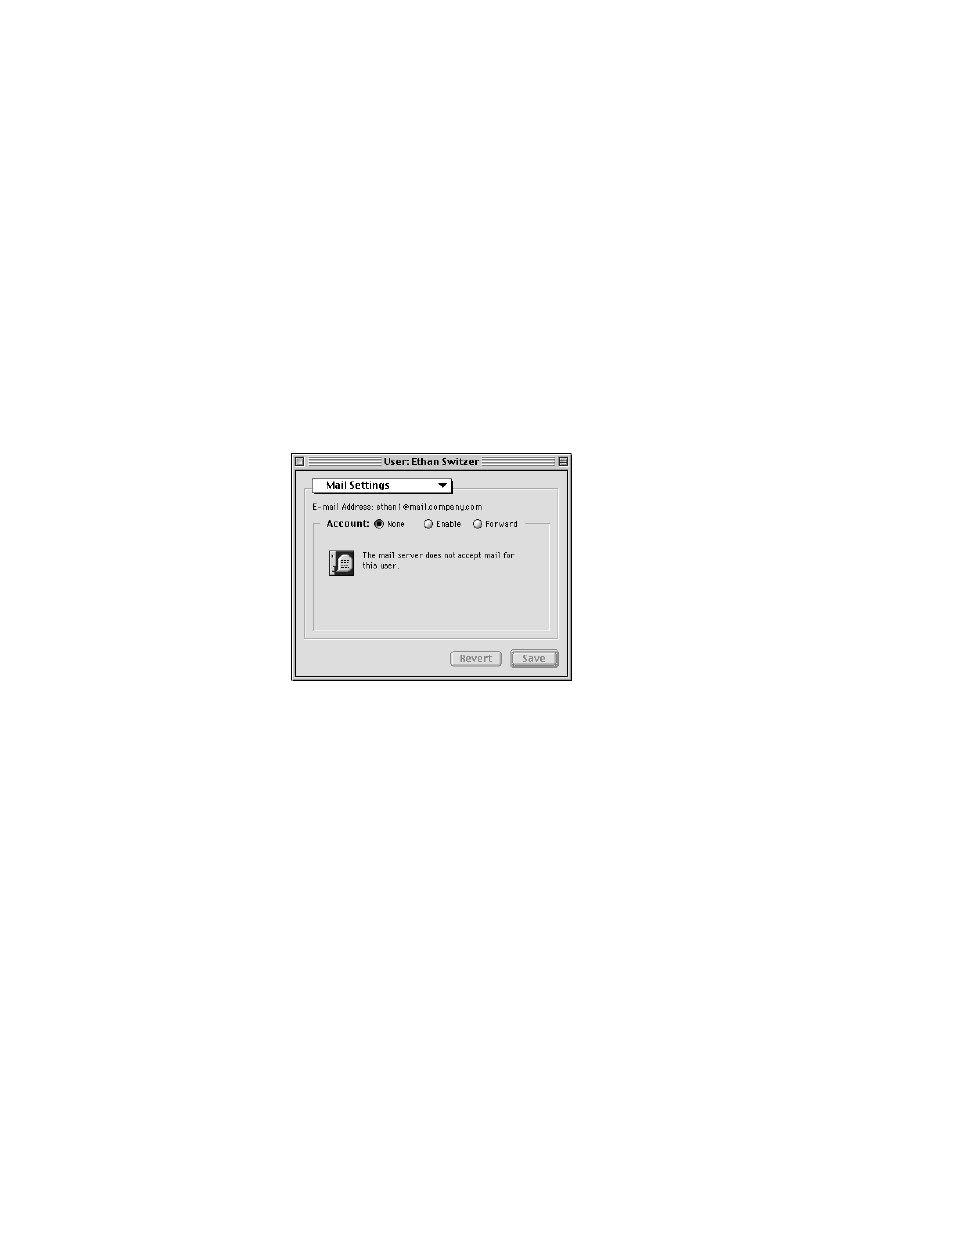
5
Choose Mail Settings from the pop-up menu in the User window.
The user’s e-mail address appears below the pop-up menu. If the user has an Internet alias,
the Mail Server uses it in the e-mail address.
Note: If the e-mail address shows the user’s Internet alias followed by the Mail Server’s IP
address (for example, [email protected]), then DNS service may not be set up on your
network. You need to set up DNS service if your network is connected to the Internet or if
you want your users to be able to send mail to domain names instead of IP addresses. To set
up MacDNS, an implementation of DNS service that comes with AppleShare IP, follow the
custom setup instructions on “Using AppleShare IP Easy Setup” on page 31.
Important
This is the address that others should use to send mail to this user. Be sure to
tell this user to enter this address as the return address when setting up his or her mail
application.