Apple AppleShare IP 6.1 User Manual
Page 56
56
Chapter 2
If the server is running, choose Stop Web & File Server from the Server menu. After the
server stops, choose Start Web & File Server from the Server menu.
11
Make sure you’ve created at least one share point with a valid Windows folder name.
The name should have fewer than 13 characters and no special characters or punctuation.
For instructions on creating a share point, see “Setting Up Share Points for the First Time” on
page 49.
12
Make sure the following networking software is installed and configured on each of your
Windows clients:
m Windows 98 or Windows 95 clients: Client for Microsoft Networks, TCP/IP Protocol, and
File and Print Sharing for Microsoft Networks
m Windows NT clients: Workstation and TCP/IP Protocol software
For instructions on installing or configuring this software, see your Windows software
documentation.
13
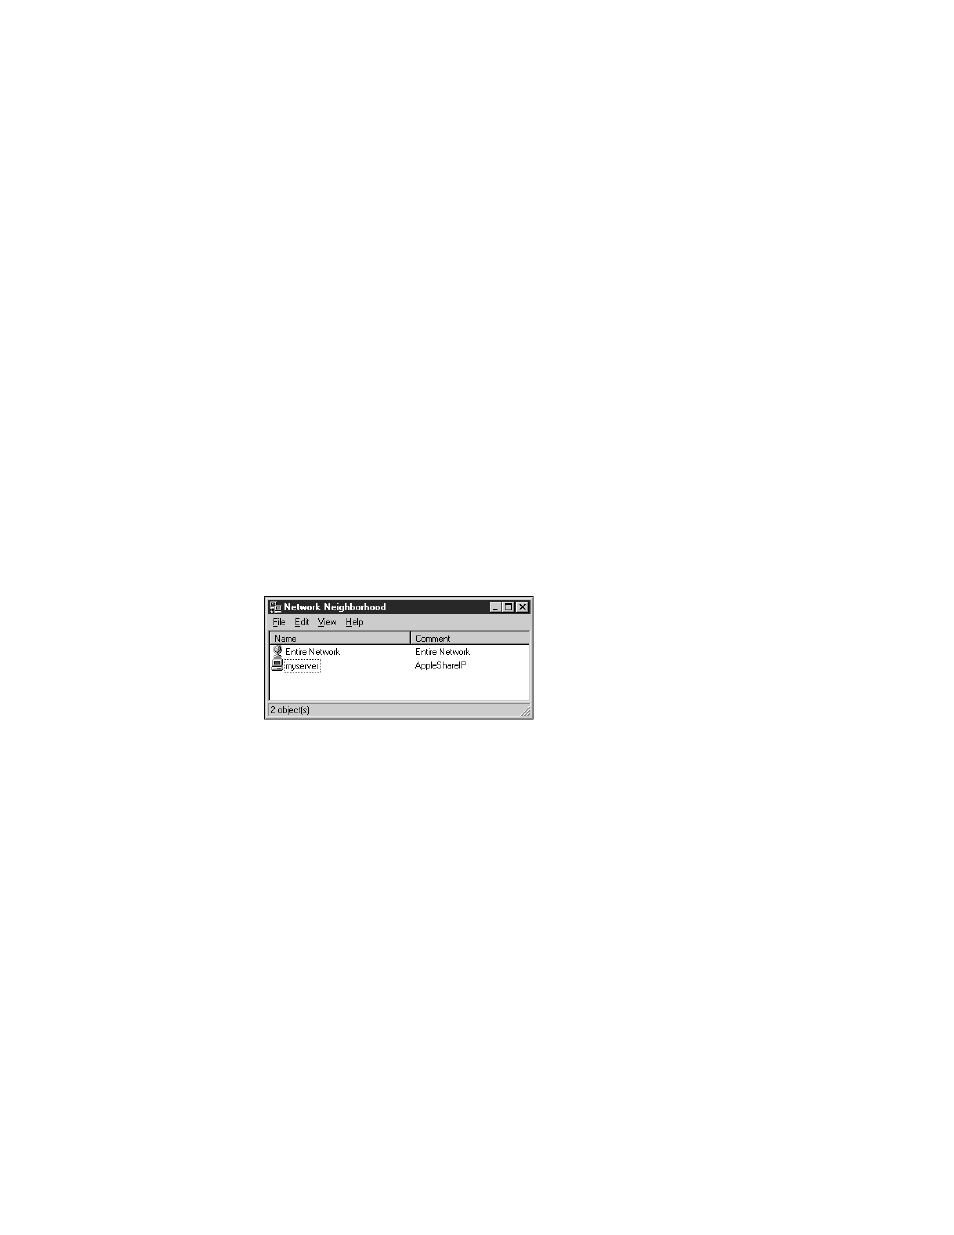
On a Windows computer on your network, connect to the Web & File Server using the
Network Neighborhood.
Open the Network Neighborhood window. It may take an hour or more before the Web &
File Server appears. Double-click the icon to connect to the server.
Users in a different workgroup need to double-click the Entire Network icon, double-click
the correct workgroup icon, and double-click the Web & File Server icon.
Setting Up Remote Administration for the First Time
AppleShare IP Remote Administration provides a secure way to perform many server
administration tasks from any Macintosh or PC–compatible computer connected to your
network using any standard Web browser.
To use Web browser–based remote administration in AppleShare IP, you need to set it up in
the Web & File Admin program. You must be designated as an administrator in the program’s
Users & Group List.
Note: For extra security, you can use TCP Filter Admin to prevent access to the
AppleShare IP Remote Admin application from any computer. See the TCP Filter Admin
section of AppleShare IP Help for details.