Apple AppleShare IP 6.1 User Manual
Page 15
Installing Your Software
15
Note: If you used the Mac OS Setup Assistant after installing Mac OS 8.5, you can skip ahead
to “Setting Up Energy Saver” on page 23.
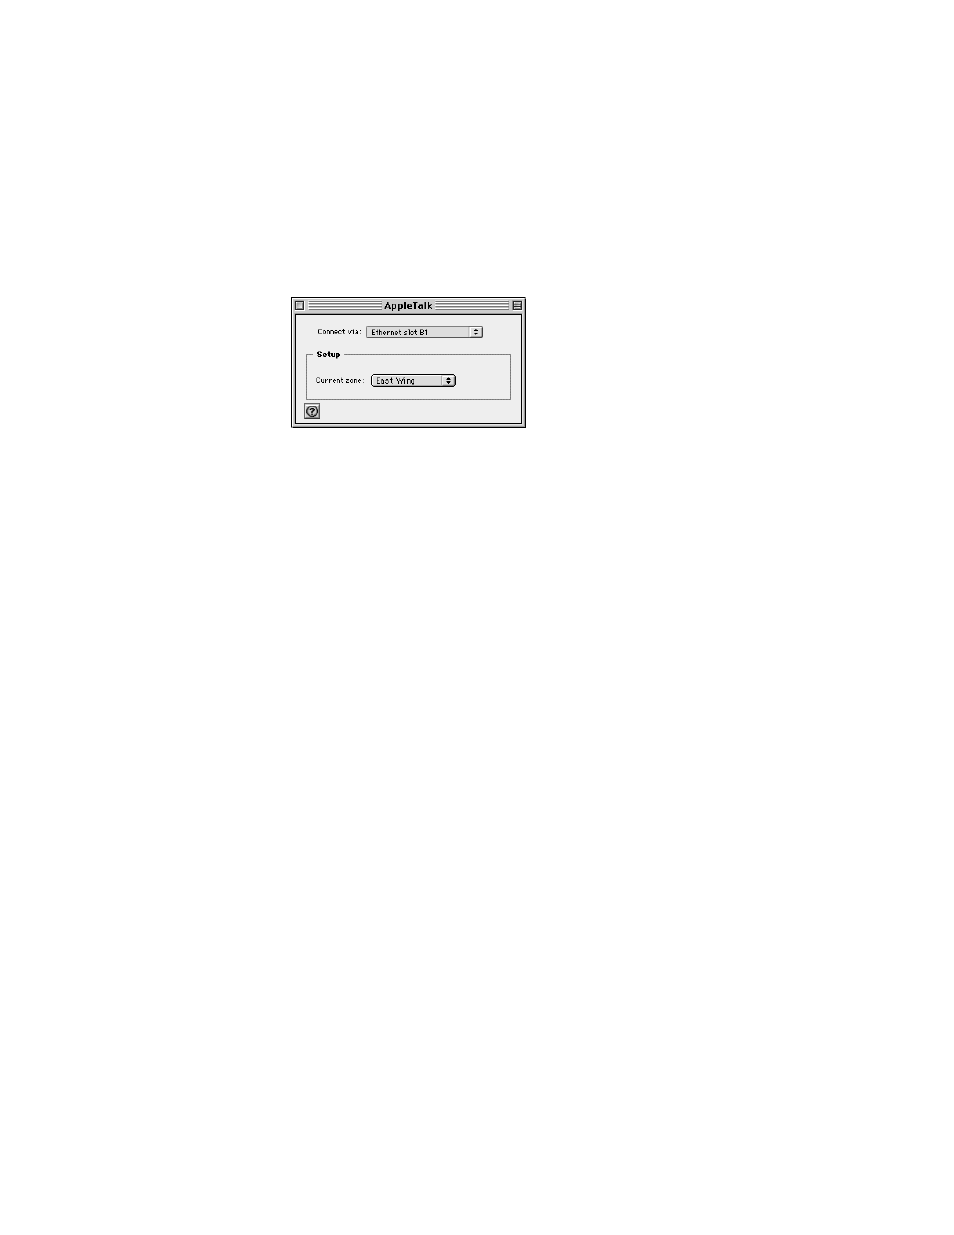
To set up the AppleTalk control panel, follow these steps:
1
Open the AppleTalk control panel.
2
Choose the network connection type that you want AppleTalk to use from the “Connect via”
pop-up menu.
This setting determines the default port that your server will use to connect to your
AppleTalk network.
If the default port becomes unavailable (for example, if your Ethernet cable becomes loose),
AppleTalk will choose another available network connection type.
3
If your network has zones, choose the zone for your AppleShare IP Web & File Server from
the “Current zone” pop-up menu.
Zones are groups of devices arranged according to logical categories, such as usage or
geography. If your network has a router (a device used to connect networks), then it has
zones. Your server will appear in this zone in the Chooser.
If your network does not have a router, all computers connected to the network are in the
same zone, and you see “no zones available” instead of the pop-up menu.
4
Close the AppleTalk control panel and save your changes.
Your changes are saved and take effect immediately.
Setting Up TCP/IP
For users to share files over TCP, visit your Web site, print over TCP, or use TCP-based client
mail or FTP applications, and for you to use the TCP Filter software, you need to set your
computer’s network connections in the TCP/IP control panel. However, you don’t need to
follow the instructions in this section if
m you completed the Internet Setup Assistant after installing Mac OS 8.5. Skip ahead to
“Setting Up Energy Saver” on page 23.
m your Internet service provider gave you software that automatically configures your TCP/
IP control panel. Skip ahead to “Setting Up Energy Saver” on page 23.