Creating clusters with apple qadministrator, Stage 1: creating a new cluster, Creating clusters with – Apple Qmaster 3 User Manual
Page 55: Apple qadministrator
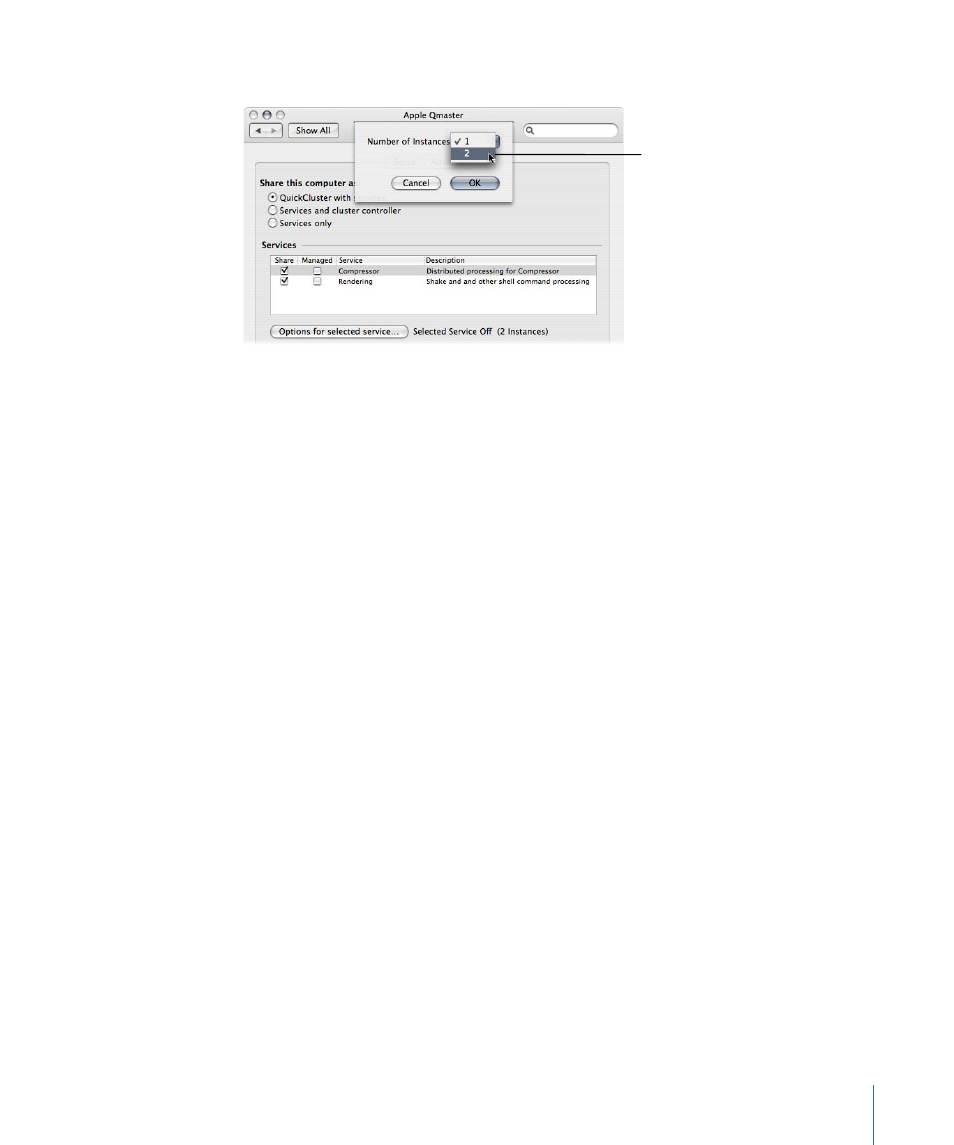
4
In the dialog that appears, choose the number of instances from the pop-up menu.
Choose the number
of instances from
the pop-up menu.
5
Click OK.
6
In the Services section, select the Share checkbox for the service.
Note: The Service Options dialog is also used to add extended nodes to a cluster, as
described in the Apple Qmaster User Manual.
Creating Clusters with Apple Qadministrator
Once you configure managed service nodes or cluster controllers, they are visible in
Apple Qadministrator, which you use to create and modify Apple Qmaster clusters.
There are two basic steps to creating a managed cluster with Apple Qadministrator. First,
you create a new cluster and choose the cluster controller. Then, you add service nodes
to the cluster.
•
Stage 1: Creating a New Cluster
•
Stage 2: Assigning Service Nodes
Stage 1:
Creating a New Cluster
Use the following steps to create a cluster with Apple Qadministrator.
To create a new cluster
1
Open Apple Qadministrator, then do the following:
a
Click the Add (+) button.
55
Chapter 5
Creating Clusters