5 parts replacement – Pulsafeeder Isochem RGT IOM User Manual
Page 20
15
6.5
Parts Replacement
The item numbers listed in parenthesis refer to the exploded drawings found in Appendix B.
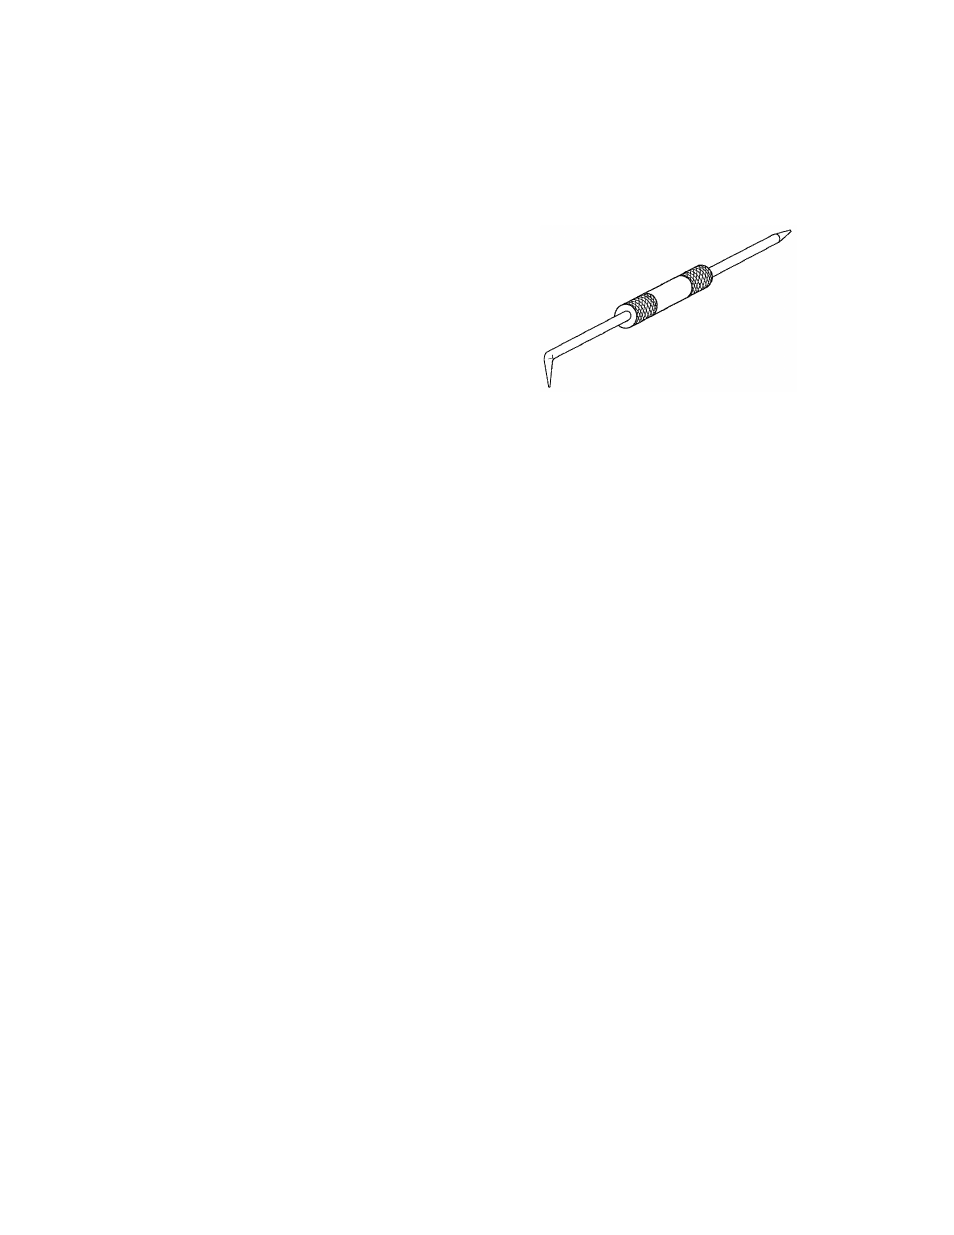
A dental–type tool such as the one shown to
the right works well when removing the
wear plates and bearings.
6.5.1
Wear Plates
1. Two small opposed holes are provided in the housing and cover adjacent to the outer surface
of each wear plate (refer to Figure 4). To remove the wear plate, insert a small tool in each
hole and pry evenly between the two to facilitate plate removal without breakage.
2. Thoroughly clean all parts before reassembly.
3. To replace the wear plates, first ensure that both plates and grooves are absolutely clean and
free of debris since the plates must seat fully.
4. Insert the replacement plate and press lightly all around to ensure uniform bottoming and to
avoid breaking the carbon wear plates, which are relatively brittle. Ensure that the anti-
rotation pin (item 12) remains in place; replacement of this part is not normally required.
This part is identical to that used for both bearings in the Size 10 pump, but in the Size 12
pump, the bearing pin is different from the wearplate pin.
6.5.2
Bearings
When replacing bearings, ensure that the anti-rotation pin (item 12) remains in place;
replacement of this part is not normally required.