Protect – Sony DSC-TX10 User Manual
Page 167
Precautions / About this camera
Top page > Using MENU items (Viewing) > MENU items (Viewing) > Protect
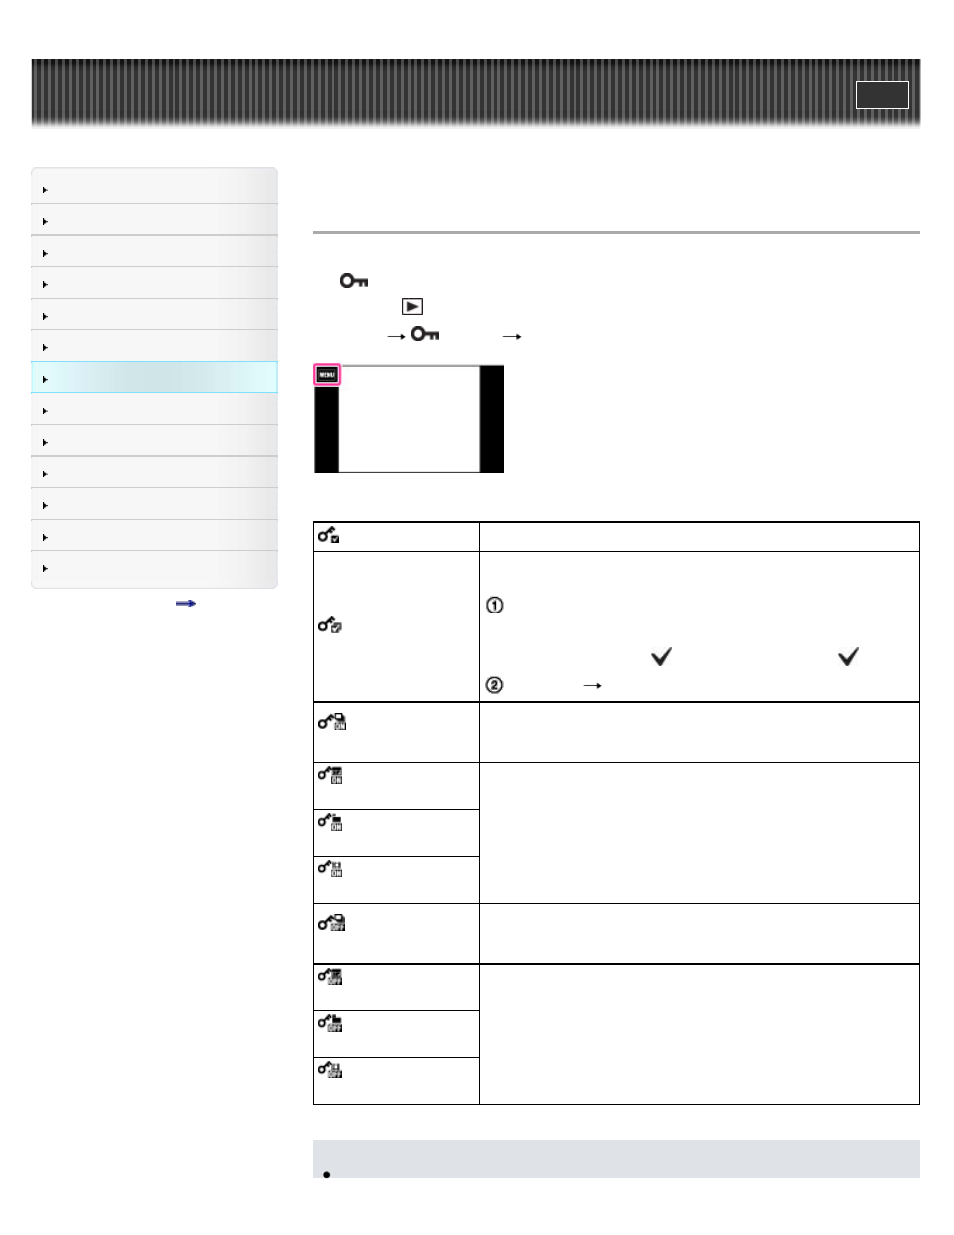
Protect
Protects recorded images against accidental erasure.
The
mark is displayed for registered images.
1. Press the
(Playback) button to switch to playback mode.
2. MENU
(Protect)
desired mode
(This Image)
Protects the currently displayed image in single-image mode.
(Multiple Images)
You can select and protect multiple images.
Do as the following after step 2.
Select an image to be protected, then touch it.
Repeat the above steps until there are no more images to be
protected.
Touch an image with a
mark again to release the
mark.
Touch [OK]
[OK].
(Set All Burst
Images.)
Protects all images in the selected burst group at once in Display
Burst Group mode.
Touch [OK] after step 2.
(Set All on This
Date)
Protects all images in the date range or folder, or all movies in AVC
HD view.
Touch [OK] after step 2.
(Set All in This
Folder)
(Set All AVCHD
view files)
(Remove All Burst
Images.)
Unlocks all protected images in the selected burst group at once in
Display Burst Group mode.
Touch [OK] after step 2.
(Remove All on This
Date)
Unlocks all images in the date range or folder, or all movies in AVC
HD view files at once.
Touch [OK] after step 2.
(Remove All in This
Folder)
(Remove All
AVCHD view file)
Notes
167