Installing the tubing, Completing the installation, Re-installing your power-supply – Swiftech H20 220 ULTIMA XT REV2 User Manual
Page 13: Filling-up the circuit
Copyright Swiftech 2010
– All rights reserved – Last revision date: 4-27-10- Information subject to change without notice – URL
Rouchon Industries, Inc., dba Swiftech
– 151 West Victoria Street, Long Beach, CA 90803 – Tel. 310-763-0336 – Fax 310-763-7095 - E Mail: [email protected]
13 of 15
5.
I
NSTALLING THE TUBING
With one end of a tube connected to a startup component such as the water-block for example, roughly estimate the length that you will
need to the next component, and cut the tube squarely with a pair of scissors. Work your way through the entire circuit in the same
fashion, until you are satisfied with the tube routing. Always avoid sharp bends to prevent the tube from kinking.
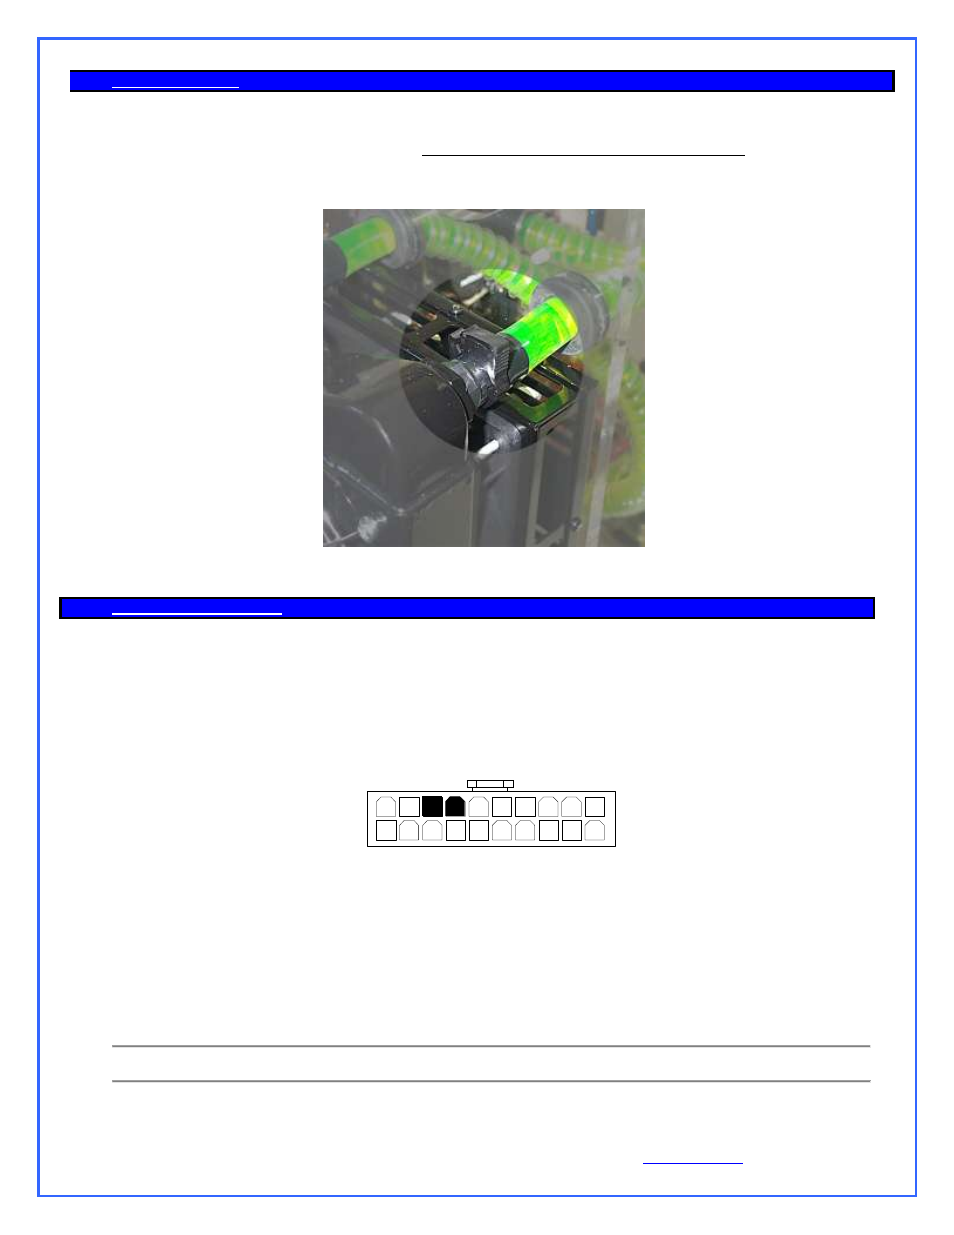
Connect all the components together, and secure the connections with the provided hose-clamps as shown below. ALWAYS MAKE
SURE THAT THE CLAMPS ARE TIGHT, AS THIS IS ONE OF THE PRIMARY SOURCES FOR LEAKS.
6.
C
OMPLETING THE INSTALLATION
Re-installing your power-supply
Prior to fill-up the circuit, you will need to re-install your power-supply in order to start-up the pump during the fill
procedure. You must be able to start the PSU without it being connected to the motherboard. While the Internet
contains numerous references on how to use a paper-clip to short-out pin 13 and 14 of the 20 pin ATX connector as
shown below, we nonetheless recommend instead using a power-supply tester. A wide variety of these common
devices are available on the Internet (Google
key word: “PSU tester”), and among Swiftech resellers
(www.frozencpu.com, www.Directron.com, www.newegg.com, etc.).
13
14
Filling-up the circuit
Simply pour the coolant that you prepared into the reservoir
– carefully to avoid spills, allowing the circuit to fill-up
by simple gravity. Note: for the gravity to take effect the reservoir should be placed or held at the highest point of the
cooling circuit. Once the reservoir is full, seal the fill port back with its cap in order to avoid any spills, and start-up the
pump. The reservoir will quickly (within 1 second) empty itself. Immediately turn off the pump, top-off the fluid to the
maximum level, and restart the pump. You need to repeat this operation 2 to 3 times, until the circuit is finally full of
coolant. Then, allow the system to run 10 minutes uninterrupted to clear all the micro-bubbles and foam, and finally top-off
the level one last time. Your liquid cooling circuit is now ready, and you may permanently install the reservoir.
Allow the system to run for (3) hours and frequently inspect all your connections for possible leaks before
you reconnect and re-install all your components (motherboard, hard drives, etc.)
CONGRATULATIONS, YOUR INSTALLATION IS NOW COMPLETE!