Installing the screws in the wall, Concrete wall, Figure 12: installing the screws – Allied Telesis AT-SBx3106WMB User Manual
Page 30
Installation Instructions
30
Installing the Screws in the Wall
This section contains instructions on how to install the provided screws in
the wall.
Warning
Be sure to observe all appropriate safety rules, including the use of
safety glasses, when using power tools.
Concrete Wall
To use the four blue 1 3/4” concrete screws that come with the brackets,
perform the following procedure:
1. Use a drill and 3/16” carbide drill bit to pre-drill the four screw holes
you marked on the wall in the previous section. Please review the
following guidelines:
Prior to drilling, set the drill to hammer and rotation mode. The
modes break up the concrete and clean out the hole.
The holes should be 2” deep, which is 1/4” deeper that the
concrete screws.
Allied Telesis recommends cleaning out the holes with a brush or
compressed air.
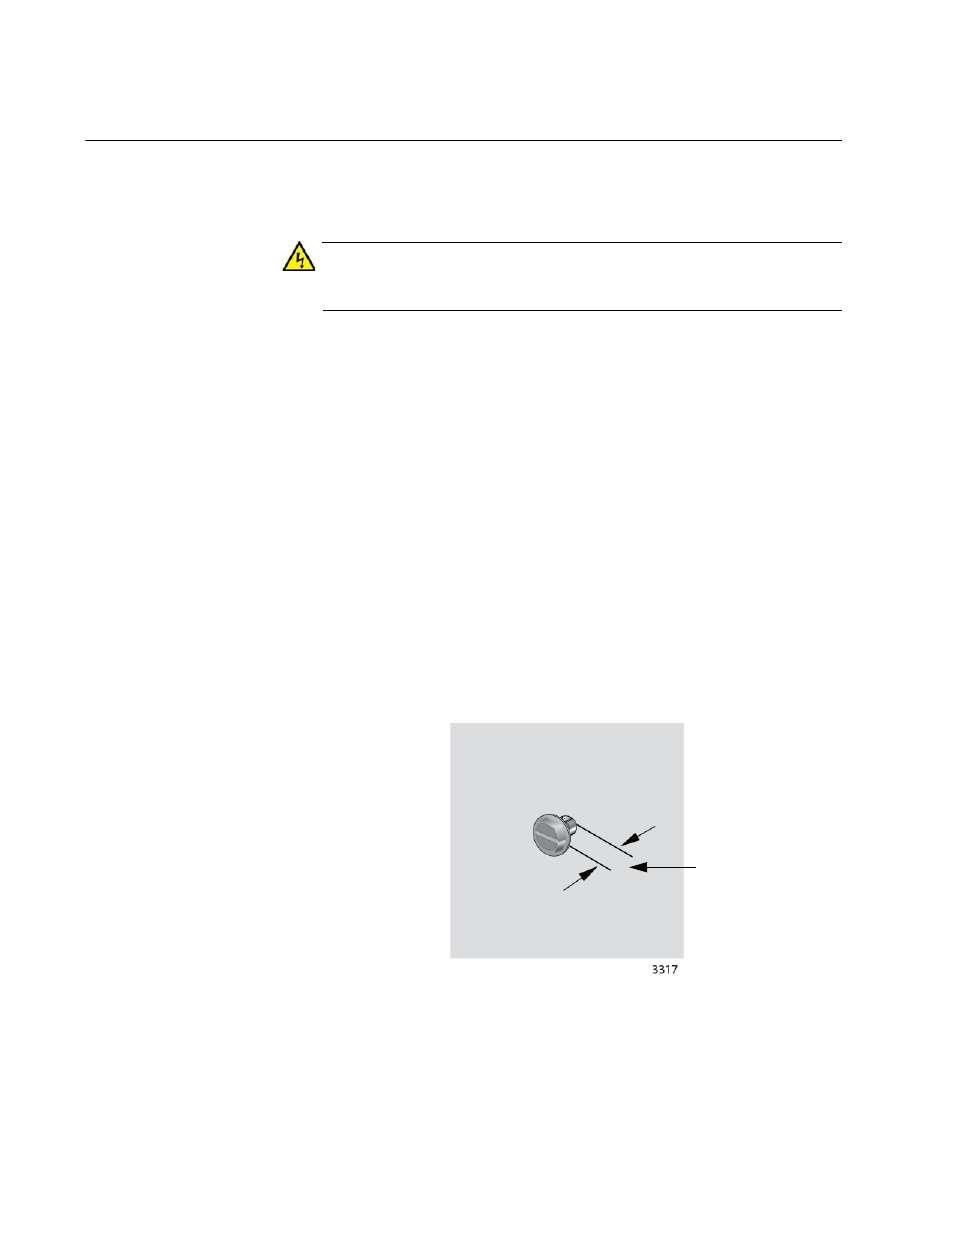
2. Use a 5/16” socket or wrench to slowly install the concrete screws into
the holes. Do not install the screws flush with the wall. They should
extend 1.25 cm (1/2 in.) from the wall. Refer to Figure 12.
Figure 12. Installing the Screws
3. Go to “Installing the Brackets on the Chassis” on page 32.
1.25 cm
(1/2 in.)