Installing the switch on a desktop, Attaching the rubber feet – Allied Telesis AT-GS950/10PS User Manual
Page 45
AT-GS950/10PS, AT-GS950/16PS, and AT-GS950/48PS Switches Installation Guide
45
Installing the Switch on a Desktop
You may install the switches on a desktop, in a standard 19-inch
equipment rack, or on a wall. To install the switch in a rack, see “Installing
the Switch in an Equipment Rack” on page 46. To install the switch on a
wall, see “Installing the Switch on a Wall” on page 48.
To place the switch on a desktop, perform the following procedure:
1. Remove all equipment from the package and store the packaging
material in a safe place.
2. Turn the switch over and place it on a table.
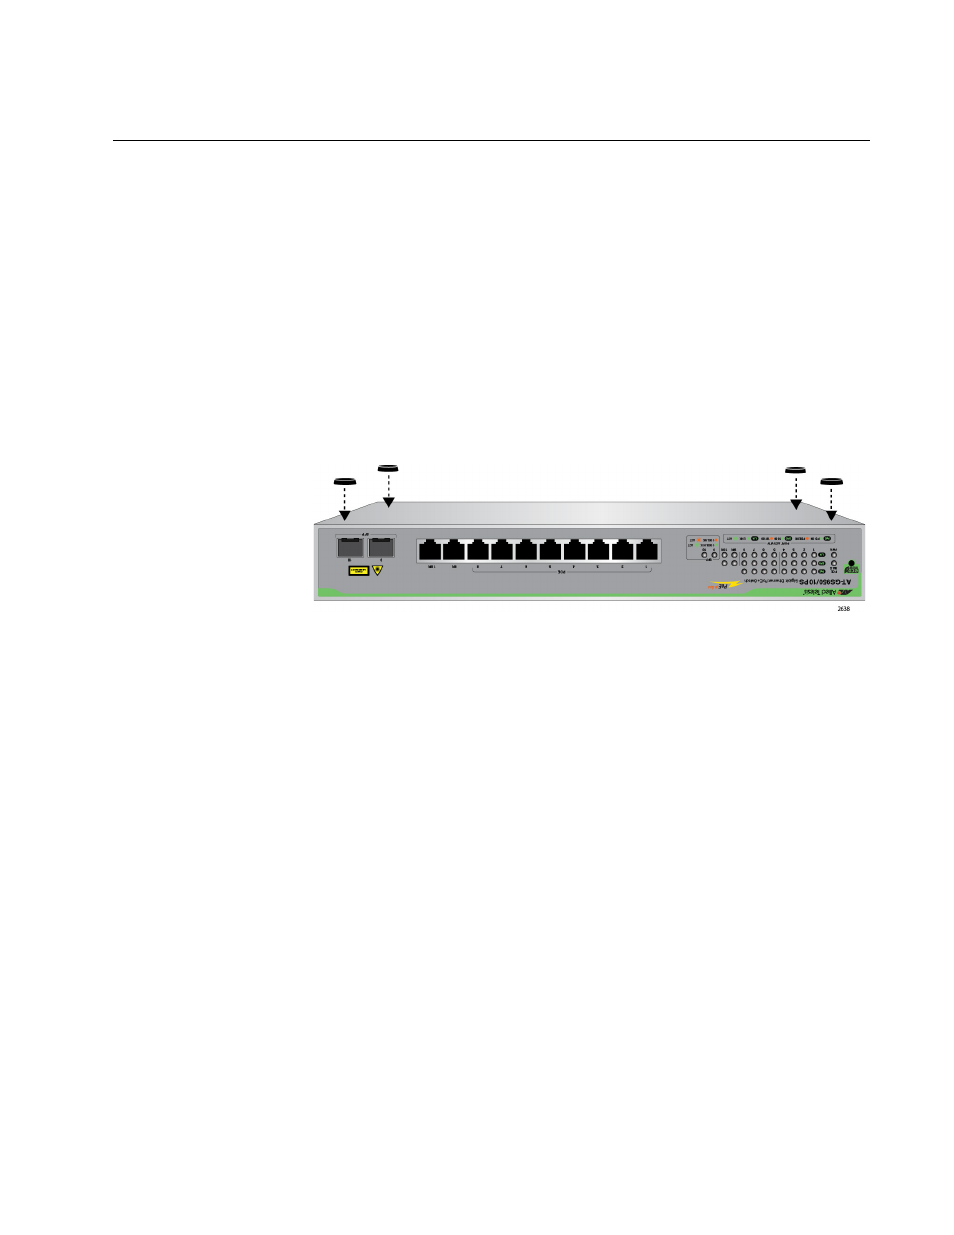
3. Attach the four rubber feet to the bottom of the switch as shown in
Figure 19. Attaching the Rubber Feet
4. Turn the switch over again and place it on a flat, secure surface (such
as a desk or table) leaving ample space around the unit for ventilation.
5. Go to “Installing Optional SFP Transceivers” on page 51 or “Cabling