Aiphone FK1629 B 0811YZ User Manual
Page 27
27
GETTING STARTED
USING THE SYSTEM
APPENDIX
SETTING THE SYSTEM
Video setting
Click
1
Video setting in the table of contents.
Set the following settings for video quality.
2
[Frame Rate]:
•
Set the frame rate selecting “1”, “2”, “5”, “7.5”, “10” or “15”
fps from the pull-down menu.
[Quality]:
•
Set the video quality selecting “Low”, “Middle”, “High” or
“Excellent” from the pull-down menu.
Click
3
Temporarily stored
to save the current setting
results temporarily.
If you wish to cancel the setting results you have made,
*
click a title in the table of contents or “Refresh” in the
web browser menu.
NOTE:
Raising [Frame Rate] from 1 to 15 fps gives you a smoother image
quality. Also, raising [Quality] gives you a fi ner image. However, if
both [Frame Rate] and [Quality] are raised at the same time, a large
amount of network bandwidth will be required.
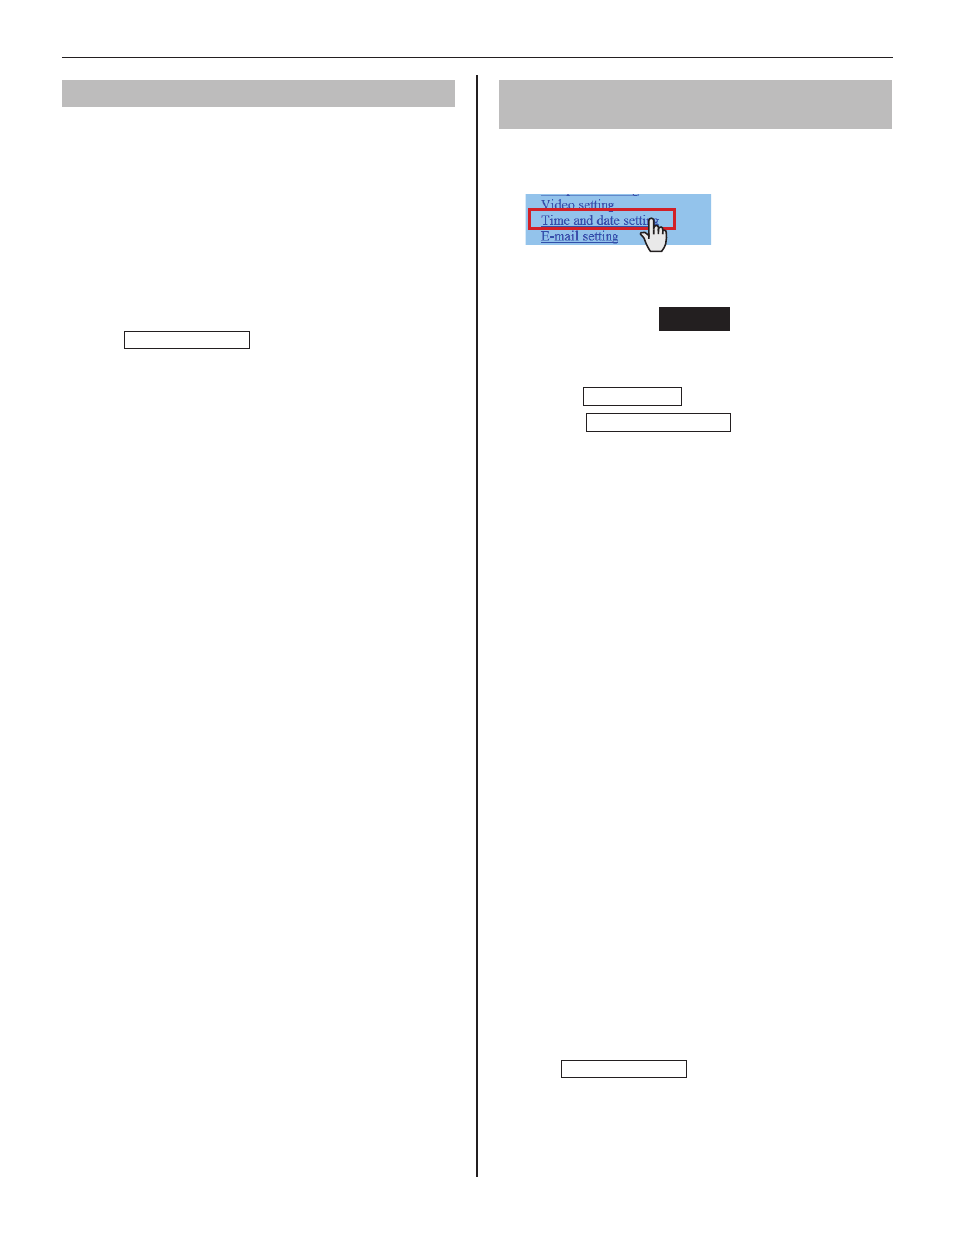
Setting time and date
[Time and date setting]
Set the time and date of the system, used for transfer schedule.
Click
1
Time and date setting in the table of contents.
Set the following settings.
2
[Set current time]
•
Required
:
Set the current time and date in one of the following
methods.
Input the current time and date manually, and then
•
click Manual setting .
Click
•
Synchronized with PC to set the current time
and date by making it synchronized with the PC.
You can also set the current time and date by
•
making it
synchronized with NTP server [Synchronized with NTP
server] as shown below.
If there is no power supply to the system for a long
*
time because of power failure etc., the time and date
setting may be cleared.
[NTP (Network Time Protocol)]:
•
Set [Synchronized with NTP server] to ON to set the
current time and date by making it synchronized with
NTP server. Then set the [NTP server] and [NTP port
number].
[NTP server]:
*
Enter the IP address or domain name of the NTP
server to be used as the master clock.
[UTC time zone]:
•
Set the time differences from Coordinated Universal
Time (UTC). Set the [Hour difference] and [Minute
difference] respectively.
[Synchronize interval]:
•
When [Synchronized with NTP server] is set to ON, the
current time and date are set by being synchronized
with the NTP server with the entered time interval.
[Daylight savings time]:
•
Set whether to utilize daylight savings time (ON) or
(OFF). When set to ON, then set the start and end
times (Month, Week of the month, Day of the week,
Hour and Minute), and time differences (Hour and
Minute).
It is recommended to connect the system with a PC or
*
NTP server constantly to keep the correct time and date
setting.
Click
3
Temporarily stored
to save the current setting
results temporarily.
If you wish to cancel the setting results you have made,
*
click a title in the table of contents or “Refresh” in the
web browser menu.