Operating instructions – CDN IN428 - Infrared Thermometer EN User Manual
Page 2
Operating Instructions
A. Temperature Scale
To select temperature reading in Fahrenheit
or Celsius:
1. Press the SCAN button to turn the
thermometer on.
2. Press the MODE button four times.
The
°F or °C symbol flashes on the display.
3. Press the SCAN button to change the scale.
B. Infrared Thermometer
1.
Infrared Scanning
a.
Distance:Spot = 1:1
For example, if the surface area being
measured is 10" in diameter, then the
thermometer must be within 10" of the target
for an accurate reading.
b. Aim the thermometer at the target and press
the SCAN button to display the surface
temperature.
2.
Minimum Mode
a. Press the SCAN button to turn the
thermometer on.
b. Press the MODE button once. The
MIN icon
flashes on the display.
c. Press and hold the SCAN button to confirm
the Minimum Mode and display the lowest
temperature among multiple targets.
3.
Maximum Mode
a. Press the SCAN button to turn the
thermometer on.
b. Press the MODE button twice. The
MAX
icon flashes on the display.
c. Press and hold the SCAN button to confirm
the Maximum Mode and display the highest
temperature among multiple targets.
4.
Lock Mode
This is particularly useful for continuous
temperature monitoring.
a. Press the SCAN button to turn the
thermometer on.
b. Press the MODE button three times.
The
LOCK icon flashes on the display.
c. Press the SCAN button to confirm the Lock
Mode. The IN428 will continuously display
the temperature for up to 60 minutes or until
the SCAN button is pressed again.
5.
Emissivity
Everything gives off a certain amount of
radiation. Emissivity is the measure of this
thermal radiation. The infrared thermometer is
supplied with a default emissivity of 0.95, which
standard for most uses. The emissivity of the
thermometer can be changed from 0.05 (5E) to
1 (100E).
Only experienced personnel should
attempt to make changes.
For information
relating to the emissivity of specific materials,
please contact CDN.
a. Press the SCAN button to turn the
thermometer on.
b. Press the MODE button five times to enter
Emissivity Mode.
95E flashes on the display.
c. Press the SCAN button to adjust the
emissivity value in 0.01 (1E) increments.
d. Press the MODE button again to exit
Emissivity Mode.
Note:
Infrared thermometers are not recommended
for use in measuring the temperature of shiny or
polished metals.
6.
Error Messages
The IN428 incorporates visual diagnostic
messages as follows:
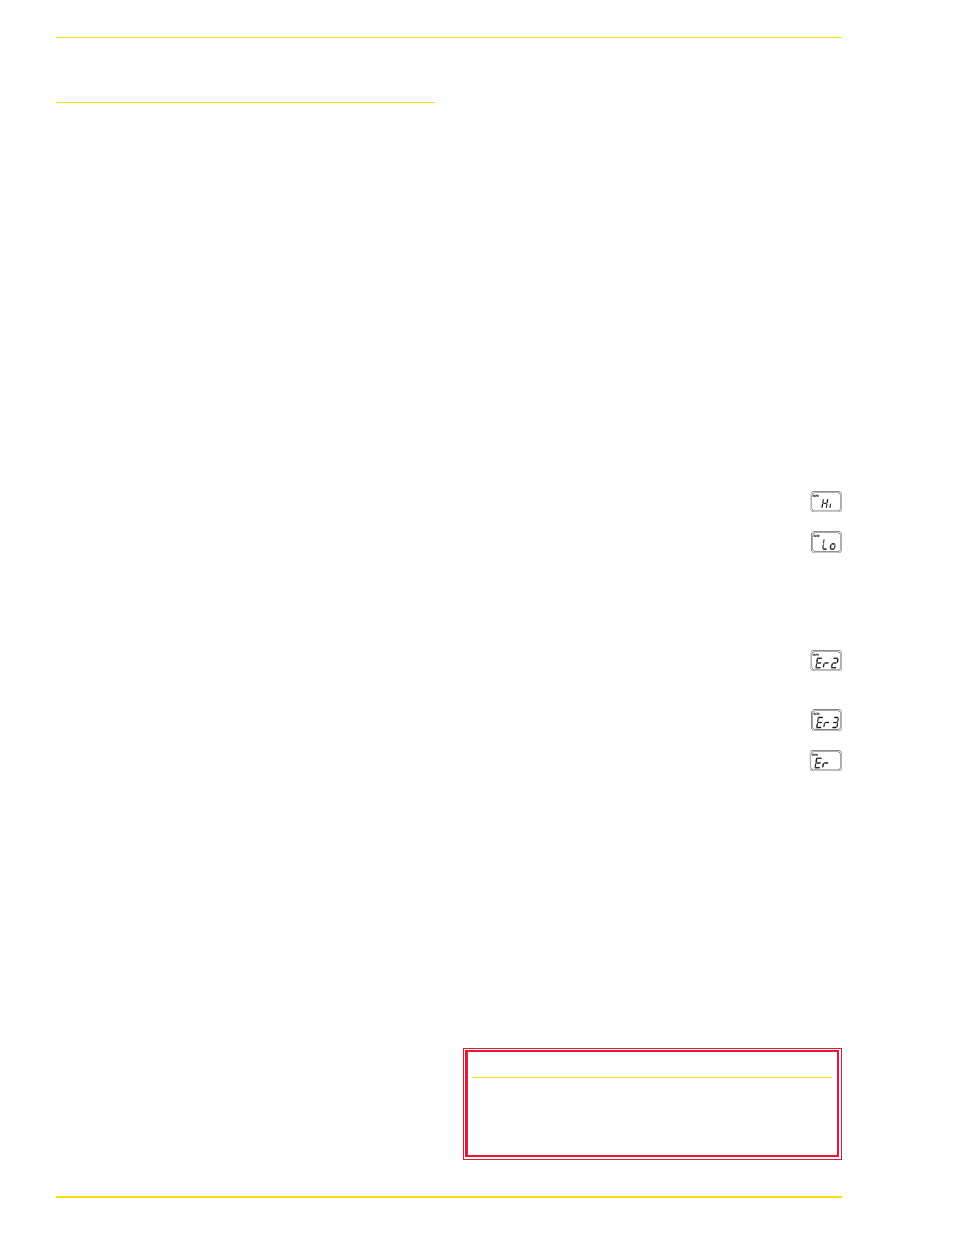
a.
HI or LO is displayed when the temperature
being measured is outside of the range of the
thermometer.
1. HI indicates that the temperature
is higher than 428°F/220°C.
2. LO indicates that the temperature
is lower than -67°F/–55°C.
b. Allow a minimum 30 minutes for the
thermometer to stabilize to the working/
room temperature.
1. ER2 is displayed when the thermometer
is exposed to rapid changes in the
ambient temperature.
2. ER3 is displayed when the ambient
temperature exceeds 14°F/-10°C OR
+122°F/+50°C.
c. For all other error messages
it is necessary to reset the IN428.
1. Wait for the thermometer to power off.
2. Remove the battery and wait for a
minimum of one minute.
3. Reinstall the battery (see
Battery
Installation).
4. Press the SCAN button to turn the
thermometer on.
5. If the error message remains, please
contact CDN for further assistance.
EMC/RFI
Readings may be affected if the unit is operated within a radio
frequency electromagnetic field strength of approximately
3 volts per meter, but the performance of the instrument will
not be permanently affected.