Figure 11 change pool information pane, Deleting pools, Deleting one pool – HP StorageWorks XP Remote Web Console Software User Manual
Page 48: Deleting multiple pools, Initializing v-vol management areas, 11 change pool information pane, Blocks, Figure 11
48
Snapshot XP operations
6.
Click OK. The confirmation message closes, and the setting change is applied to the array.
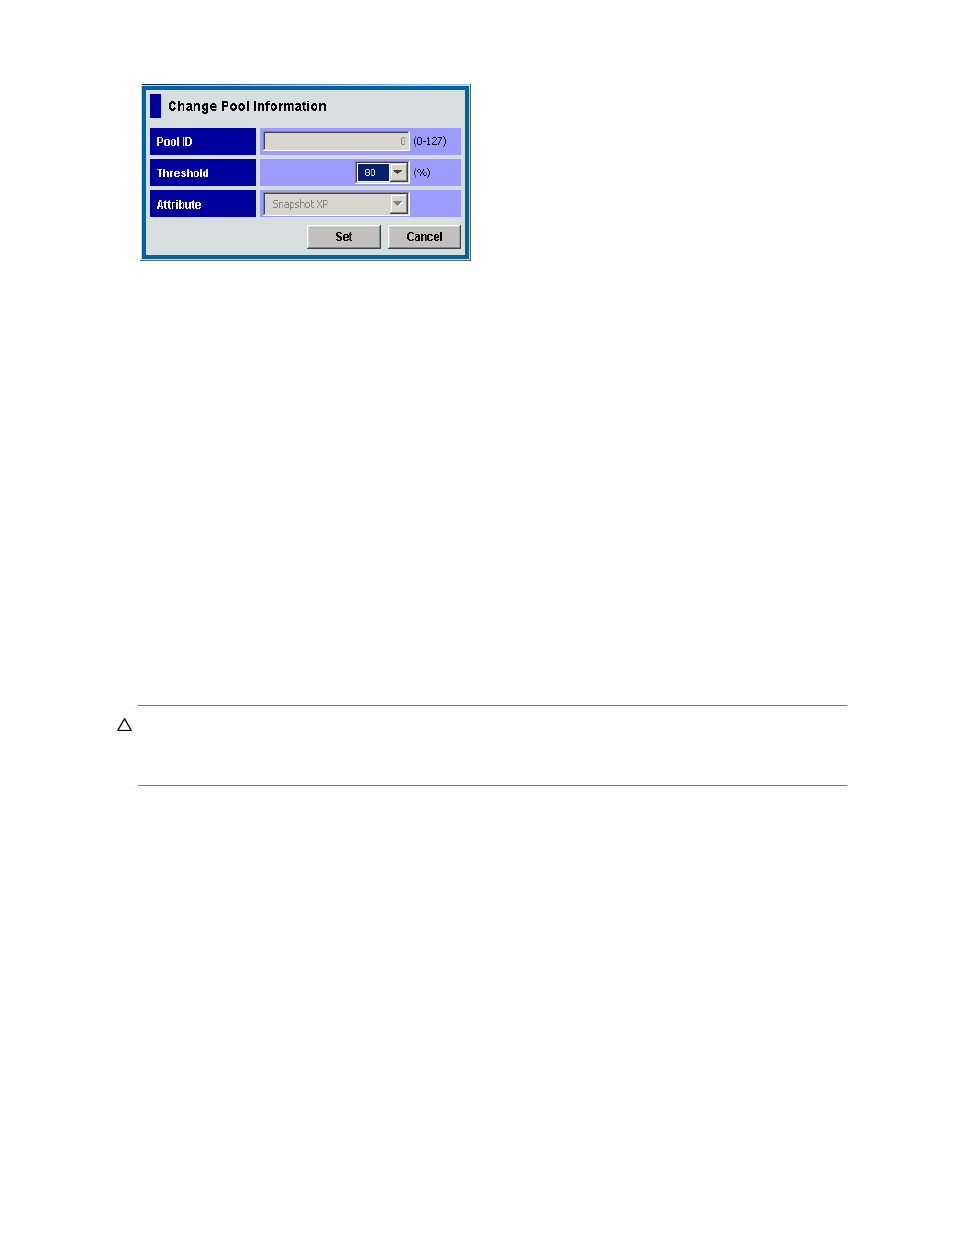
Figure 11
Change Pool Information pane
Items in the Change Pool Information pane are the same as those in the New Pool pane. However, in the
Change Pool Information pane, you cannot enter or select items other than the Threshold list. For more
information about items in the Change Pool Information pane, see ”
Deleting pools
Usually, you specify one pool and delete only the specified pool. However, you can delete multiple pools
at one time if necessary. This section describes procedures for deleting one specified pool and deleting
multiple pools at one time.
Deleting one pool
1.
Change Command View XP or XP Remote Web Console to Modify mode. For instructions, see the
HP StorageWorks Command View XP user guide for XP Disk Arrays or the HP StorageWorks XP
Remote Web Console user guide for XP12000/XP10000/SVS200.
2.
Select and right-click the pool you want to delete, and select Delete Pool. A confirmation message
appears.
3.
Click OK. The selected pool’s icon changes to the icon indicating the deleting process.
4.
Click Apply. A confirmation message appears.
5.
Click OK. The confirmation message closes, and the pool is deleted from the array.
Deleting multiple pools
CAUTION:
If you execute this operation, all pools that can be deleted are deleted. If there are any pools
you do not want to delete, you must delete one pool at a time by following the steps in ”
1.
Change Command View XP or XP Remote Web Console to Modify mode. For instructions, see the
HP StorageWorks Command View XP user guide for XP Disk Arrays or the HP StorageWorks XP
Remote Web Console user guide for XP12000/XP10000/SVS200.
2.
On the Pool pane, select and right-click the Snapshot XP icon in the Pool tree, and select Delete Pool(s).
A confirmation message appears.
3.
Click OK. The pools’ icons change indicating the pools being deleted.
4.
Click Apply. A confirmation message appears.
5.
Click OK. The confirmation message closes, and the pools are deleted from the array.
Initializing V-VOL management areas or pool management blocks
This section describes how to initialize the whole V-VOL management areas or a pool management block
in the V-VOL management area.
Initializing V-VOL management areas
By initializing the whole V-VOL management area, the V-VOL management area is used more efficiently.
Therefore, you can create a pool with a capacity that is larger than before the initialization or create
more pools compared to before the initialization.