Diopter compensation, Faf (fundus autofluorescence) photography – Canon CR-2 PLUS AF User Manual
Page 34
34
5 Photography Auxiliary Functions
Diopter Compensation
Insert the diopter compensation lens into the CR-2 Plus AF and take the photograph.
Note that when the diopter compensation is set to the – or + position, the focus indicator does
not appear. Turn the focus ring to focus the retinal image in a position that renders the image sharp
on the observation monitor.
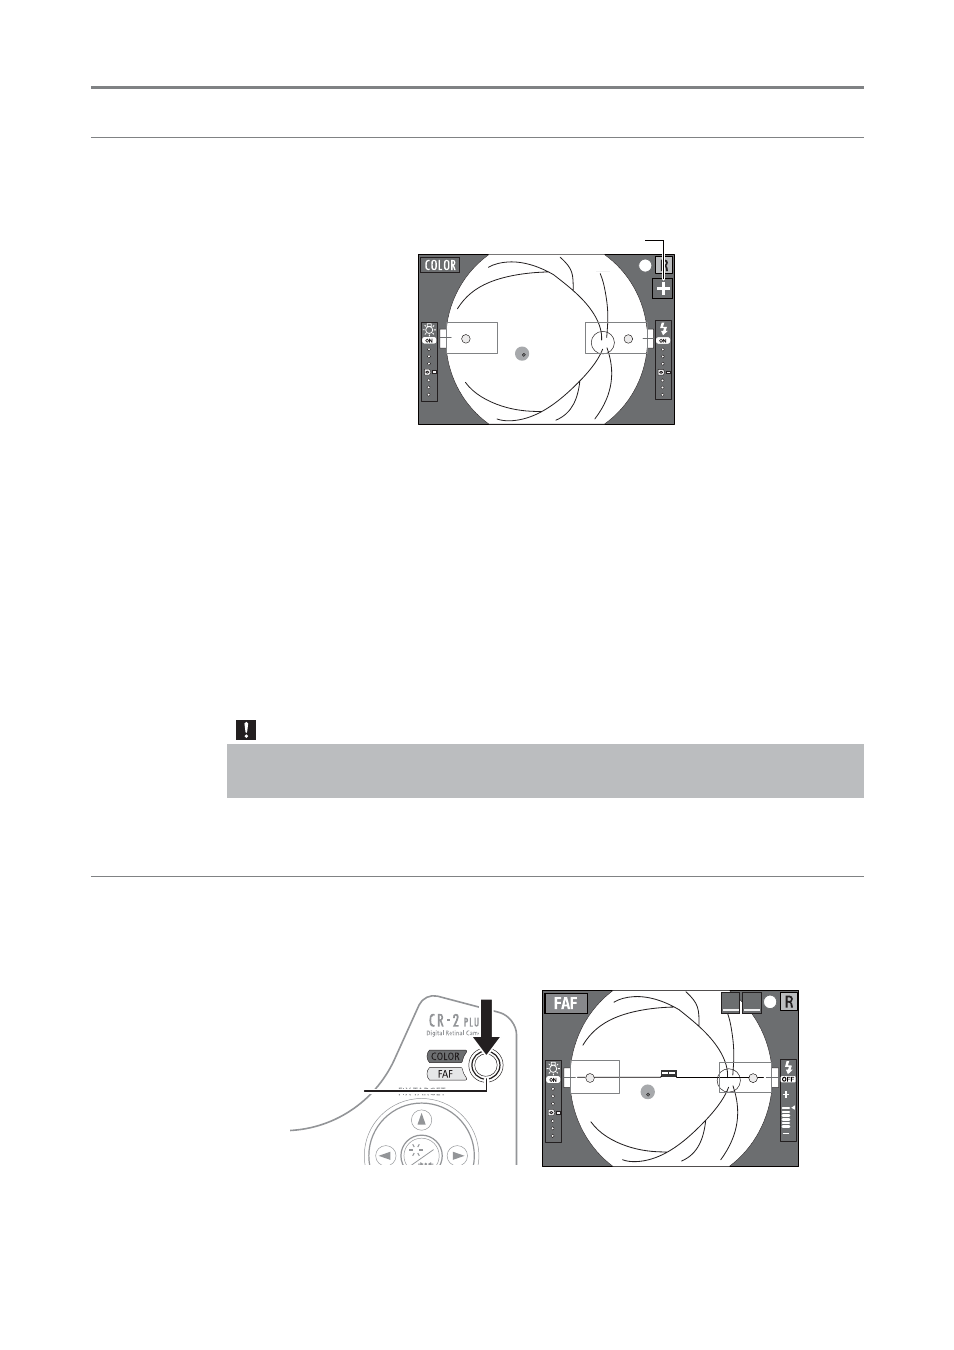
ON
ON
Diopter compensation mark
t – compensation:
Turn the focus ring counterclockwise until the end of – position. Then stop and turn
further; compensation lens is inserted.
t + compensation: Turn the focus ring clockwise until the end of + position. Then stop and turn
further; compensation lens is inserted.
t No compensation: Turn the focus ring clockwise (counterclockwise) until the end of + (-) position.
Then stop and turn further; compensation lens is released.
The CR-2 Plus AF can provide appropriate images if the diopter of the patient’s eye is within the
respective ranges below.
t No compensation: –10 to +15 D
t – compensation:
–31 to –7 D
t + compensation:
+11 to +33 D
Note Auto-focus is not available when the diopter compensation is set to the – or + position.
Take images using Manual Focus Photography (see page 31).
FAF (Fundus Autofluorescence) Photography
This function makes it possible to take fundus autofluorescence images.
1
Press the photography mode button.
The FAF mode lamp lights and the FAF mark appears on the observation monitor.
ON
㻭㻲 㻭㻿
Photography
mode button
2
Perform alignment and photography in the same manner as for basic operations.
Fundus autofluorescence photography can be performed in the same manner as for color
photography (see page 25).