Canon CR-2 PLUS AF User Manual
Page 25
4 Basic Operations
25
Patient Setup
1
Start an examination on the Rics NM 2.
Enter the patient’s information.
The set lamp lights and the observation monitor turns on.
2
Seat and position the patient.
t Instruct the patient to remove his/her contact lenses or glasses, if he/she is wearing them.
t Have the patient place his/her chin on the chin rest and his/her forehead against the forehead rest.
Adjust the heights of the optical bench and chair so the patient is comfortable.
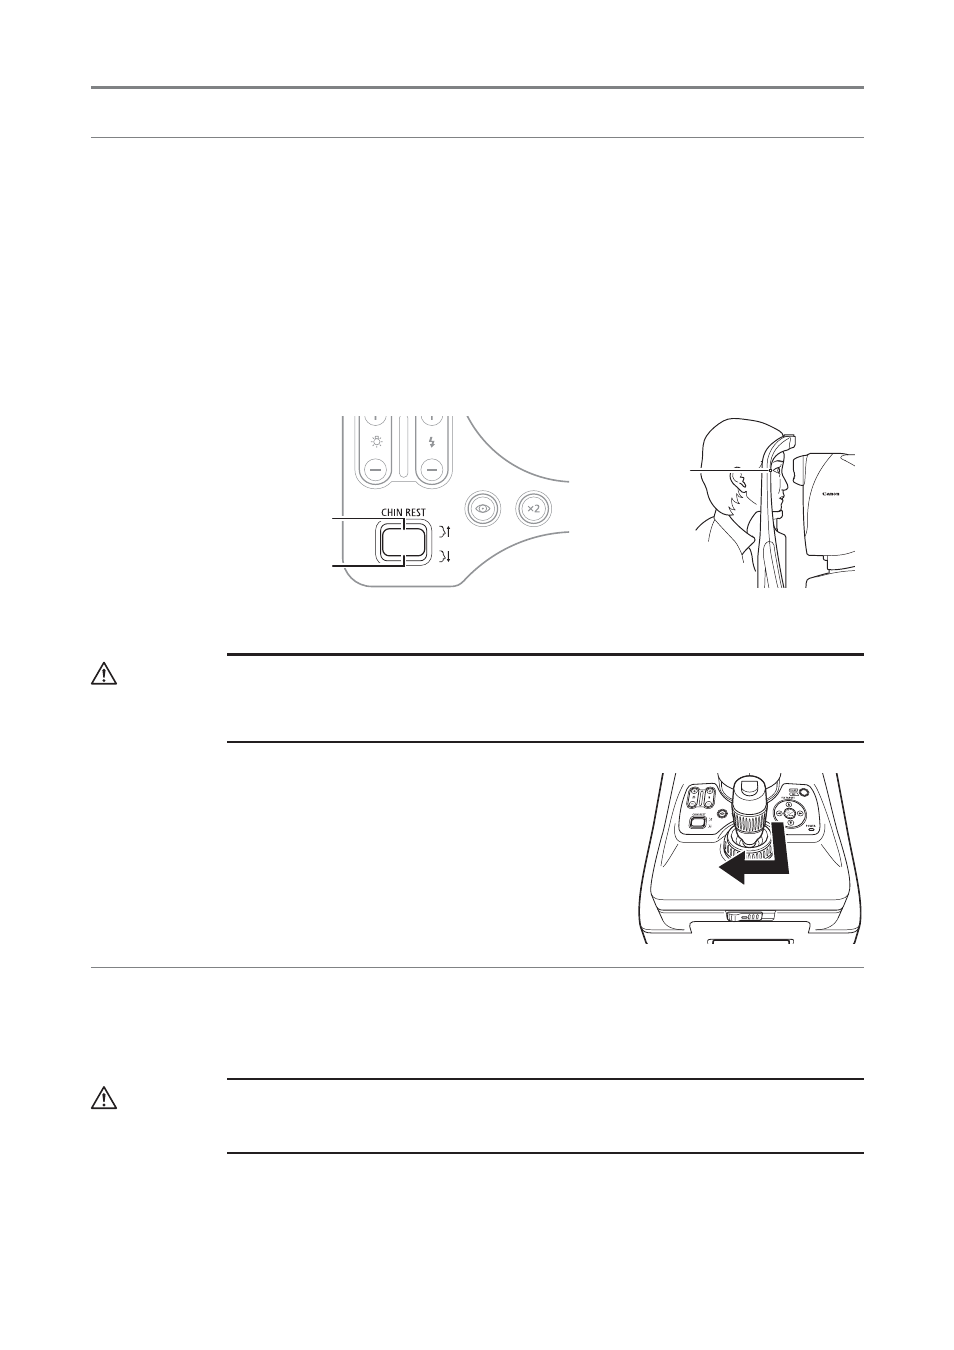
3
Move the chin rest with the CHIN REST button so that the patient's eye is aligned with
the height adjustment mark.
Chin rest rises
Chin rest lowers
Height adjustment
mark
4
Move the stage toward the eye to be photographed.
CAUTION
t Do not place your hands or fingers on the base.
t Instruct the patient not to place his/her hands or fingers on the base.
Otherwise, your or the patient’s hands or fingers may be pinched, possibly resulting in injury.
Hold the operation lever, pull it toward you, and then move the
stage.
Alignment and Photography
This section describes the standard procedures for taking images using Auto-fundus observation, AF
(Auto-focus), and AS (Auto-shot) functions.
1
Align the retinal camera with the eye to be photographed.
CAUTION
When adjusting the position of the retinal camera in the front-back direction, slowly bring the main
unit closer to the patient while looking at the patient’s eye from the side. The patient’s eye may be
injured if the objective lens makes contact with it.