Cop y, Importing and writing back clips – Canon EOS C500 PL User Manual
Page 16
Importing and Writing Back Clips
16
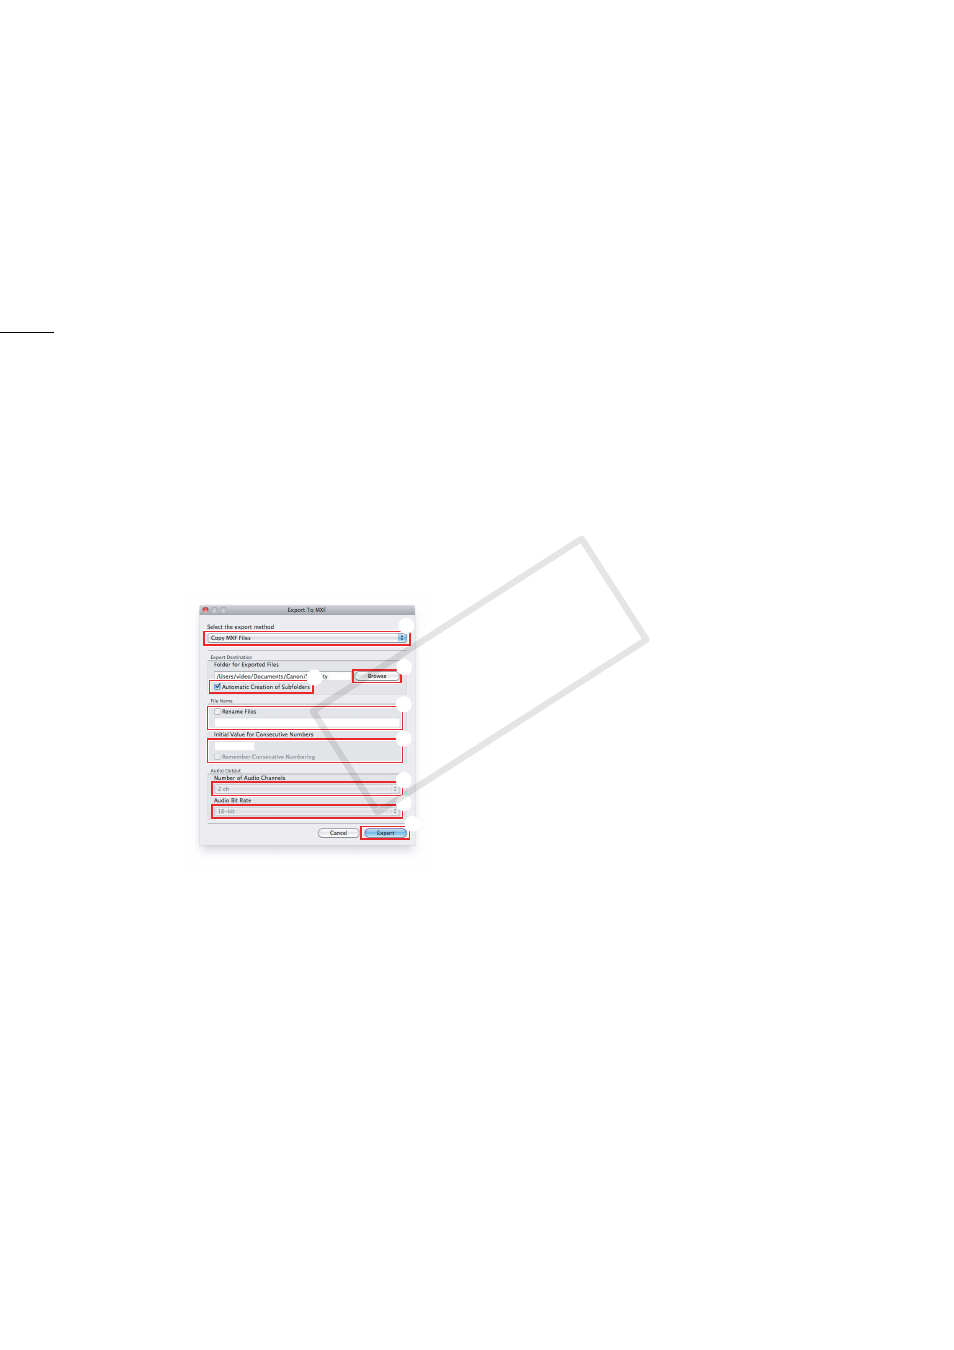
5.
To rename the exported files, check the Rename Files box and enter the desired file name in the
field below it (
ᕤ
).
•
To number multiple MXF files consecutively enter the starting number in the Initial Value for
Consecutive Numbers field (
ᕥ
). You can check the Remember Consecutive Numbering box below
it to automatically continue the consecutive numbering also for future export operations.
6.
If in step 3 you selected one of the merge options, you can change the way audio is exported in
the following step; otherwise, skip to step 8.
7.
Select the Number of Audio Channels (
ᕦ
) and the Audio Bit Rate (
ᕧ
) from the respective pull-
down menus.
•
When you set Number of Audio Channels to 4 ch or 8 ch, 2 or 6 audio tracks will be added to the
original files and mute data will be recorded in these additional tracks. The default 2 ch will not add
any audio tracks to the original audio tracks.
•
When you set Audio Bit Rate to 24-bit, the original audio will be converted from 16-bit to 24-bit
audio.
8.
Click Export (
ᕨ
).
•
When the operation is completed, a confirmation dialog box will show the name automatically
given to the destination folder.
9.
Click OK.
³
ᕣ
ᕤ
ᕥ
ᕦ
ᕧ
ᕢ
ᕨ
COP
Y