Step 2, Installing the printer driver, Windows – Brother HL-4070CDW User Manual
Page 36: Ready, Select ab or ok machine info, Select ab or ok lan, Lan wired, Lan wlan, Wlan tcp/ip, Wlan wlan enable
Installing the Printer Driver
34
STEP 2
Windows
®
W
indow
s
®
Wire
le
ss
Ne
tw
o
rk
Configuration in Infrastructure mode, using a wireless computer
Before configuring the wireless settings
Important
If you have previously configured the wireless
settings of the printer, you must reset the print
server back to the default factory settings (see
page 61) and enable the
WLAN setting from the
control panel. See Enabling the wireless
network using the control panel on this page.
Enabling the wireless network using the control
panel
1
Make sure that the printer power switch is on.
2
Press any of the Menu buttons (+, -, OK or
Back) to take the printer off-line.
Ready
h
Select ab or OK
Machine Info.
3
Press the + or - button to select LAN.
Select ab or OK
LAN
4
Press OK to move to the next menu level.
LAN
Wired
5
Press the + or - button to select WLAN.
LAN
WLAN
6
Press OK to move to select the next level.
WLAN
TCP/IP
7
Press the + or - button to select
WLAN Enable
.
WLAN
WLAN Enable
8
Press OK to move to select the next level.
WLAN Enable
Off
9
Press the + or - button to select On.
WLAN Enable
On
10
Press OK.
Accepted
appears on the second line of the
LCD.
WLAN Enable
Accepted
The WLAN setting is enable.
Configure the wireless settings
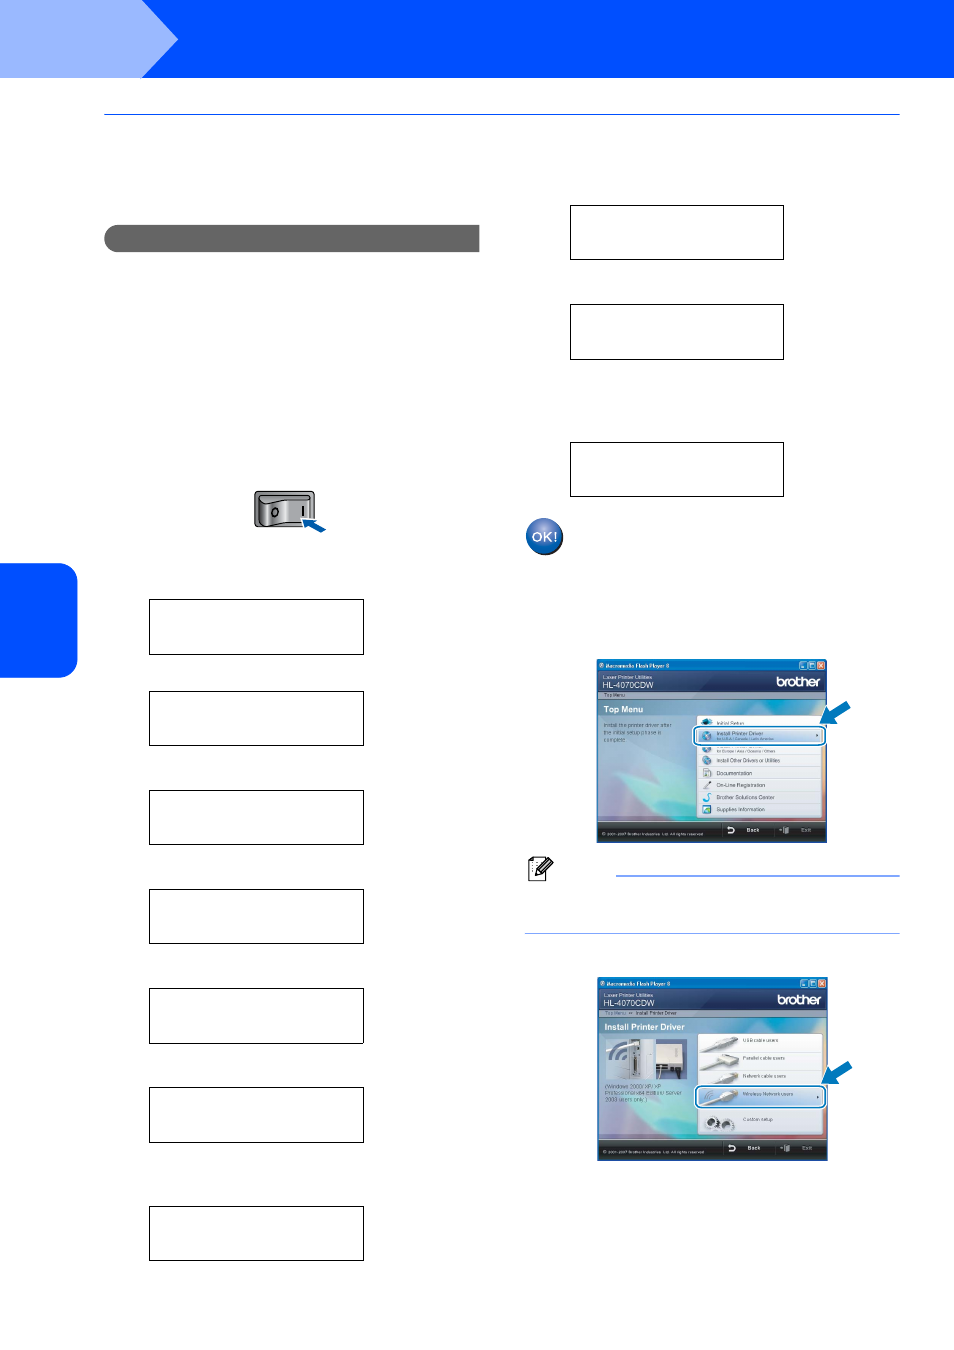
1
Click Install Printer Driver.
Note
Choose the Install Printer Driver icon for your
region.
2
Click Wireless Network users.