Testing the duct smoke detector, Replacement parts, Cleaning the duct smoke detector – Edwards Signaling E-PDD User Manual
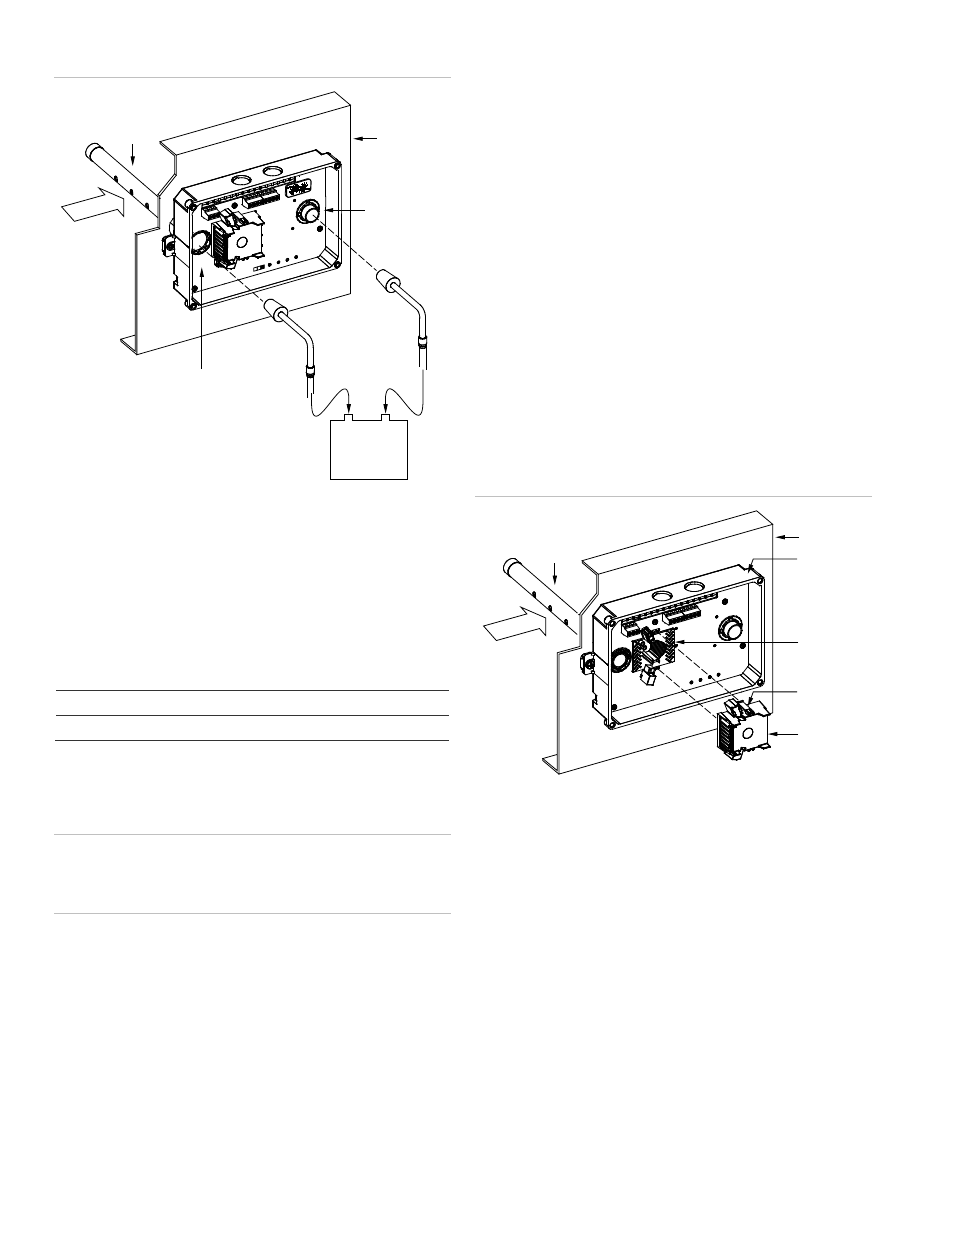
Page 4: Wiring
4 / 6
P/N 3101210 • REV 02 • ISS 28JAN13
Figure 7: Air pressure differential
Airflow
Sampling tube
opening
Exhaust tube
opening
HVAC duct
Sampling
tube
Air pressure
differential
meter
Testing the duct smoke detector
After completing installation of the duct smoke detector, test
the detector to ensure it is operating correctly prior to leaving
the site. For details, refer to Technical Bulletin P/N 3101212.
Replacement parts
The following table lists the replacement parts for the duct
smoke detector.
Model
Description
E-SDPCB
PCB replacement kit for duct smoke detector
Cleaning the duct smoke detector
Clean the duct smoke detector when it becomes 80% to 99%
dirty or sooner if conditions warrant.
Caution:
Before cleaning the duct smoke detector, notify the
proper authorities that the fire alarm system is undergoing
maintenance and take steps to prevent the control panel from
responding to a false alarm.
To clean the duct smoke detector:
1. Disable the detector/zone to prevent false alarms.
2. Remove the detector’s cover then power down the
detector by disconnecting the SLC wiring.
3. Using a vacuum cleaner, clean compressed air, or a soft
bristle brush, remove loose dirt and debris from inside the
detector housing and cover.
4. Remove dirt and other contaminants from the gasket on
the detector’s cover using isopropyl alcohol and a lint-free
cloth.
5. Squeeze the retainer clips on both sides of the optic
housing then lift the housing away from the printed circuit
board.
6. Gently remove dirt and debris from around the optic plate
and inside the optic housing.
7. Replace the optic housing and detector cover, and then
connect the SLC wiring.
8. Test the detector and verify sensitivity. For details, refer to
Technical Bulletin P/N 3101212.
Figure 8: Duct detector cleaning
Airflow
HVAC duct
Sampling
tube
Retainer
clip
Optic
plate
Optic
housing
Detector
housing
Wiring
Wire in accordance with NFPA 72 and CAN/ULC-S524. Be
sure to observe the polarity of the terminals on the terminal
block as shown in Figure 9.