Triton RT2000 X2 Installation Manual User Manual
Page 19
19
M
ODEL
RT2000 (X2) I
NSTALLATION
G
UIDE
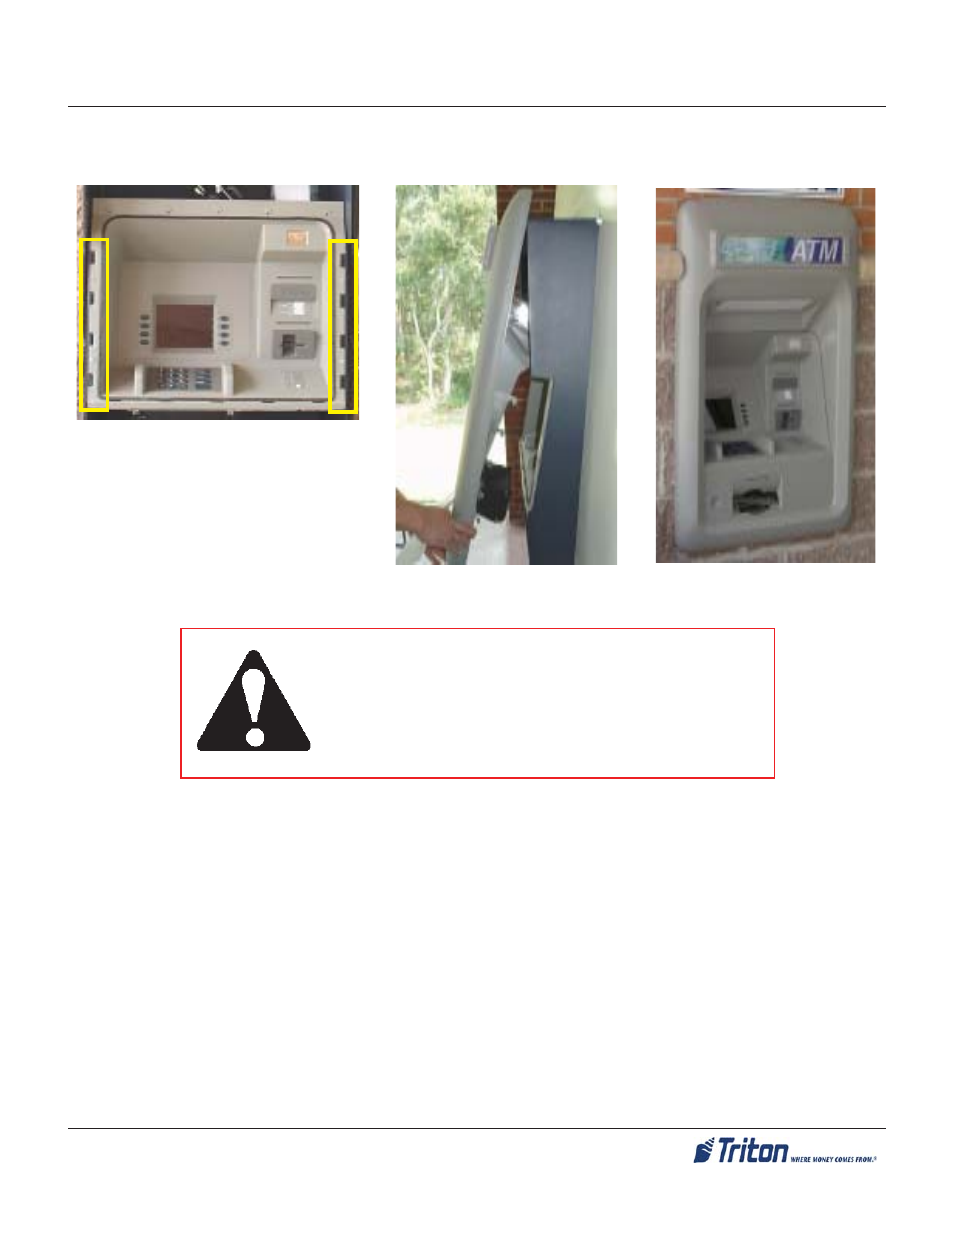
10. 6OLGH WKH XQLW EDFN XQWLO WKH FRQWURO SDQHO WULP LV ÀXVK WR WKH H[WHULRU ZDOO
Control panel slots.
6OLGH XQLW EDFN ÀXVK WR ZDOO
Mount fascia trim to control panel.
*** WARNING ***
When removing/placing the unit on the plinth, be
mindful that the unit is top-heavy. One person should
support the front at all times! Take care not to damage
the front of the sleeve as this has the control panel
electronics and hardware mounted.
11. Adjust the plinth’s OHYHOLQJ IHHW WR HQVXUH WKH FRQWURO SDQHO WULP LV ÀXVK DJDLQVW WKH H[WHULRU ZDOO DQG
the cabinet is level.
12 0DUN WKH DQFKRU KROHV WKURXJK WKH FDELQHW ÀRRU RU PDUN DURXQG WKH SOLQWK VWUXFWXUH XVLQJ PDVNLQJ
tape, pencil, etc. Remove the control panel trim and slide the unit back inside.
13. Remove the unit from the plinth (if used). Align the plinth over the markings and mark the anchor holes.
'ULOO WKH DQFKRU KROHV DQG VHFXUH WKH SOLQWK LI XVHG WR WKH ÀRRU 0RXQW WKH XQLW EDFN RQ WKH SOLQWK LI
used) and again slide the unit forward towards the wall opening until the sleeve protrudes slightly out
the front exterior.
If no plinth was used, after drilling the anchor holes, again slide the unit forward towards the wall
opening until the sleeve protrudes slightly out the front exterior.
The next pages describes adjusting the optional plinth and leveling feet of cabinet.