Hired-Hand Bunsen Jet Brooders: Super-Saver Bunsen Jet (Radiant Brooder with Pilot Ignition) User Manual
Page 8
Super Saver Bunsen Jet Brooder with SPI
6
5.4.
Burner Unit Assembly
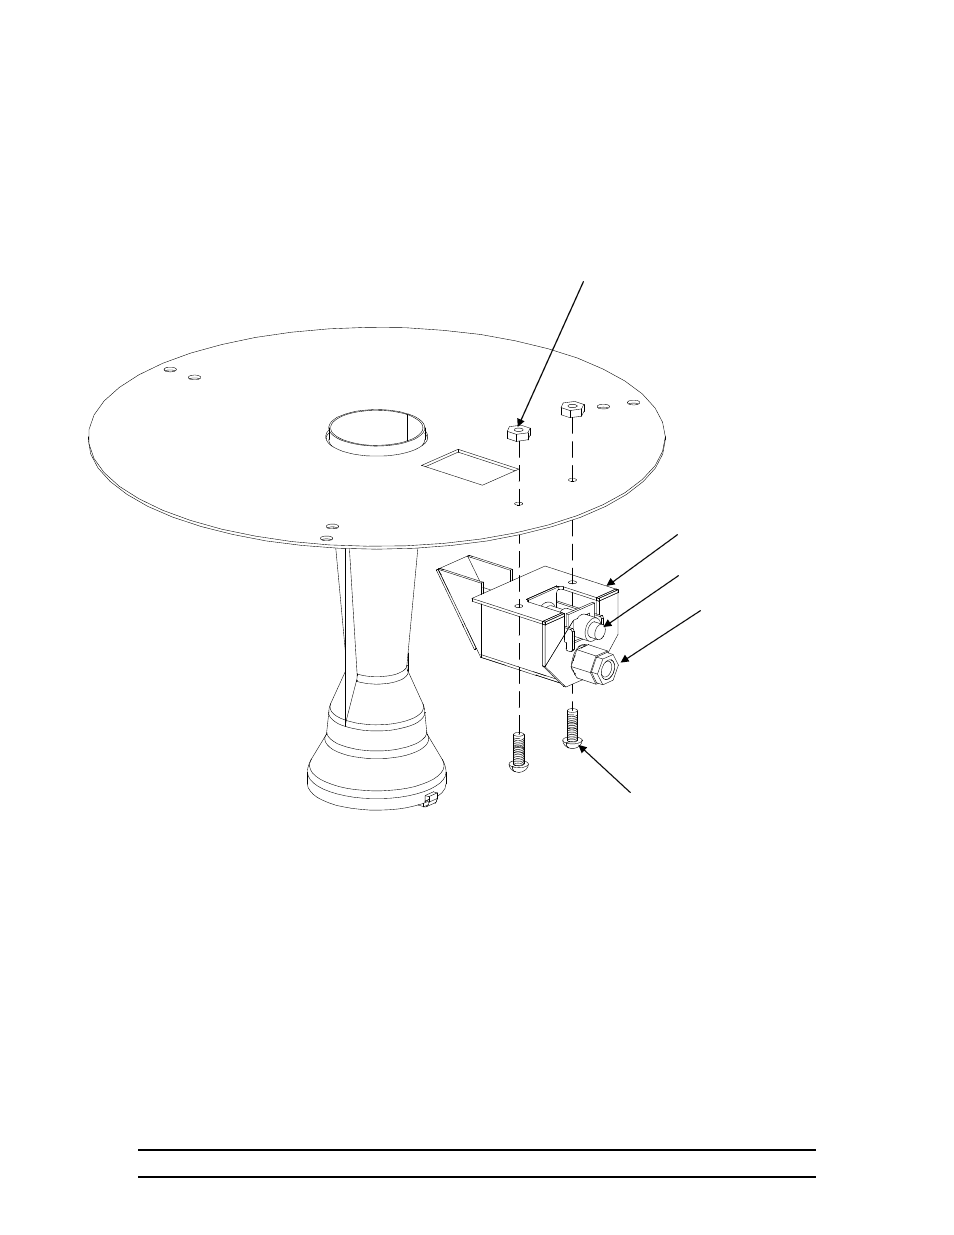
1. For burner unit assembly, see Figure 4, then follow these steps.
2. Position pilot bracket as shown in Fig. 4. Secure with two 8-32 X 1/2 screws and 8-
32 nuts (provided).
5.5.
Final Brooder Assembly
1. For final brooder assembly, see Figures 5 and 6. Then follow these steps.
2. Attach gas valve bracket to gas valve with three 10-24 X 1/4” screws. Make sure the
capillary tubing is not pinched by the gas valve bracket.
3. Attach gas valve and heat shield to canopy with four 8-32 X 1/2” screws and 8-32
nuts provided. There are four holes pre-drilled into the canopy for this purpose.
8/32 Kep Lock Nuts
8/32 x 1/2
Screws
Pilot Bracket
Thermocouple
Pilot
Figure 4
Burner Assembly