Vanguard DMOM‐600 User Manual
Page 28
Auto‐Ohm 200 S3 / DMOM‐200 S3 / DMOM‐600 USER’S MANUAL
REV 2
24
Connect the external current probe to the ground cable and then turn
on the probe. Press any key and continue to step c.
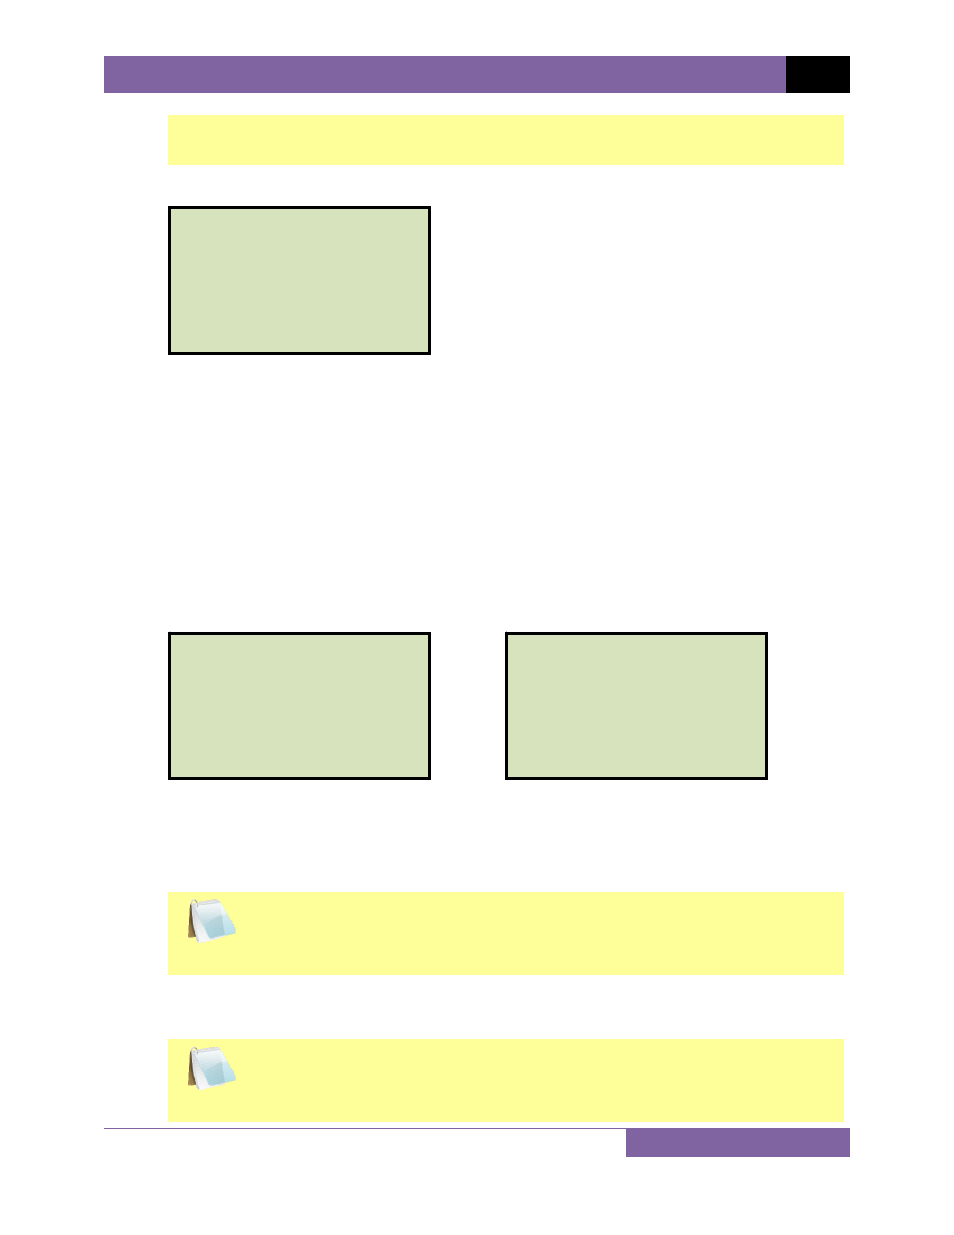
c. The following screen will be displayed:
The Auto‐Ohm 200 S3 provides a convenient automatic test mode that can be used to
perform multiple tests without having to restart each test manually. When performing
an automatic test, the Auto‐Ohm will sense when cables are disconnected and re‐
connected and will initiate the test 2 seconds after sensing a re‐connection.
Press the
[1]
key (NORMAL TEST) if you would like to perform a normal test. Continue
to step d.
Press the
[2]
key (AUTOMATIC TEST) if you would like to perform an automatic test.
Continue to step d.
d. The following screen will be displayed:
Auto‐Ohm 200 S3
DMOM‐600
Select the test current by pressing the corresponding numeric key on the keypad. If the
test current you would like to use is not listed, press the
[6]
key (CUSTOM) and then
enter a value from 1A to 200A for the Auto‐Ohm 200 S3/DMOM‐200 S3 or 10 A to 600A
for the DMOM‐600.
NOTE
When using a DMOM‐600 with input power of 100‐120 Vac, the maximum
recommended test current is 300A.
If you had selected the normal test mode, continue to step e.
If you had selected the automatic test mode, continue to step f.
NOTE
For an automatic test, the burn‐in time is 5 seconds and cannot be
changed.
select test current:
1. 10A 2. 25A
3. 50A 4. 100A
5. 200A 6. 400A
7. 600A
8. CUSTOM
select test current:
1. 10A
2. 25A
3. 50A
4. 100A
5. 200A
6. custom
1. NORMAL TEST
2. AUTOMATIC TEST