Tips on using the interferometer – PASCO OS-9257A PRECISION INTERFEROMETER User Manual
Page 13
9
012-07137A
Precision Interferometer
5.
The slip ring at the base of the micrometer knob adjusts
the tension in the dial. Before making a measurement,
be sure the tension is adjusted to give you the best pos-
sible control over the mirror movement.
Calibrating the Micrometer
For even more accurate measurements of the mirror
movement, you can use a laser to calibrate the micrometer.
To do this, set up the interferometer in Michelson or
Fabry-Perot mode. Turn the micrometer knob as you
count off at least 20 fringes. Carefully note the change in
the micrometer reading, and record this value as d'. The
actual mirror movement, d, is equal to Nl/2, where l is
the known wavelength of the light (0.6328 µm for a
standard helium-neon laser) and N is the number of fringes
that were counted. In future measurements, multiply your
micrometer readings by d/d' for a more accurate measure-
ment.
ä NOTE: You can also adjust the micrometer
calibration mechanically. The process is not difficult,
but for most accurate results, the above procedure is
still recommended. See the Maintenance section at
the end of the manual for the mechanical calibration
procedure.
Demonstrations
The PASCO interferometer is not designed for large
demonstrations. However, for small demonstrations, you
can use the 48 mm focal length lens (included in the
Interferometer Accessories) to magnify the fringe pattern
and project it onto a wall or screen. It is helpful to have a
powerful laser for large projections.
Using the Diffuser
It's sometimes more convenient to view the interference
pattern through the diffuser rather than on the viewing
screen. Just place the diffuser where you would normally
place the viewing screen, and look through it toward the
interferometer.
Tips on Using the Interferometer
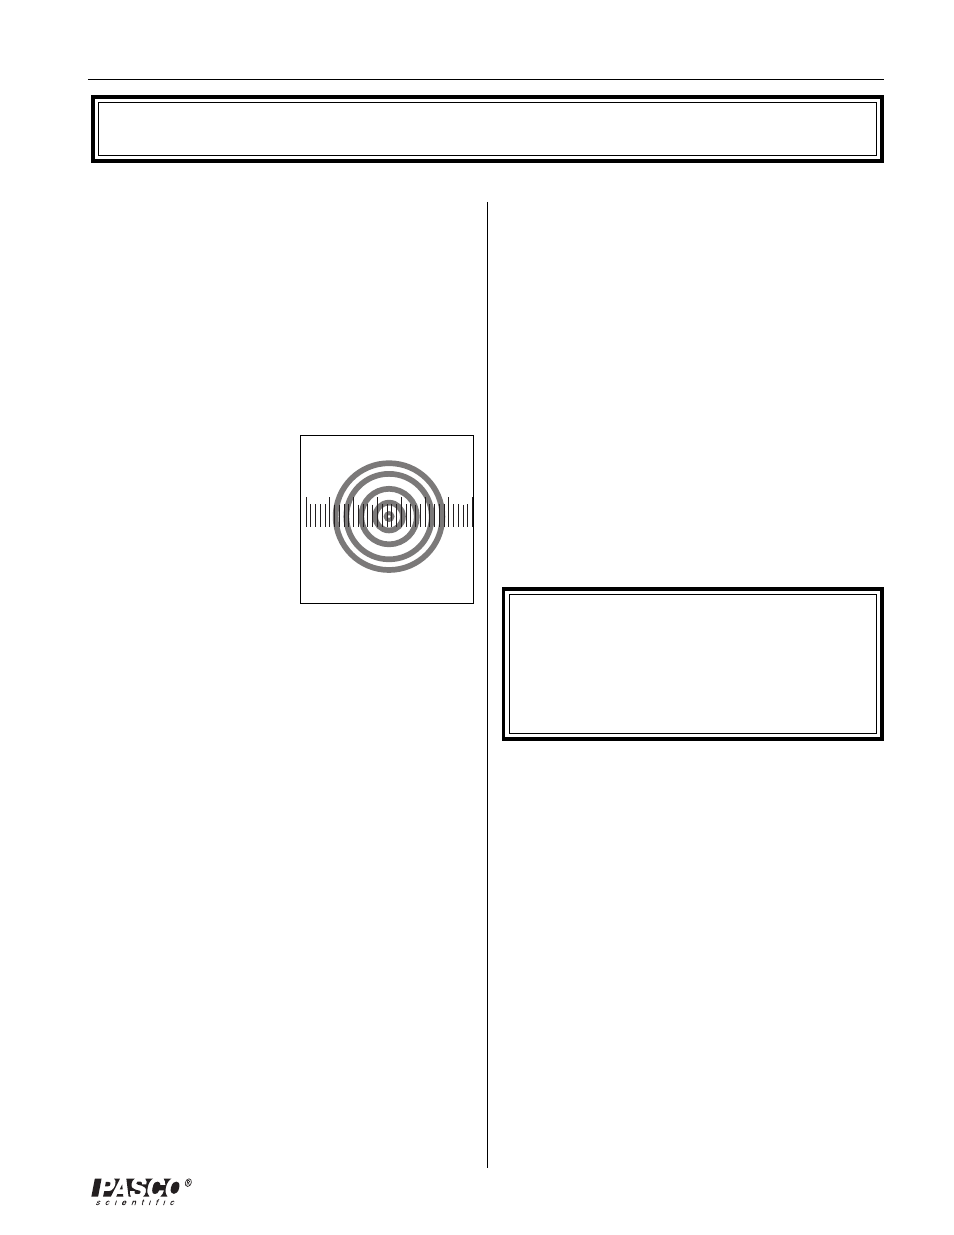
Figure 9.
Counting Fringes
Accurate Fringe-Counting
The following techniques can help you make accurate
measurements.
1.
It's not necessary that your interference pattern be per-
fectly symmetrical or sharp. As long as you can clearly
distinguish the maxima and minima, you can make ac-
curate measurements.
2.
It's easy to lose track when counting fringes. The fol-
lowing technique can help.
Center the interference
pattern on the viewing
screen using the thumb-
screws on the back of the
fixed mirror. Select a ref-
erence line on the milli-
meter scale and line it up
with the boundary be-
tween a maxima and a
minima (see Figure 9).
Move the micrometer dial
until the boundary between the next maximum and
minimum reaches the same position as the original
boundary. (The fringe pattern should look the same as
in the original position.) One fringe has gone by.
3.
When turning the micrometer dial to count fringes, al-
ways turn it one complete revolution before you start
counting, then continue turning it in the same direction
while counting. This will almost entirely eliminate er-
rors due to backlash in the micrometer movement.
Backlash is a slight slippage that always occurs when
you reverse the direction of motion in a mechanical in-
strument. (Turning the micrometer dial clockwise
moves the movable mirror toward the right. Turning
the dial counter-clockwise moves the mirror toward the
left.) The PASCO micrometer is designed to minimize
backlash. However, by using the technique described
above, you can practically eliminate all effects of back-
lash in your measurements.
4.
Always take several readings and average them for
greater accuracy.