Diamond Products CG-2 Mini Groover User Manual
Page 20
when operating the saw, the magnetic sensor
needs to be adjusted or replaced.
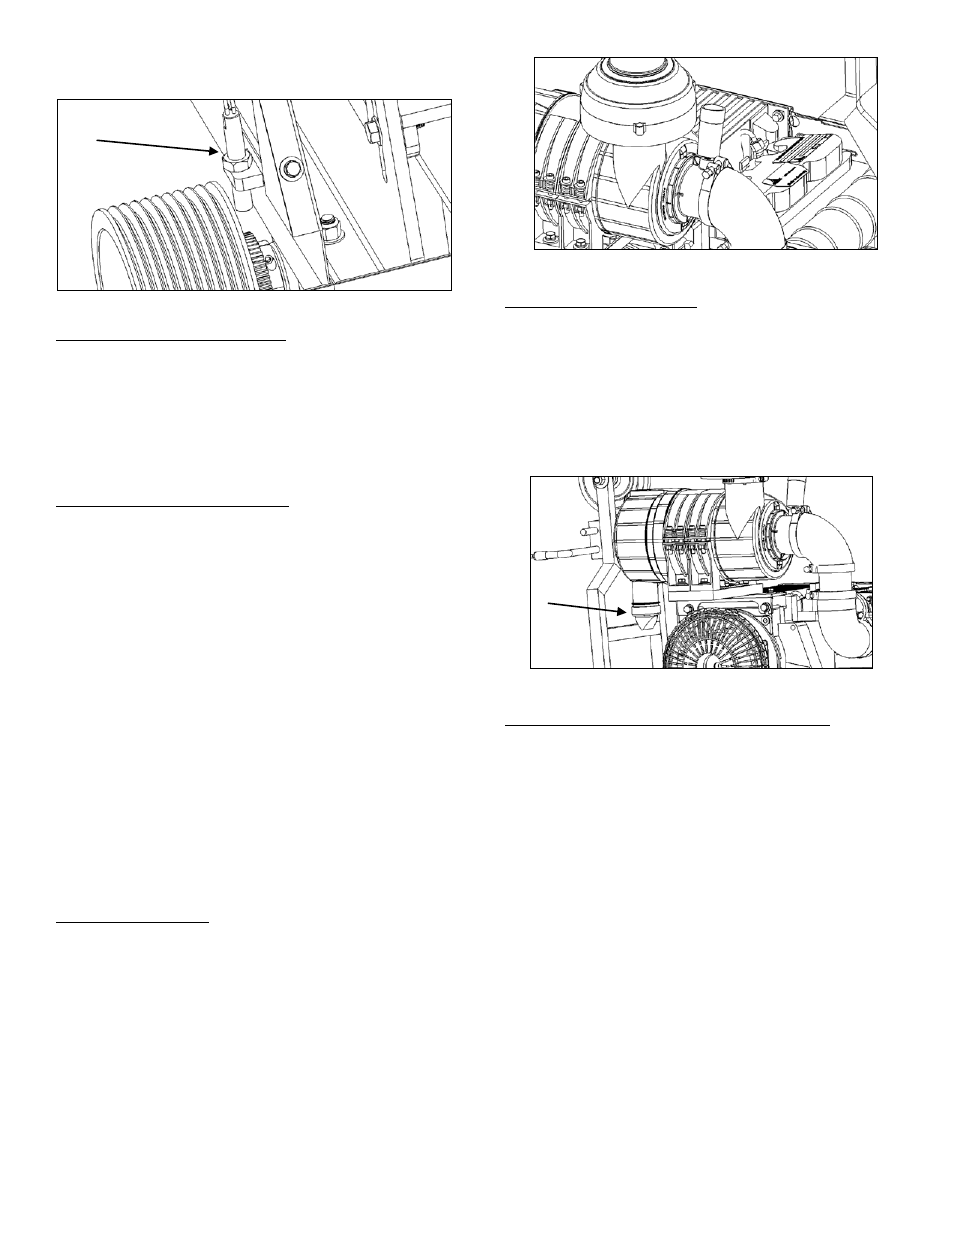
Magnetic Sensor Located Behind Blade Shaft Sheave
Adjusting the Magnetic Sensor
1. Loosen the jam nut on the magnetic sensor.
2. Turn the magnetic sensor clockwise until it
bottoms out (stops).
3. Turn the sensor counterclockwise exactly
one half turn.
4. Retighten the jam nut down the frame base
to secure sensor.
Replacing the Magnetic Sensor
1. Disconnect the battery.
2. Disconnect the magnetic sensors two wire
connector.
3. Loosen the jam nut on the sensor so it sits
near the upper part of the sensor, and turn
the sensor counter clockwise to remove it
from the base frame.
4. Place new sensor into the threaded hole
and tight sensor till it bottoms out (stops).
5. Turn the sensor one half turn
counterclockwise and secure the jam nut on
sensor to frame base.
6. Reconnect the battery.
Air Cleaner
Refer to the Deutz Operation manual as the
primary source for information on the air cleaner.
Restriction Indicator
Service the air cleaner as determined by the
restriction indicator to prevent unnecessary
damage to the engine, which decreases
maintenance cost and prolongs the life the engine.
• The restriction indicator service bar turns
red when the air cleaner requires service.
The chart on the restriction indicator
identifies the current restriction level in the
air cleaner.
• Press the reset button on the restriction
indicator to reset the unit after the air
cleaner has been serviced.
Restriction Indicator
Rubber Dust Ejector Boot
The rubber dust ejector boot valve ejects debris
and water when operating the saw. Occasionally
inspect and clean the ejector boot.
• Press inward on both sides of the ejector
boot near the valve opening to release
debris and water, and clean the valve
opening when necessary.
Rubber Dust Ejector Boot
Cleaning/Replacing the outer Primary Filter
The air filter contains a dry outer primary filter.
Service filter according to the restriction indicator
bar, and replace the filter annually.
DO NOT over-service or under-service the filter.
DO NOT operate saw without filter installed.
1. Pull the tab out on the air cleaners end
cover.
2. Turn the end cap clockwise to unlock the
cover, and pull the end cover away from the
air cleaner.
3. Pull out the primary filter from the air
cleaner and inspect it condition.
4. Move away from the saw and clean the
filter form the inside out using dry
compressed air (no more than 70 PSI) and
wash lightly with water to remove all debris
from filter.
5. Allow filter to completely dry before re-
installation.
18