Acer Network Device Altos R520 User Manual
Page 72
3 System upgrade
62
5
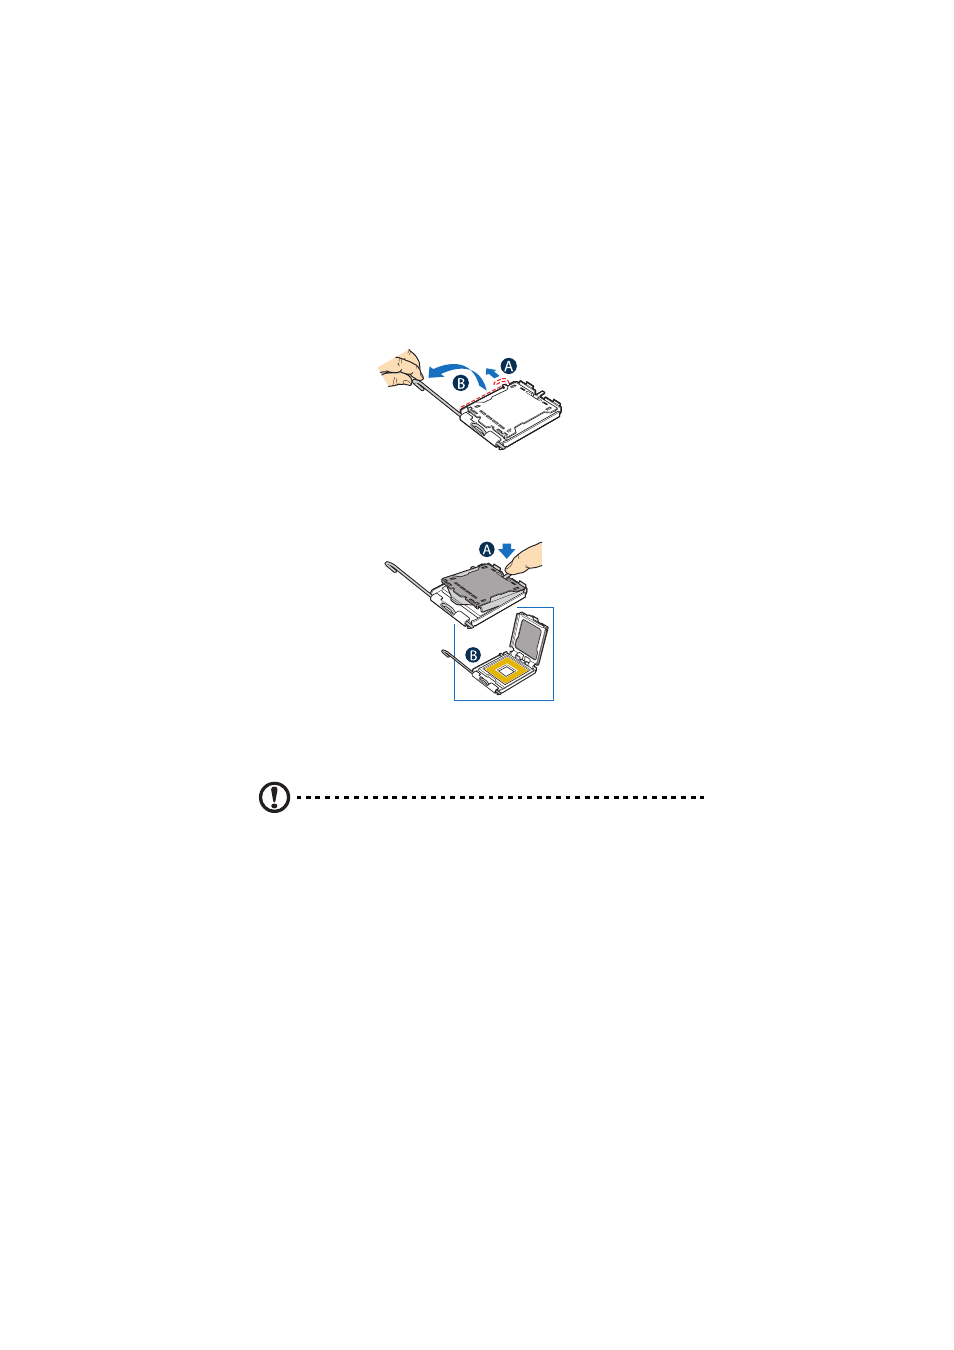
Push the socket retainer lever handle down and away from the
socket to release it (A), then pull the lever to a fully open, upright
position (B).
6
Push the rear tab with your finger tip to bring the front end of the
load plate up slightly (A).
7
Lift the load plate (B).
8
Remove the CPU from its protective packaging.
9
Position the CPU over the socket (A), making sure the CPU cutouts
match the socket notches, then insert the CPU into the socket (B).
Caution! The underside of the CPU has components that may
damage the socket pins if installed improperly. CPU must align
correctly with socket opening before installation. DO NOT drop
processor into the socket.