Calling (joining) a channel, 6 calling (joining) a channel – Clear-Com Concert for Newsroom User Manual
Page 26
26
Concert ActiveX Client for ENPS User Guide
2. If your invitation is:
Accepted by the contact, or you enabled Automatic Answering
(see 1.5 Configuring the General settings), the call/conference is established.
Not picked up after one minute, the attempt to connect is terminated. The
following message is displayed in the PC Task Bar: [Name of Contact] did not
answer your call.
If your invitation was rejected by the contact, the following message is displayed
in the PC Task Bar: [Name of Contact] rejected your call.
To acknowledge and clear a message, click the check-mark icon [
].
2.6 Calling (joining) a channel
A channel represents a potential connection with a hardware port on the PC, to which an audio device
(such as a public address (PA) system, program feed or additional intercom system) is connected.
Note:
You can only speak on channels to which an appropriate device is attached. (For example, you can
speak to [
] another intercom system, but you can only listen [
] to a program feed.)
For more information about configuring channels, see [Interfaces].
To call (join) a channel:
1. Click the Channels tab [
]. The Channels tab is visible if your system administrator
has granted you access to one or more channels.
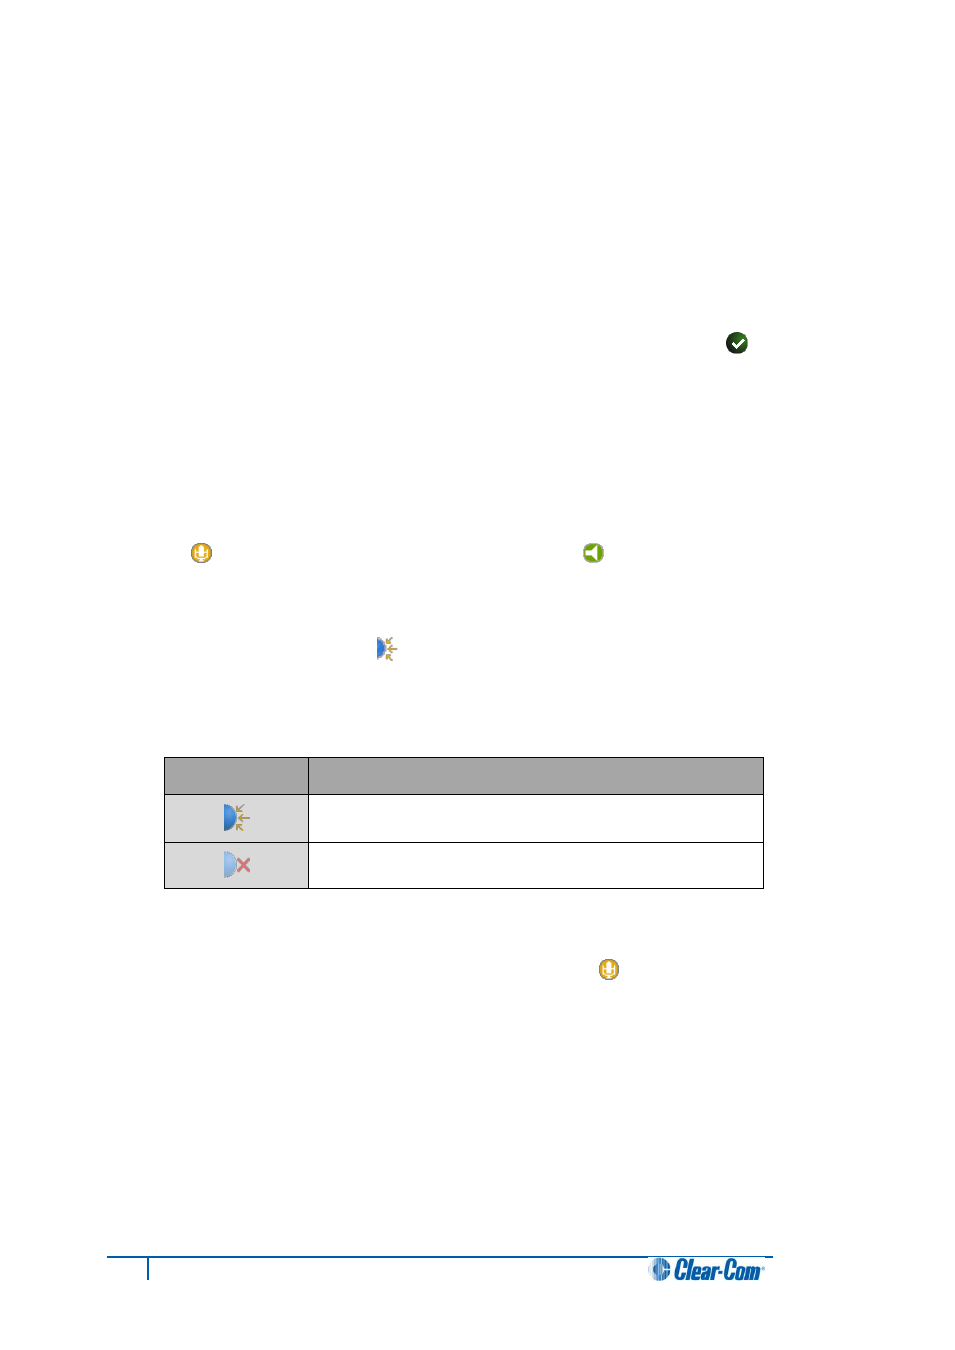
2. Check that the channel is online (available to call/join). The status of a channel is
indicated by the icon to the left of its name:
Icon
Definition
Channel is online.
Channel is offline.
Table 11: Channel online/offline icons
3. To call (join), do any of the following:
Select the channel and then click the mic icon [
].
Drag-and-drop the channel into the Concert call pane (right-hand pane).
Double-click the channel name.
The connection is made immediately (no ringing).