Burkert Type 2105 User Manual
Page 13
13
Installation
8.3.3
installation of the actuator (welded body)
Installation for actuator with control function a:
notiCe!
damage to the diaphragm or the seat contour!
▶ When installing the actuator, ensure that the valve is in open
position.
→
Control function A pressurize the pilot air port 1 with compressed
air (5 bar): valve opens.
→
Lightly cross-tighten the body screws until the diaphragm is
between the body and actuator. do not tighten the screws yet.
→
Actuate the diaphragm valve twice.
→
Without pressurization tighten the body screws to the permitted
tightening torque (see following table “Tab. 1”).
Installation for actuator with control functions B and I:
→
Lightly cross-tighten the body screws without pressurization until
the diaphragm is between the body and actuator.
do not tighten the screws yet.
→
Pressurize pilot air port 1 of the actuator with compressed air
(5 bar).
→
Actuate the diaphragm valve twice.
→
Tighten the body screws to the permitted tightening torque (see
“Tab. 1”).
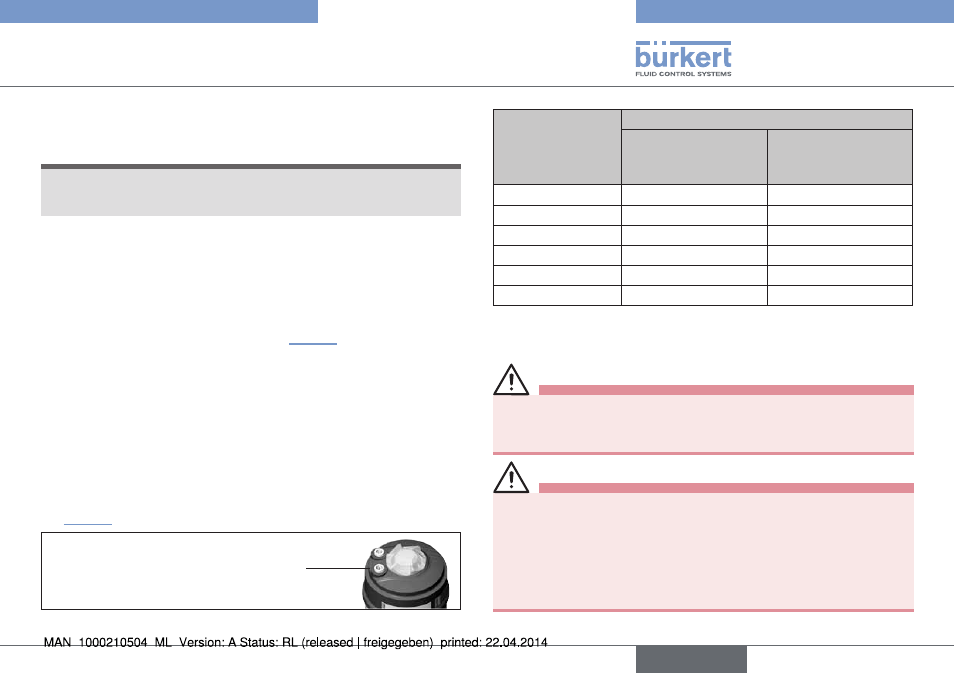
1
Pilot air port
CFA, CFB, CFI
Fig. 9:
Pilot air port
orifice dn
(diaphragm size)
[mm]
tightening torques for diaphragms [nm]
epdm/fkm
ptfe / advanced
ptfe / laminated
advanced ptfe
8
2.5
2.5
15
3.5
4
20
4
4.5
25
5
6
40
8
10
50
12
15
Tab. 1: Tightening torques for diaphragms
8.4 pneumatic connection
Danger!
danger – high pressure in the equipment!
▶ Before loosening the lines and valves, turn off the pressure and
vent the lines.
Warning!
risk of injury from unsuitable connection hoses!
Hoses which cannot withstand the pressure and temperature range
may result in hazardous situations.
▶ Use only hoses which are authorised for the indicated pressure
and temperature range.
▶ Observe the data sheet specifications from the hose manufacturers.
english
Type 2103, 2104, 2105