Basic setup, Pre-programmed method – NXG Technology NX-RM610 User Manual
Page 7
Basic Setup
You can start setting up your NX-RM610 using either the
Pre-Programmed Method or the Learning Method. However, all
the buttons of the NX-RM610 are setup at once with the
Pre-Programmed Method, so it is usually faster than the
one-button-at-a-time Learning Method.
Pre-Programmed Method
1
Power on the A/V component you wish to setup, so that you can
test codes by sending power off commands.
2
Refer to the pre-programmed code tables on pages 37 - 58 and write
down the code numbers listed for your A/V component. The code
numbers are listed by categories of devices, then by brand. See page
37 for a category list. Code tables with model numbers are available
at www.nxgtech.com in the NX-RM610 area.
3
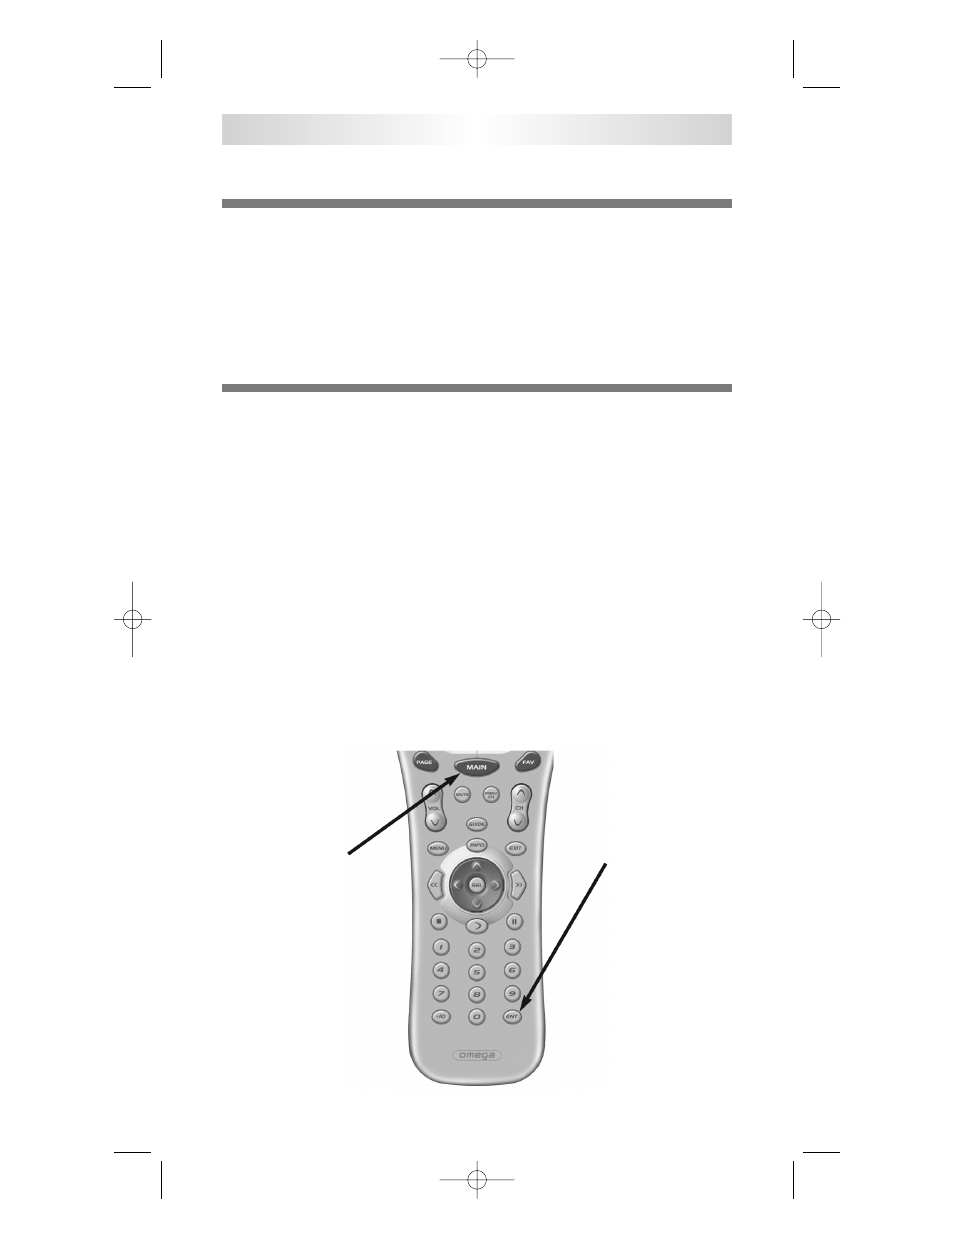
Press and hold both the MAIN and ENT (Enter) buttons for
approximately three seconds. The top of the display will show
”SETUP”. You are in SETUP mode now.
Note: You have 30 seconds to perform a step while you are in
SETUP mode. If you don’t press a button within that time, the
NX-RM610 will time out and return to normal operation.
NX-RM610
5
MAIN
Button
ENT
Button
NX-RM610_Remote_Manual 10/6/08 4:04 PM Page 7