Enabling auto-input switching, Ed active input. (see, Sw hdmi lc • installation 8 – Extron Electronics SW HDMI LC User Guide User Manual
Page 14
SW HDMI LC • Installation
8
Enabling Auto-input Switching
You can set up the SW HDMI LC to automatically select the active, connected input based
on detection of an active video signal. If two or more inputs are active, the input with the
highest number is selected (for example, input 4 on an SW4 HDMI LC switcher). When
auto-input switching is in effect, the green Auto Switch LED on the front panel lights and
the front panel input selection buttons are disabled.
To enable auto-input switching,
1.
Cut a small piece of wire (stripped) to use as a jumper.
2.
Insert the ends of the wire into slots 4 and 5 of the provided 5-pole captive
screw plug, connecting pins 4 and 5 together.
3.
Use a small screwdriver to tighten the two screws above pin slots 4 and 5
of the plug, so that the jumper wire ends remain securely in place. (See the
illustration at right.)
4.
Insert the plug into the 5-pole Auto-SW captive screw connector on the
rear panel.
NOTE: Auto-input switching utilizes the +5 V signal (pin 18) to
detect an active source. (See
, earlier in this section.) This +5 V signal
should be present only when the input source is powered on.
However, some sources may also provide this signal while in
standby mode.
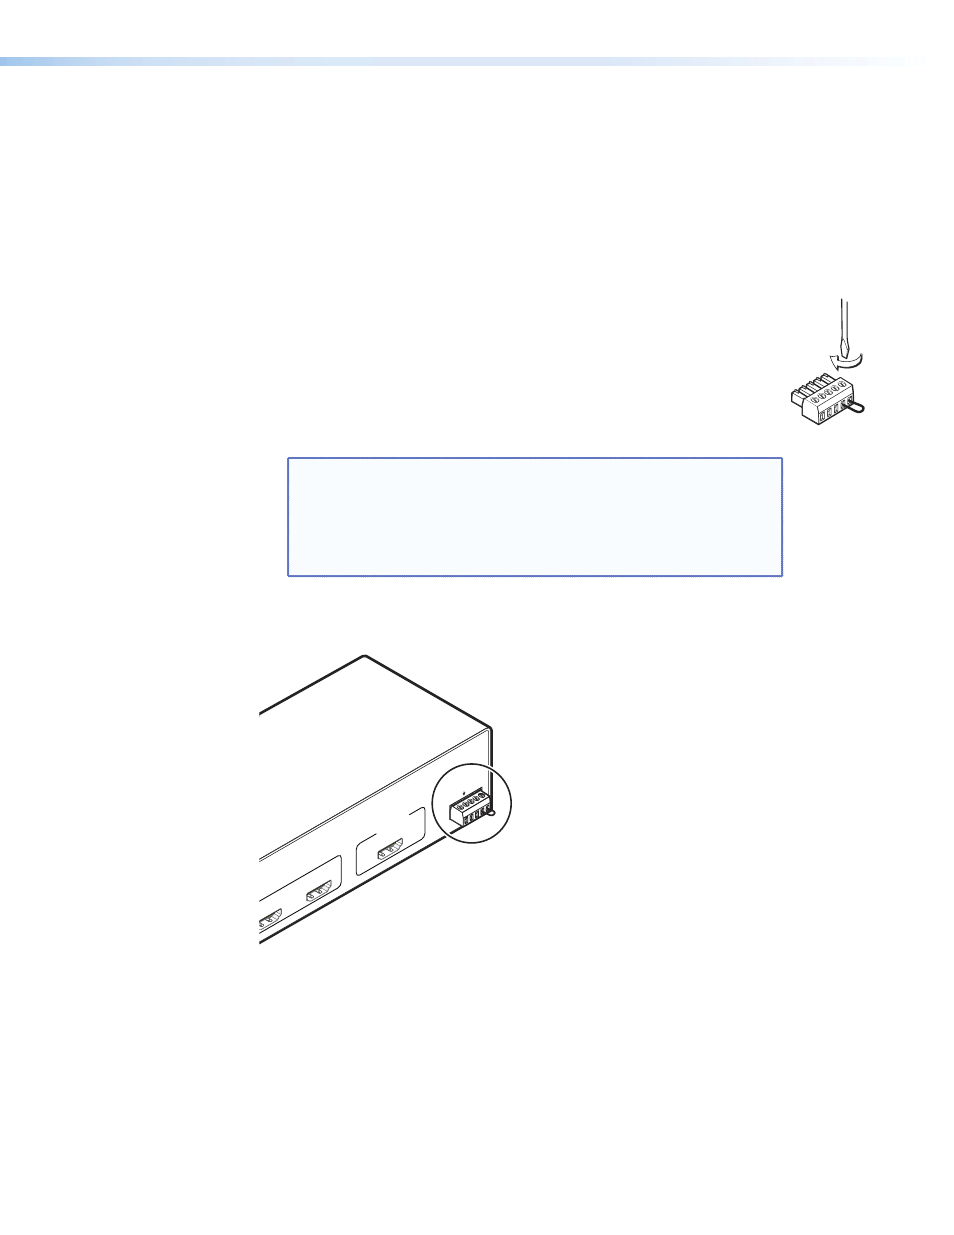
The figure below shows an SW4 HDMI LC with a jumper connecting pins 4 and 5 to
enable auto-input switching.
0.5A
MA
X
POWE
R
12V
INP
UTS
1
2
3
4
OU
TP
UT
Tx
Rx
REMO
TE /A
UT
O-SW
AU
TO
SW
SW4 HDMI LC
Figure 7.
Remote/Auto-SW Connector with Jumper
Auto-input switching remains in effect as long as the jumper wire connects the two pins
and the 5-pin captive screw plug is attached to the Remote/Auto-SW connector.