Chart 1 – Speedhut 3-3_8 inch, 4 inch, & 4-1_2 inch Quad_Dual Gauge User Manual
Page 2
Peak recall memory
Press and hold gauge button down and gauge needle pointers will move between low and high peak on all gauges (except fuel level). Gauge will
continue toggling between low and high peaks as long as button is pressed.
Note: low peak becomes active once gauge needle travels up at least 1/8 scale initially. Once this condition occurs low peak becomes active and will
record the lowest reading the gauge achieves.
To retain peak reading (NOT CLEAR IT)
While showing peak reading, release button, wait 5 seconds, gauge will return to normal and retain the peak reading.
To clear peak reading
While showing peak reading, release button, and immediately press and release again within 5 seconds. LED will flash 2 times the pointers will travel to
zero to indicate peak has been cleared
Setting LED brightness both day and night.
At any time while gauge is running, press and release button to show current LEDs brightness. After a couple second delay, if button is not pressed this
current setting is re-saved. LEDs will blink to indicate setting has been saved. To change LEDs brightness press and release the button to advance to next
higher brightness level. LEDs brightness will loop through 5 possible brightness settings including off as you press and release the button. At acceptable
brightness level do not press button for couple second delay. LEDs will blink to indicate setting has been saved. Note: Setting the brightness level when
gauge lighting is on, will set the night brightness level. Setting the brightness level when gauge lighting is off will set the day brightness level.
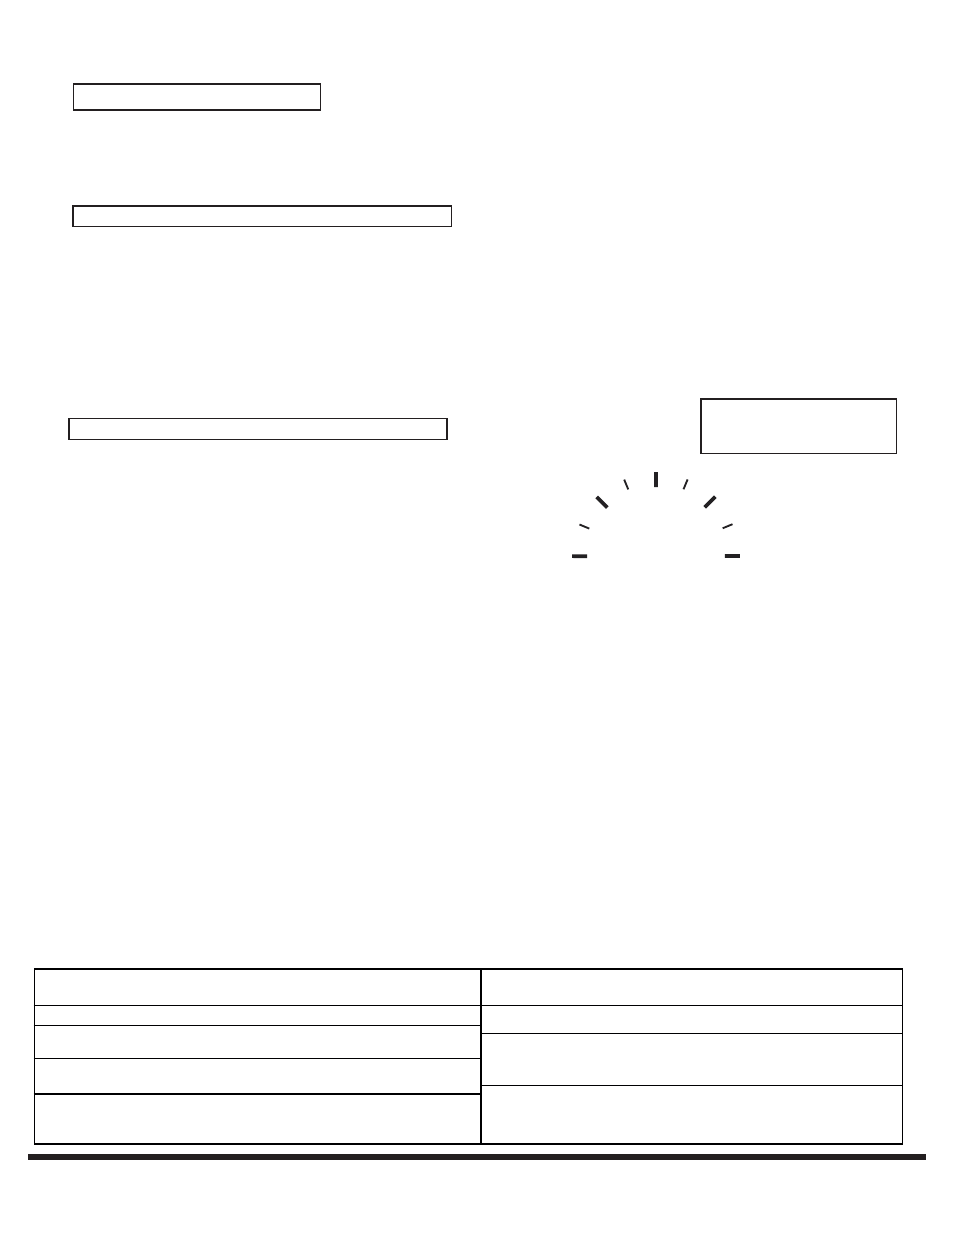
Setting Fuel Level
FUEL
LEVEL
E
1/4
1/2
3/4
F
(240-33 ohms)
(70-10 ohms)
(0-30 ohms)
(0-90 ohms) (10-180 ohms)
(90-0 ohms)
(manual calibration)
(18-158 ohms)
Your quad gauge can be manually calibrated to YOUR existing
fuel tank sender or calibrated by selecting one of the preset
calibration curves available. To enter fuel level calibration follow
these steps below.
1. While gauge is powered up, press and hold button down for
10-12 seconds. (you will see gauge enter peak recall memory
mode during this time). After 10-12 seconds, with button
pressed, gauge will light up the fuel level LED ONLY.
2. Release button and momentary press/release button to toggle between available resistive ohm options. (see chart above). Pointer will
travel to each available setting with quick button press. At desired ohm range press and hold button down for 2 seconds to select that range.
3. LED will blink 2 times to indicate the setting is saved. Gauge will exit menu and return to normal operation.
*** Manual calibration***
If your sensor is different from the preset ranges you can manually calibrate the gauge. Follow steps above and select the ‘F’ tank tick mark to
enter manual calibration.
1. Follow steps 1 & 2 above and select (manual calibration ‘F’ tank).
2. Release button (pointer will oscillate between ‘E’ and ‘F’.
3. When pointer is at ‘F’ or ‘E’ - press and release button to calibr ate that condition. For example: If the tank was drained with no gas you
would select the Empty position ‘E’ on the dial.
4. LED will blink 2 times to indicate that end point is set and the pointer will start toggling again between ‘E’ and ‘F’. Repeat proceedure to set
OTHER end point.
Note: until both empty and full points are calibrated the gauge will NOT read correctly. Both end points must be set before
gauge will read correctly.
5. After calibration of both end points are completed , turn gauge power off and back on to exit calibration.
You can reset gauge calibration as many times as needed, repeat procedure above.
Note: make sure fuel level sender is hooked up to gauge and is at the appropriate empty or full state you wish to calibrate.
WARRANTY - Speedhut inc. warrants to the consumer for a period of 5 years from the date of purchase that the product will be free from defects in materials or workmanship.
Speedhut warrants to the consumer for a "LIFE-TIME" that the gauge circuit board will be free from defects in materials or workmanship. Please contact Speedhut service dept.
If you have a problem with this gauge. [email protected]
(”empty”-”full” ohms)
See CHART 1 for
factory ohm ranges
Factory default setting is
240 Ohms Empty and 33 ohms Full.
no calibration necessary on senders with
this output.
Common Factory Ohm Ranges
Empty
Full
Vehicle
Application
Empty
Full
Vehicle
Application
0 ohms
30 ohms
Most pre-'65 GM
0 ohms
90 ohms
Most GM 65-
present
16 ohms
158 ohms
Most '87-present
Fords
73 ohms
8-12 ohms
Most Fords before
'87 and most
Chrysler
240 ohms
33 ohms
Use with 3262
sender
10 ohms
70 ohms
Ford Bi-Metalic
Gauges (pre 1987
F-Series Trucks)
15 ohms
160 ohms
Ford Magnetic
Gauges (1987 and
later F-Series
Trucks)
CHART 1: