Installation of inter-axle diff to carrier, Yoke removal & seal replacement, Installation of inter-axle differnetial to carrier – Spicer Tandem Drive Axles Service Manual J340-S, J380-S, J400-S, W460-S User Manual
Page 32: Yoke removal and seal replacement
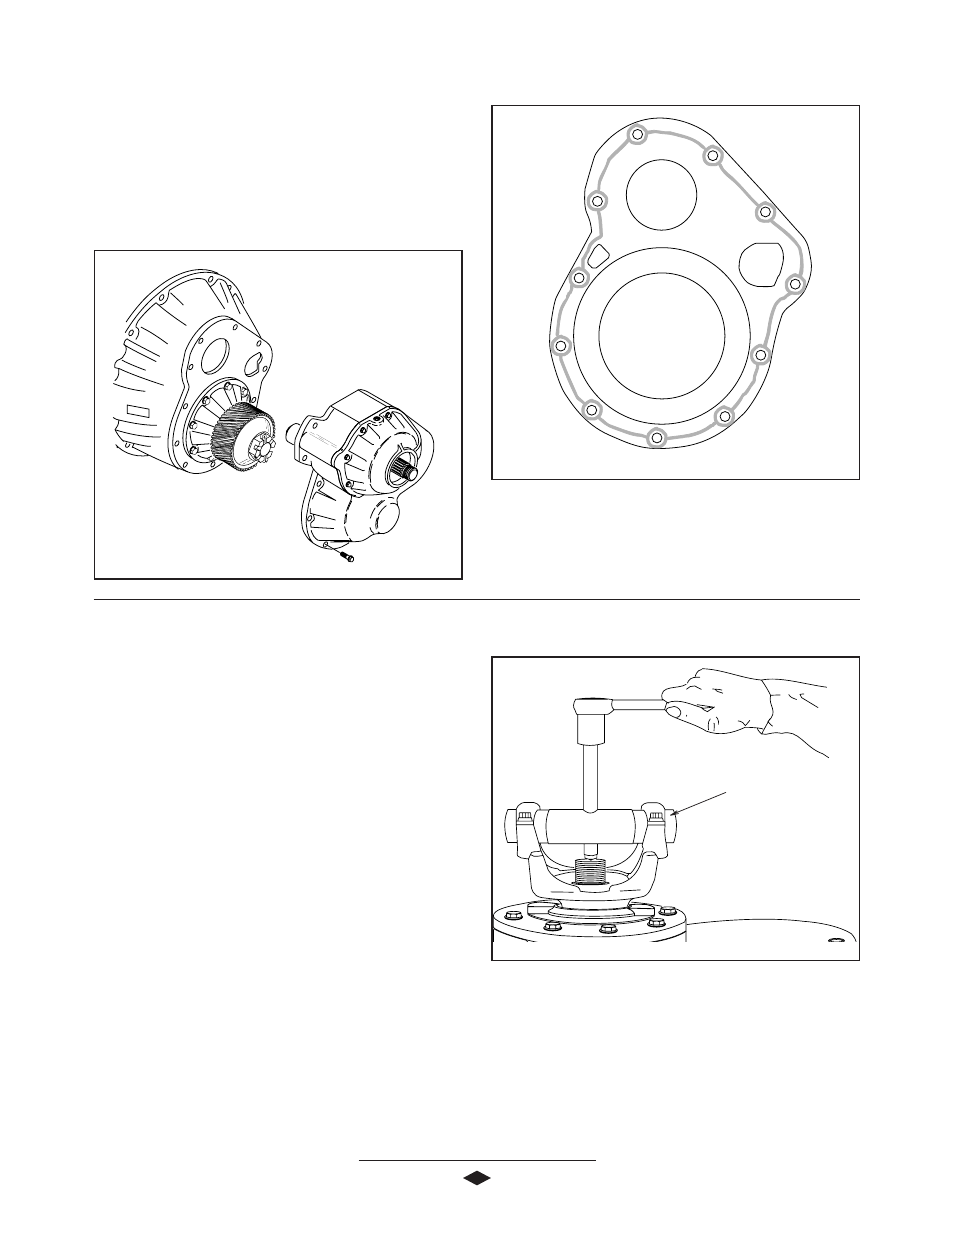
INSTALLATION OF INTER-AXLE DIFFERNETIAL TO CARRIER
1 . Thoroughly clean mating face of carrier and apply an 1/8
inch bead of Loctite #518 Gasket Eliminator. See Figure
21 for correct bead pattern.
2 . Align inter-axle differential case with carrier housing and
insert bolts and torque to 160-180 Lb-Ft (217-244 N-m).
FFFFFigur
igur
igur
igur
igure 2
e 2
e 2
e 2
e 21
1
1
1
1
#518 Gasket Eliminator Bead Pattern
Yoke Remover
Figure 22
Figure 22
Figure 22
Figure 22
Figure 22
YOKE REMOVAL AND SEAL REPLACEMENT
1 . Disconnect drive shaft at the rear U-joint.
2 . Remove yoke nut.
NOTE: Use of torque multiplier is recommended as torque
specification on input flanged hex nut is 900-1,200 Lb-Ft
(1,220-1,627 N-m).
3 . Remove end yoke using the yoke remover tool. See
Figure 22.
4 . Remove oil seal.
5 . Inspect end yoke seal surface for grooves. If grooves can
be detected with fingernail, it should be repaired with a
CR SPEEDI-SLEEVE
®
or replaced.
6 . Clean and dry threads on input/ouput shaft or
pinion. Install oil seal using proper tools.
7. Install end yoke using yoke installer.
NOTE: Spicer recommends that new flanged hex nuts be used.
8 . Apply Loctite #680 (green) to threads.
9 . Use torque multiplier and torque flanged hex nut to 900-
1,200 Lb-Ft (1,220-1,627 N-m).
Yoke Removal and Seal Replacement Complete
30