Removal of carrier, Removal of differential carrier from axle housing – Spicer Tandem Drive Axles Service Manual J340-S, J380-S, J400-S, W460-S User Manual
Page 10
REMOVAL OF DIFFERENTIAL CARRIER FROM AXLE HOUSING
certain carrier is balanced properly on jack, and
remove top two carrier-to-housing mounting bolts.
Remove differential carrier assembly from the axle
housing.
12. Remove carrier assembly from under the vehicle.
13. Mount carrier assembly in a suitable rebuild stand.
(Refer to Recommended Service Tools, Pgs. 35-36).
Differential Carrier Removal Complete
FORWARD REAR CARRIER
(WITH POWER DIVIDER)
NOTE: Steam clean axle assembly.
1 . Block wheels.
2 . Remove axle housing drain plug and drain lubricant.
3 . Disconnect drive shafts from input and output shaft
end yokes.
NOTE: If end yoke and/or seal is to be replaced, loosen
flanged hex nut at this time.
4 . Remove axle shaft flange nuts.
5 . Hold a large brass drift or a brass hammer against
the center of the axle shaft flange. Strike the drift
with sharp blows from a large hammer or sledge
until the axle shaft separates from the hub.
CAUTION: Do not strike the flange directly with a steel
hammer or sledge. This may crack and splinter material,
possibly causing serious or fatal injury. Do not pry or chisel
axle flange away from hub or damage to sealing surfaces
could occur.
6 . Remove axle shafts.
7. Disconnect air line from power divider control.
8 . Remove output shaft bearing retainer bolts. Use a
soft hammer to loosen bearing retainer from axle
housing. Remove bearing cage and output shaft
from axle housing.
9 . Support the differential carrier assembly on a roller
jack. Secure as necessary to prevent it from
falling off the jack when removed from the housing.
10 .Use a breaker bar to loosen the differential carrier-
to-housing mounting bolts. Remove all bolts except
top two. These two bolts will prevent the carrier
assembly from falling.
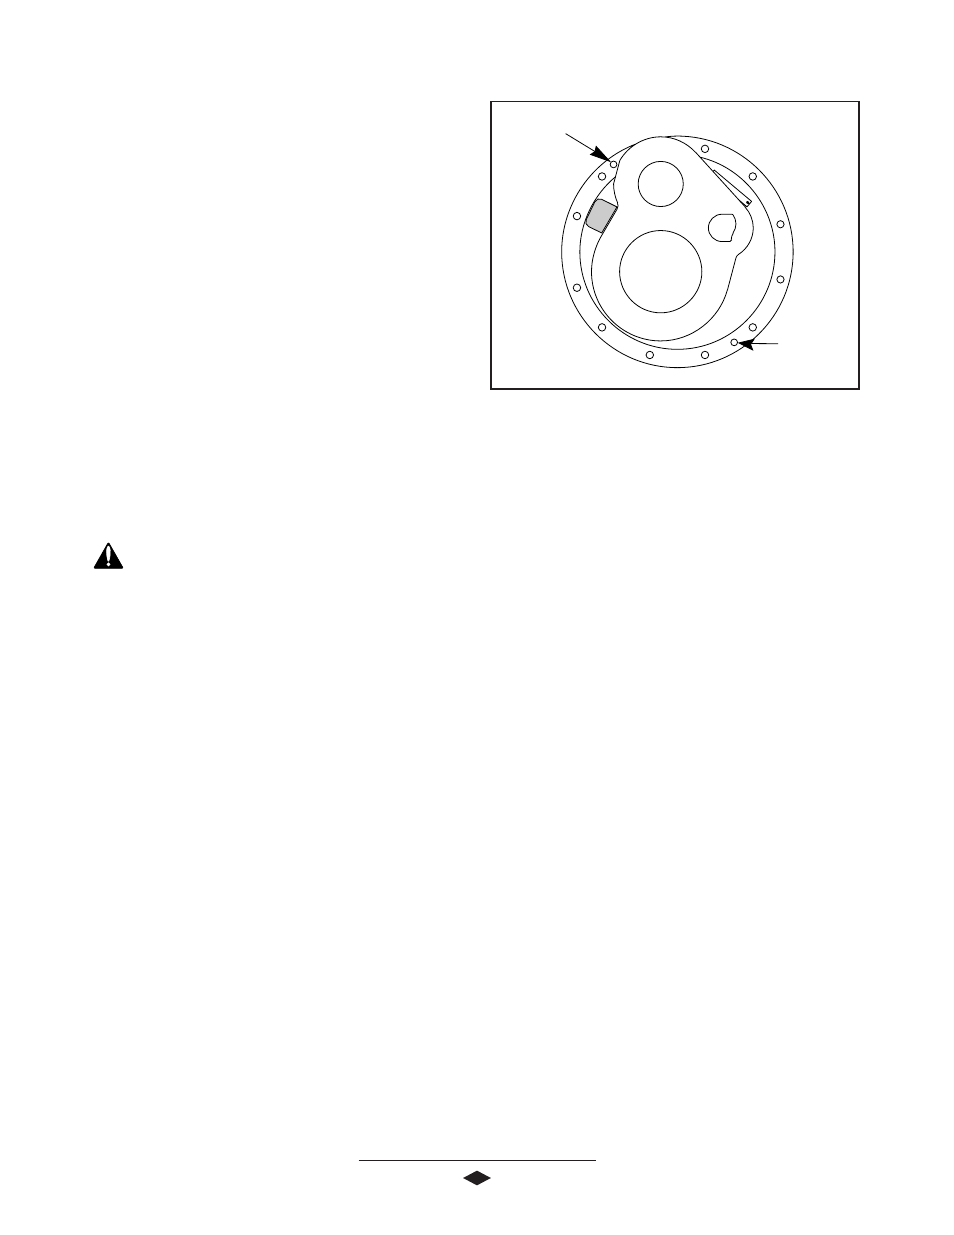
NOTE: Removal holes are provided in the areas shown in the
illustration. See Figure 1.
11. Separate differential carrier from the housing. Be
REAR REAR CARRIER
NOTE: Steam clean axle assembly.
1 . Block wheels.
2 . Remove axle housing drain plug and drain lubricant.
3 . Disconnect drive shaft at rear U-joint.
NOTE: If end yoke and/or seal is to be replaced, loosen
flanged hex nut at this time.
4 . Remove axle shaft flange nuts.
5 . Hold a large brass drift or a brass hammer against
the center of the axle shaft flange. Strike the drift
with sharp blows from a large hammer or sledge
until the axle shaft separates from the hub.
6 . Remove axle shafts.
8
FFFFFigur
igur
igur
igur
igure 1
e 1
e 1
e 1
e 1
Threaded
Removal Hole
Threaded
Removal Hole