Video and audio selection, Audio monitoring selection, Examples – EVS Xedio Dispatcher Version 4.02 - April 2012 User Manual User Manual
Page 79
Xedio Dispatcher – Version 4.2 – User Manual
EVS Broadcast Equipment – April 2012
Issue 4.2.B
69
Video and Audio Selection
The channel selection (camera and triangle buttons) allows you to select the video
and audio channels you want to include in the clip/sub-clip you will add to the
storyboard.
Clicking on the Video button will remove the video from the Player window and
disable it so that the clip made has no video: The displayed button will turn to
white.
Clicking on the left or right triangle of an audio stereo track will disable
respectively the left or right channel of the corresponding audio track: The
displayed button will turn to white.
The table summarizes how the buttons look like depending on the selection:
Enabled
Disabled
Video
Audio
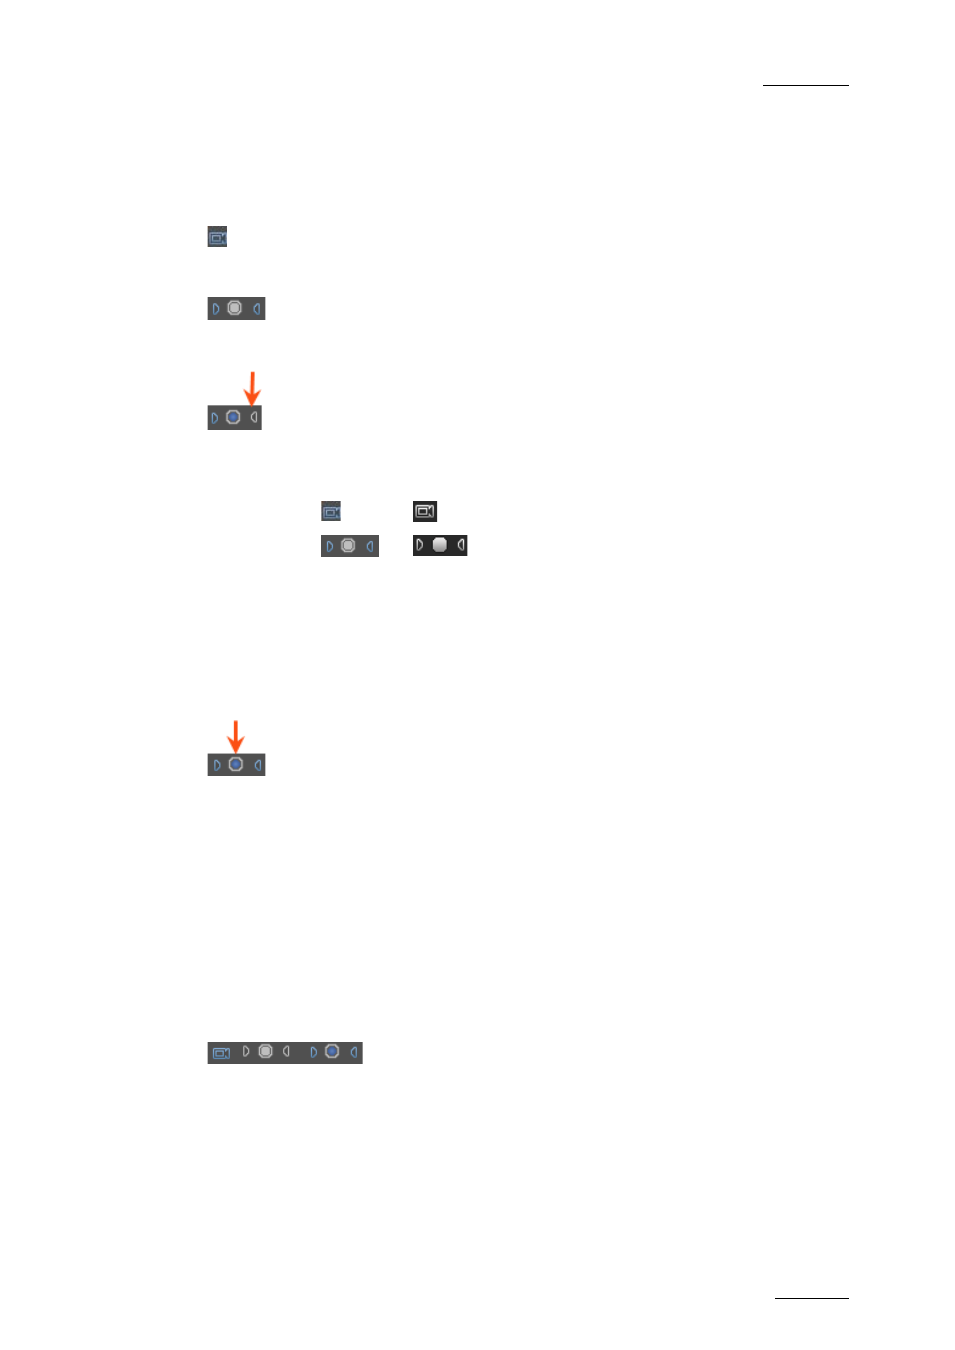
Audio Monitoring Selection
The radio buttons displayed between each pair of stereo audio channel buttons
allow you to select which audio track you want to monitor when you play the
loaded clip in the Clip Player.
Audio meters located on the right side of the Video Display represent the
monitored track.
Db values are displayed on each side. They correspond to the values defined in
Parameters > Parameter Profiles > General > Vumeter for the top level, the
saturation level, the warning level and the bottom level. Values for 0, -2, -4, -8
and -16 are shown as well if they do not overwrite the database values.
Examples
If a sub-clip has to be created without audio for the channels 1 and 2, disable the
2 buttons of those channels:
Clicking on the left audio button will remove the left audio component from the
source so that the clip made has no left audio channel. In this case, the right
channel will be output on the left and right.
Clicking in addition on the right audio button will remove the right audio
component so that the clip made has no right audio channel.