2 wall-mounting instructions, Figure 70 wall-mounting example: es-315 – ZyXEL Communications ES-315 User Manual
Page 134
Chapter 22 Product Specifications
ES-315/ES-315-F User’s Guide
134
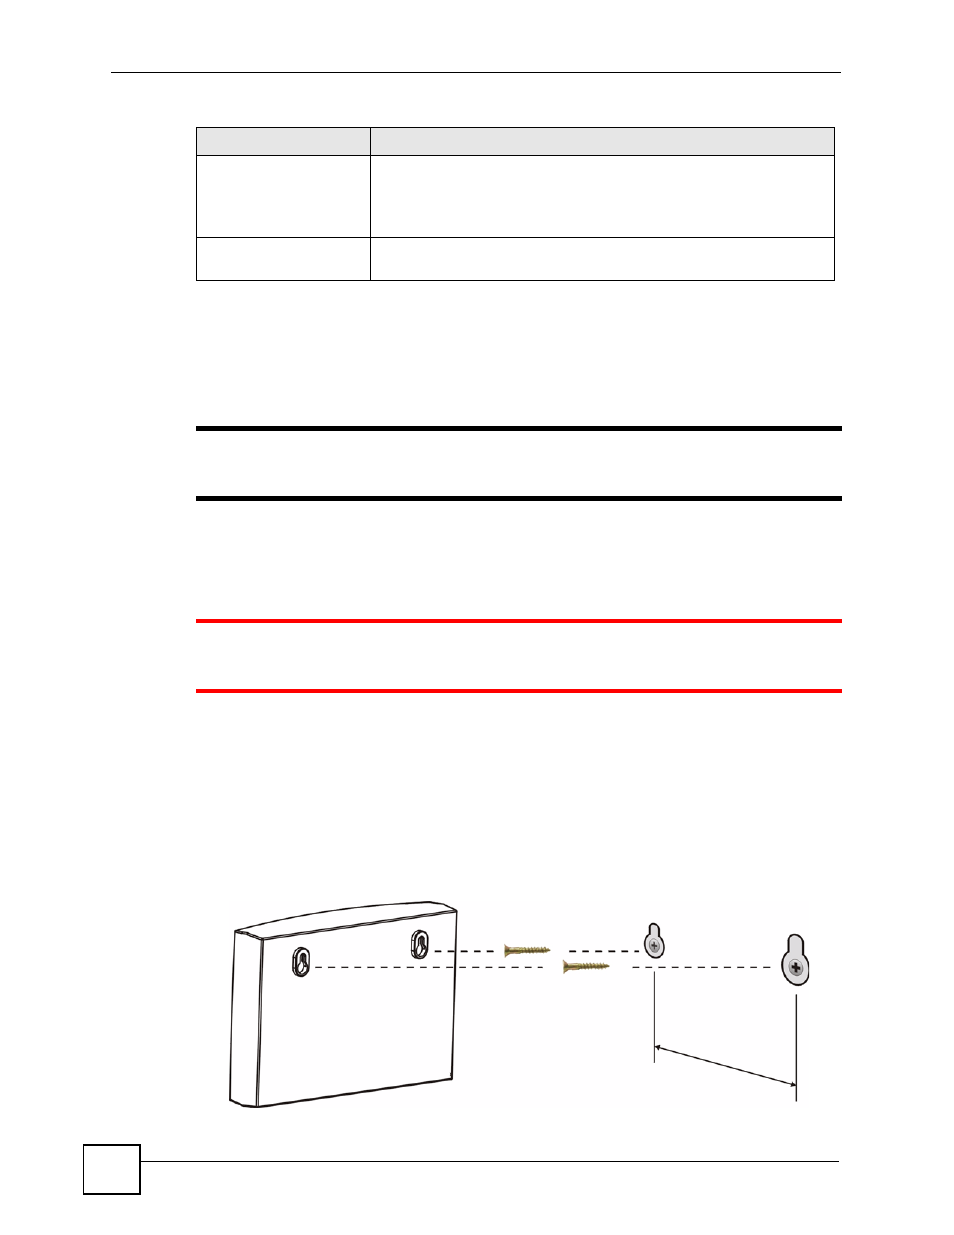
22.2 Wall-mounting Instructions
Complete the following steps to hang your Switch on a wall.
"
See
for the size of screws to use and how far apart to
place them.
1 Select a position free of obstructions on a sturdy wall.
2 Drill two holes for the screws.
1
Be careful to avoid damaging pipes or cables located inside the wall when
drilling holes for the screws.
3 Do not insert the screws all the way into the wall. Leave a small gap of about 0.5 cm
between the heads of the screws and the wall.
4 Make sure the screws are snugly fastened to the wall. They need to hold the weight of
the Switch with the connection cables.
5 Align the holes on the back of the Switch with the screws on the wall. Hang the Switch
on the screws.
Figure 70 Wall-mounting Example: ES-315
Safety
UL 60950-1
CSA 60950-1
EN 60950-1
IEC 60950-1
EMC
FCC Part 15 (Class B)
CE EMC (Class B)
Table 49 Standards Supported (continued)
STANDARD
DESCRIPTION