1 rule setup screen, Figure 59 nat: port forwarding: rule setup, Table 43 nat: port forwarding – ZyXEL Communications 802.11g Wireless Firewall Router P-320W User Manual
Page 105
P-320W User’s Guide
Chapter 8 Network Address Translation (NAT)
105
The following table describes the labels in this screen.
Table 43 NAT: Port Forwarding
LABEL
DESCRIPTION
Default Server
In addition to the servers for specified services, NAT supports a default server. A
default server receives packets from ports that are not specified in this screen.
If you do not assign a Default Server IP Address, the Prestige discards all packets
received for ports that are not specified in this screen or remote management.
#
Number of an individual SUA server entry.
Active
This icon is turned on when the port forwarding entry is enabled.
Click the edit icon under Modify and select the Active checkbox in the Rule Setup
screen to enable the port forwarding entry.
Clear the checkbox to disable forwarding of these ports to an inside server without
having to delete the entry.
Name
This field displays a name to identify this port-forwarding rule.
Start Port
This field displays a start port number.
End Port
This field displays an end port number. If the same port number as the Start Port is
displayed then a single port is forwarded. If a different number to the Start Port
number is displayed then a range of ports are forwarded.
Server IP Address This field displays the inside IP address of the server.
Modify
Click the edit icon to open the address mapping rule screen. Modify an existing rule
or create a new rule in the Rule Setup screen.
Click the delete icon to remove an address mapping rule.
Apply
Click Apply to save your changes back to the Prestige.
Reset
Click Reset to begin configuring this screen afresh.
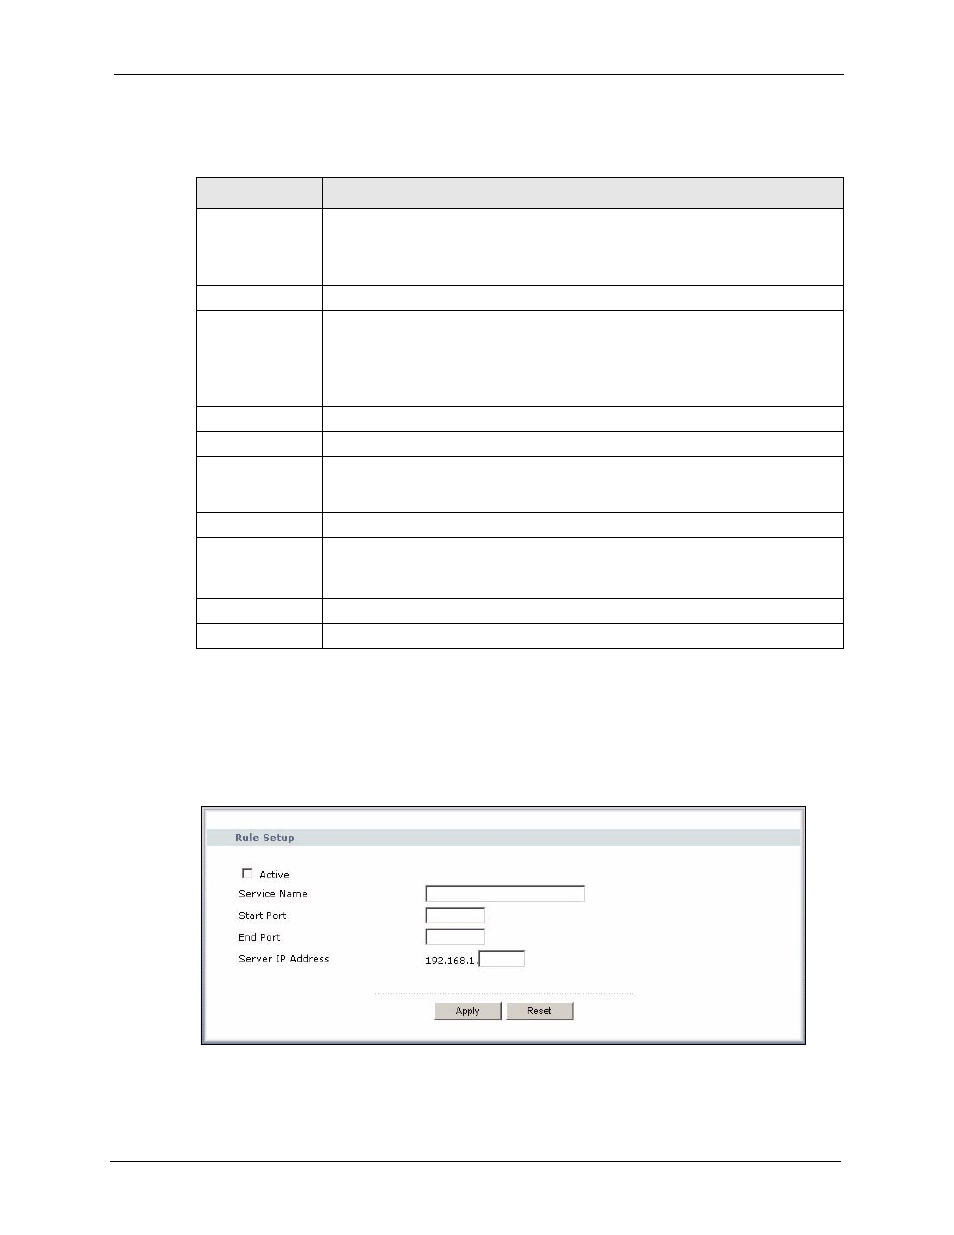
8.3.1 Rule Setup Screen
To edit a port forwarding rule, click the edit icon under Modify. The following screen
displays.
Figure 59 NAT: Port Forwarding: Rule Setup