Paper handling] tab, P.34 “[paper handling] tab – Toshiba 255 User Manual
Page 36
2 PRINTING FROM WINDOWS
34 Setting Up Print Options
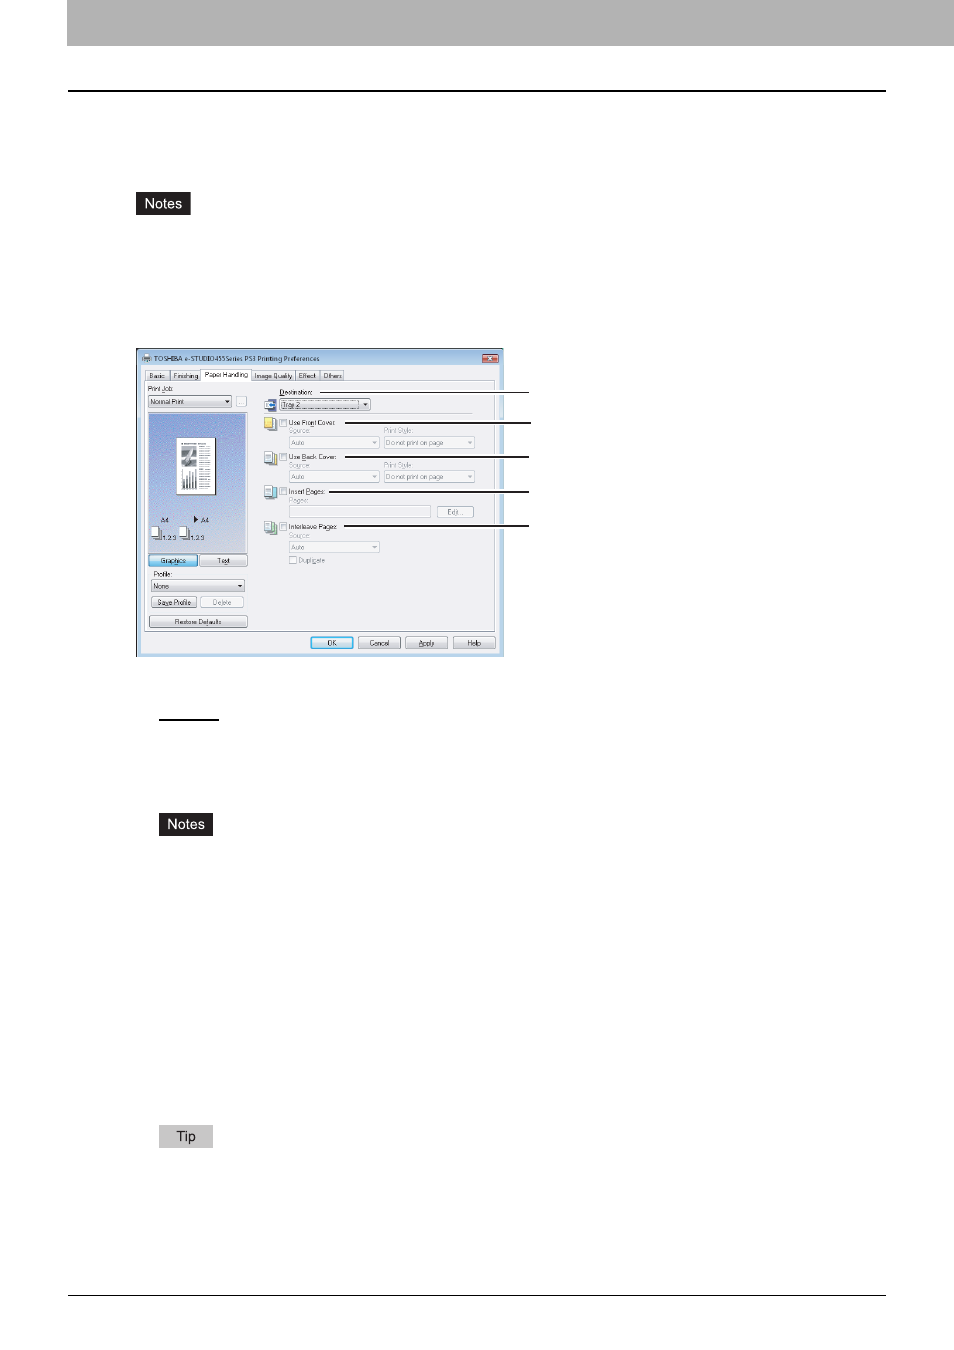
[Paper Handling] tab
The [Paper Handling] tab allows you to enable Front Cover printing, Back Cover printing, Inserting Pages, and Interleaving
Pages.
y
“Use Front Cover”, “Use Back Cover”, “Insert Pages” and “Interleave Pages” are not available when the Tab
printing function is set.
y
When the size of covers or sheets to be inserted is the same as that of the copy paper, change the media type or
specify “Paper Source” on the [Basic] tab menu; otherwise all data will be printed from the insertion drawer.
y
If you select [Store to e-Filing] in the [Print Job] box, [Use Front Cover], [Use Back Cover], [Insert Pages] and
[Interleave Pages] are unselectable.
1) Destination
This option selects the destination tray to which jobs will be output.
- Exit Tray — Select this option to route the output to the exit tray.
- Tray 1 — Select this option to route the output to the upper tray of the Finisher (optional).
- Tray 2 — Select this option to route the output to the lower tray of the Finisher (optional).
- Job Separator Upper — Select this option to route the output to the upper tray of the Job Separator (optional).
- Job Separator Lower — Select this option to route the output to the lower tray of the Job Separator (optional).
y
For e-STUDIO355/455, [Tray 1] and [Tray 2] can be selected when the Finisher (optional) or Saddle Stitch
Finisher MJ-1024 (optional) is installed and configured in the [Configuration] tab. When the Hanging Finisher
(optional) is installed, only [Tray 1] can be selected.
y
For e-STUDIO205L/255/305, only [Tray 1] can be selected when the Hanging Finisher (optional) or Saddle
Stitch Finisher MJ-1025 (optional) is installed and configured in the [Configuration] tab.
y
When the Job Separator (optional) is installed and configured in the [Configuration] tab, you can select [Job
Separator Upper] and [Job Separator Lower] instead of [Exit Tray].
When [A6] is selected in the [Print Paper Size] box, the printed paper will be always output to [Job Separator
Lower].
2) Use Front Cover
This option sets front cover printing which allows you to insert or print a cover on a sheet fed from a different Drawer or
Bypass tray than the Paper Source option selected in the [Basic] tab.
To enable cover printing, select the check box and select the location from where a cover sheet is to be fed and the
print style to be used.
For the detailed instructions on how to print with the [Use Front Cover] setting, see the following page:
P.70 “Inserting different types of paper”
Source
Select the location from where a front cover sheet is to be fed. When [Auto] is selected, the paper is automatically
selected according to the printed document size.
1
3
2
5
4