Input setup – Onkyo TX-SR600 User Manual
Page 53
53
Input Setup
This menu allows you to make the various settings concerning the
signals input from the various input sources that you use with the
TX-SR700/700E/600/600E. The settings made in this menu are
valid for the input source that is currently selected with the input
source buttons at the front panel and, therefore, these settings are
made separately for each input source.
Setup Procedure
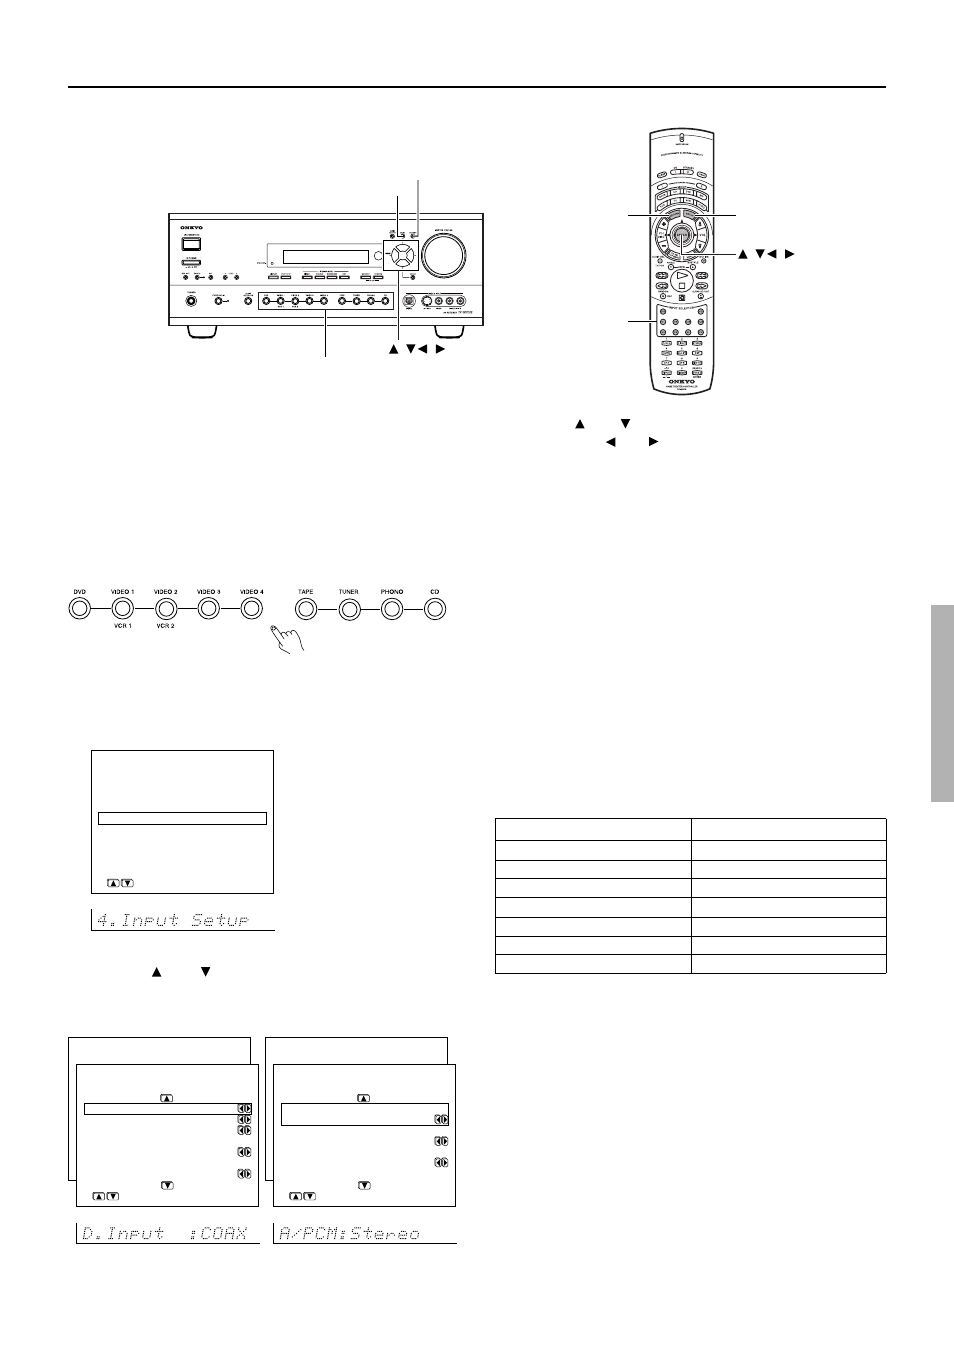
1. Select the desired input source.
2. Press the MENU button on the front panel or SETUP
button on the remote controller.
The main menu appears.
3. Use the and cursor buttons to select “4. Input
Setup” and then press the ENTER button.
The “Input Setup” menu appears.
4. Use the and cursor buttons to select an item and
then use the and cursor buttons to set the desired
value.
Press the RETURN button to return to the main menu.
Press the MENU button on the front panel or SETUP button on the
remote controller to exit the Setup menu.
a. Digital Input
This setting tells the TX-SR700/700E/600/600E which input source
button on the front panel is connected with which digital input jack
on the rear panel.
For example, if the input source selected at the front panel is CD and
the compact disc player is connected to DIGITAL INPUT
OPTICAL 2, then select “OPT2” here. If the input source selected is
not connected to a digital input, then select “----.”
OPT1, 2: Select if the input source is connected to either of the
DIGITAL INPUT OPTICAL 1 or 2 jack.
COAX: Select if the input source is connected to the DIGITAL
INPUT COAXIAL jack.
– – – –: Select if the input source is not from a digital input jack.
The default settings are given below.
Input source
Digital input
CD
OPT 1
PHONO*
----
TAPE
----
DVD
COAX
VIDEO 1
----
VIDEO 2
----
VIDEO 3
OPT 2
---- : Available for digital input but not set in initial settings.
* TX-SR700/700E only
Notes:
• This item will not appear if the selected input source button is
TUNER.
• Since VIDEO 4 is fixed to the optical digital terminal on the
front panel, this item will not appear if VIDEO 4 is selected.
MENU
RETURN
/
/
/
RETURN
SETUP
/
/
/
ENTER
Input source buttons
INPUT SELECTOR
buttons
* Menu *****************
1.Speaker Config
2.Speaker Distance
3.Level Calibration
4.Input Setup
5.OSD Setup
6.Preference
4.Input Setup
*** Input:DVD *******
a.Digital Input :COAX
b.Digital Format:All
c.Multichannel :Yes
d.Component Video
:Input1
e.IntelliVolume
: 0dB
Quit:|SETUP|
* Menu *****************
1.Speaker Config
2.Speaker Distance
3.Level Calibration
4.Input Setup
5.OSD Setup
6.Preference
4.Input Setup
*** Input:DVD *******
f.Analog/PCM Source
:Stereo
g.PCM fs96kHz Source
:Stereo
h.Digital Format
Source :Surround
Quit:|SETUP|
* Menu *****************
1.Speaker Config
2.Speaker Distance
3.Level Calibration
4.Input Setup
5.OSD Setup
6.Preference
|ENTER|Quit:|SETUP|