Initial setups, Clock setting (cont’d) manual clock setting – Sylvania HDRV200F User Manual
Page 33
25
Initial Setups
Bef
or
e y
ou
star
t
Recor
ding /
Dub
bing
Pla
yback
Editing
Connections
Other Setups
VCR functions
Others
Espa
ñ
ol
Initial Setups
Clock Setting (Cont’d)
Manual Clock Setting
1
Press SETUP.
“Easy Setting Menu” or “Advanced Menu” will appear.
2
Using / , select
“Initial Setup”. Press ENTER.
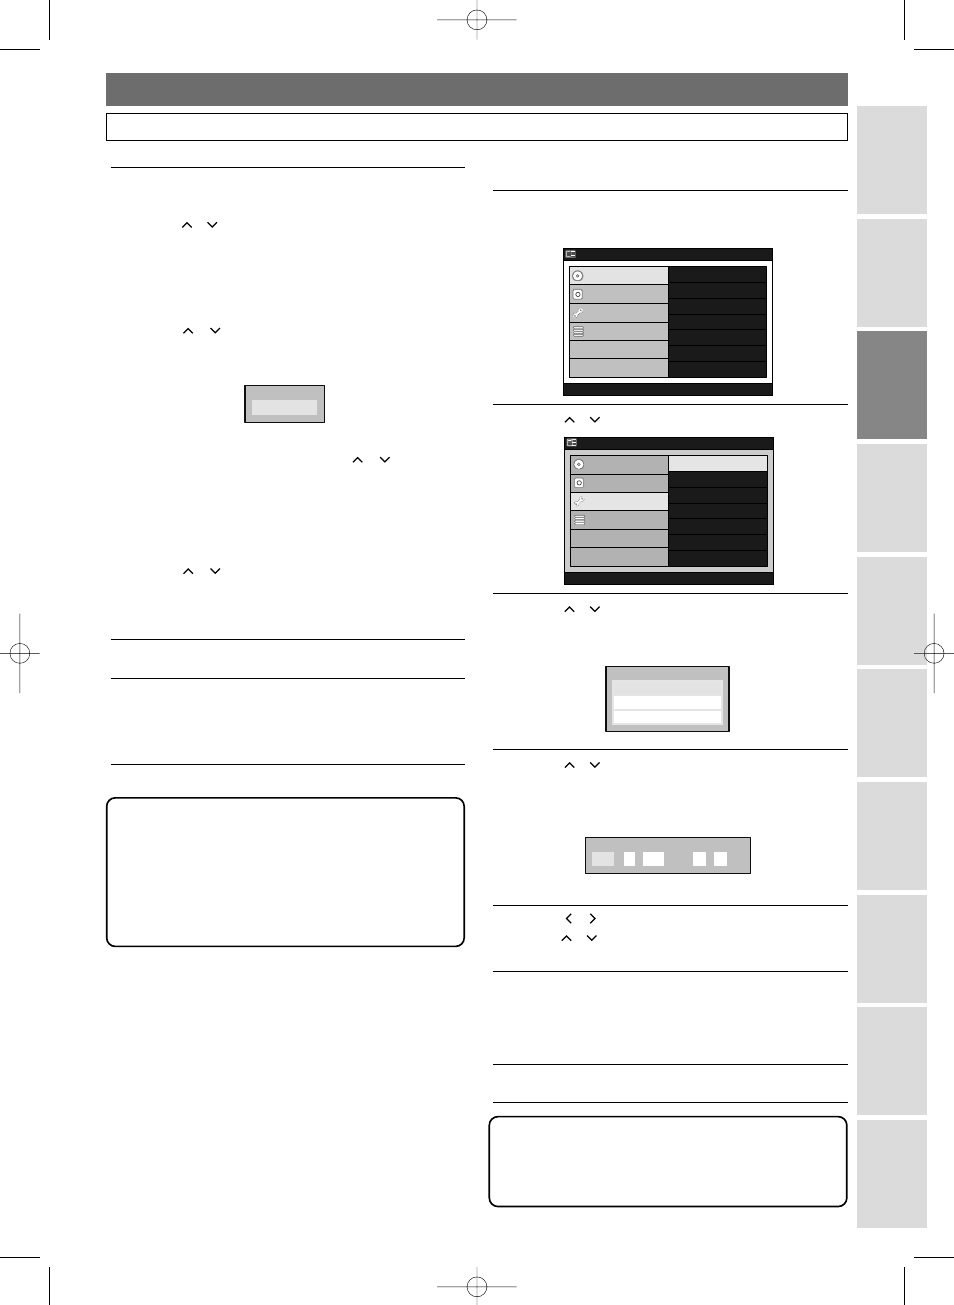
3
Using / , select
“Clock Setting”.
Press ENTER.
Clock Setting Menu will appear.
4
Using / , select
“Clock Setting”.
Press ENTER.
Clock Setting Window will appear.
5
Using
/ , move to the item your want to set, and
using
/
, change the setting to suite your prefer-
ence.
6
When all the information is entered, press ENTER.
Your setting is now activated.
Although seconds are not displayed, they will be
counted from zero.
7
Press SETUP to exit.
Cloc
Clock Setting
k Setting
MAR
MAR /
/
AM
AM
:
(Tue)
ue)
15
2005
2005
11
26
26
Da
Daylight Sa
ylight Saving Time
Time
Auto Cloc
uto Clock Setting
k Setting
Cloc
Clock Setting
k Setting
Cloc
Clock Setting
k Setting
OSD Language
Clock Setting
Clock Setting
Channel Setting
Channel Setting
Playback
Playback
Record
Record
Display
Display
Reset to factory default
Reset to factory default
DVD Menu
DVD Menu
HDD Menu
HDD Menu
Initial Setup
Initial Setup
Timer Program
Timer Program
Easy Setting Menu
Easy Setting Menu
Advanced Menu
Advanced Menu
HDD MENU
HDD MENU
Initial Setup
Initial Setup
DVD Disc F
VD Disc For
ormat
mat
DVD Recording F
VD Recording For
ormat
mat
Finaliz
Finalize
Disc Protect
Disc Protect
Delete Pla
Delete Playlist
ylist
DVD Menu
DVD Menu
HDD Menu
HDD Menu
Initial Setup
Initial Setup
Timer Program
Timer Program
Easy Setting Menu
Easy Setting Menu
Advanced Menu
Advanced Menu
5
If you do not know the PBS channel number
in your area :
Using / , select
“Auto”. Press ENTER.
Your setting is now activated.
If you know the PBS channel number
in your area :
Using / , select
“Manual”. Press ENTER.
Input window will appear.
Using the Number Buttons or / , enter
the
PBS channel number. Press ENTER.
Your setting is now activated.
If you want to set the clock manually and to
cancel the Auto Clock Setting :
Using / , select
“Off ”. Press ENTER.
The Auto Clock Setting will be canceled.
• The default setting is “Auto”.
6
Press SETUP to exit.
7
Press POWER to turn off the unit.
This unit will search for the clock time only when
the power is off. Leave it off for several minutes to
give the unit a time to set the clock.
CH
CH 1
Set Channel No
Set Channel No.
Note
• The clock may set itself automatically after you
connect the antenna / cable signal to this unit and
plug in the power cord. In this case, the current time
will appear on the Front Panel Display.
• If the current time is not displayed or the displayed
clock time is not correct, set the clock manually.
Note
• Your clock setting will be lost if either there is a
power failure or this unit has been unplugged for
more than 30 seconds.
4380_017-028.qx3 05.11.16 2:26 PM Page 25