Initial setups – Sylvania HDRV200F User Manual
Page 31
23
Initial Setups
Bef
or
e y
ou
star
t
Recor
ding /
Dub
bing
Pla
yback
Editing
Connections
Other Setups
VCR functions
Others
Espa
ñ
ol
Initial Setups
Channel Setting (Cont’d)
Adding / Deleting Channels
The channels you no longer receive or seldom watch can be
deleted from the memory. You can also add channels manu-
ally into memory.
1
Press SETUP.
“Easy Setting Menu” or “Advanced Menu” will appear.
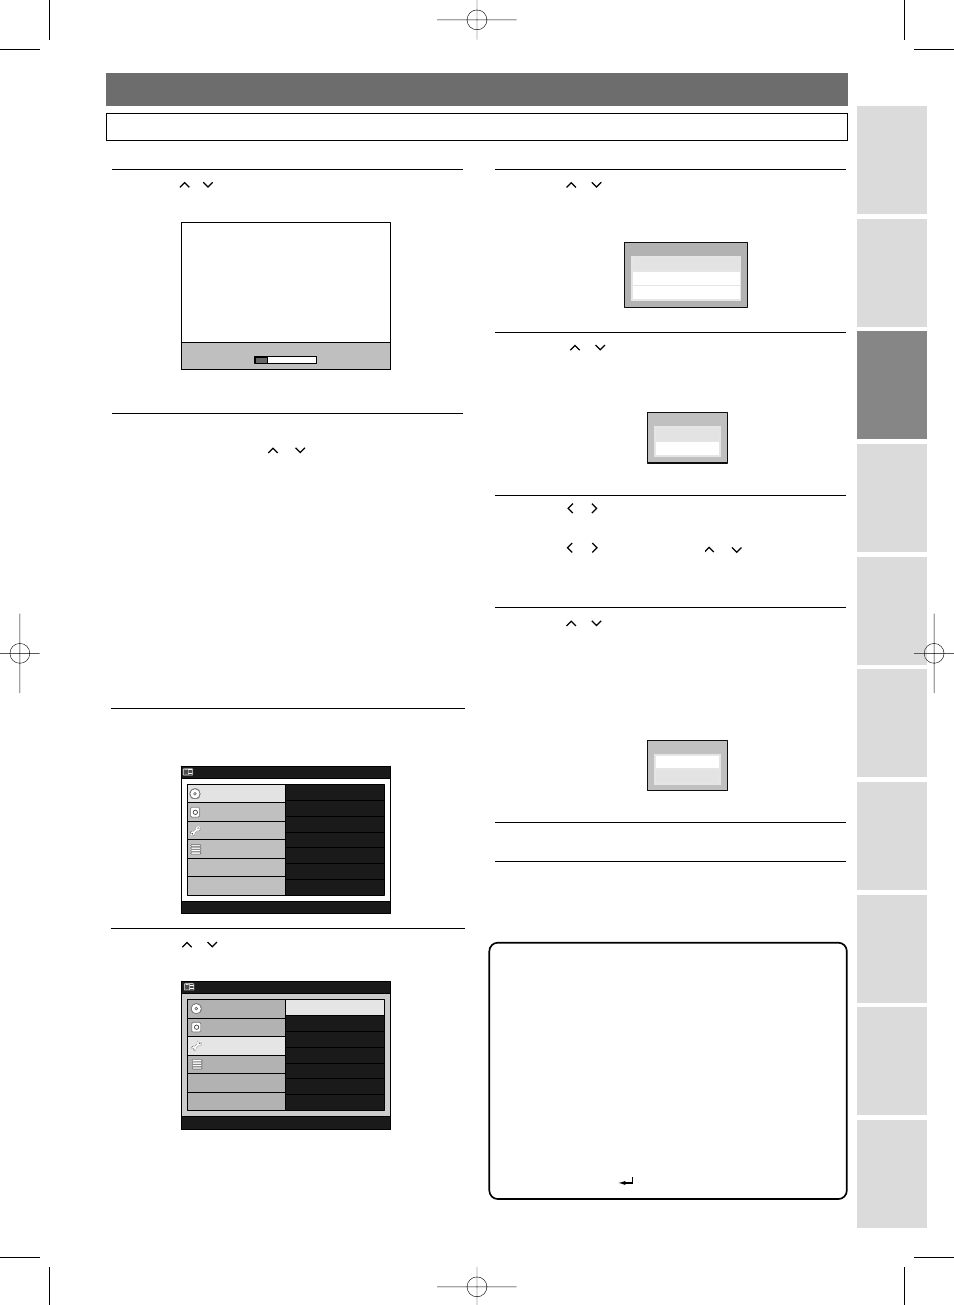
2
Using / , select
“Initial Setup”
Press ENTER.
OSD Language
Clock Setting
Clock Setting
Channel Setting
Channel Setting
Playback
Playback
Record
Record
Display
Display
Reset to factory default
Reset to factory default
DVD Menu
DVD Menu
HDD Menu
HDD Menu
Initial Setup
Initial Setup
Timer Program
Timer Program
Easy Setting Menu
Easy Setting Menu
Advanced Menu
Advanced Menu
HDD MENU
HDD MENU
Initial Setup
Initial Setup
DVD Disc F
VD Disc For
ormat
mat
DVD Recording F
VD Recording For
ormat
mat
Finaliz
Finalize
Disc Protect
Disc Protect
Delete Pla
Delete Playlist
ylist
DVD Menu
DVD Menu
HDD Menu
HDD Menu
Initial Setup
Initial Setup
Timer Program
Timer Program
Easy Setting Menu
Easy Setting Menu
Advanced Menu
Advanced Menu
6
Using / ,select
“Auto Preset”. Press ENTER.
The unit will start getting channels available in your area.
Wait for several minutes for channel scanning to finish.
After Auto Preset has stopped:
• Use CHANNEL
/ or
the Number
Buttons to change the channel.
• When you use the Number Buttons, press 0
first for a single digit number.
• Use INPUT SELECT to select an external
input channel (“L
1” or “L2”) of this unit.
Auto Preset
uto Preset
3
Using / , select
“Channel Setting”.
Press ENTER.
Channel Setting Menu will appear.
4
Using
/
, select “Manual Preset”.
Press ENTER.
Option window will appear.
5
Using
/ , select the channel number to add or
delete.
• Use / or
CHANNEL
/
to change the
channels one by one, or use the Number Buttons
to select the channel directly.
6
Using / , select
“Add” or “Delete”.
Press ENTER.
The channel number will be added or deleted from
the channel memory. Then, the next channel
number will appear so that you can continue adding
or deleting channels.
7
Press SETUP to exit.
Add
Add
CH 1
CH 1
Delete
Delete
Add
Add
CH 1
CH 1
Delete
Delete
TV A
TV Audio Select
udio Select
Man
Manual Preset
ual Preset
Auto Preset
uto Preset
Channel Setting
Channel Setting
Note
• External Input Channels (“L
1” or “L2”) cannot be
skipped.
• You cannot change the channel while the unit (HDD,
VCR or DVD) is in the recording, OTR or Timer
Recording mode.
• If the auto presetting is cancelled during presetting,
some of the channels not yet preset may not be
received.
• The selection will depend on how you receive the TV
channels.
• To cancel the Auto Preset during scanning:
Press RETURN
.
4380_017-028.qx3 05.11.16 2:26 PM Page 23