Margin adjustment – Ricoh Aficio 3260C User Manual
Page 81
Copier Functions
67
2
BBBB
Press [Edit Image].
CCCC
Press [Scan Position] .
DDDD
Set the scanning position for the
front of the original. Press [
↑↑↑↑] or
[
↓↓↓↓] to set the top or bottom posi-
tion. Press [
←
←
←
←] or [→
→
→
→] to set the
left or right position.
Note
❒ If you have incorrectly set the
position, readjust with [
↑↑↑↑], [↓↓↓↓],
[
←
←
←
←] or [→
→
→
→] .
❒ If you don't need to set the
scanned position of the back of
the original, go to step
F
.
EEEE
Set the scanning position for the
back of the original. Press [
↑↑↑↑] or
[
↓↓↓↓] to set the top or bottom posi-
tion. Press [
←
←
←
←] or [→
→
→
→] to set the
left or right position. Then press
[OK]
.
Note
❒ The scanning position for the
back is valid only when you are
copying 2-sided originals.
FFFF
Press [OK] twice.
GGGG
Place the originals, and then press
the
{{{{Start}}}} key.
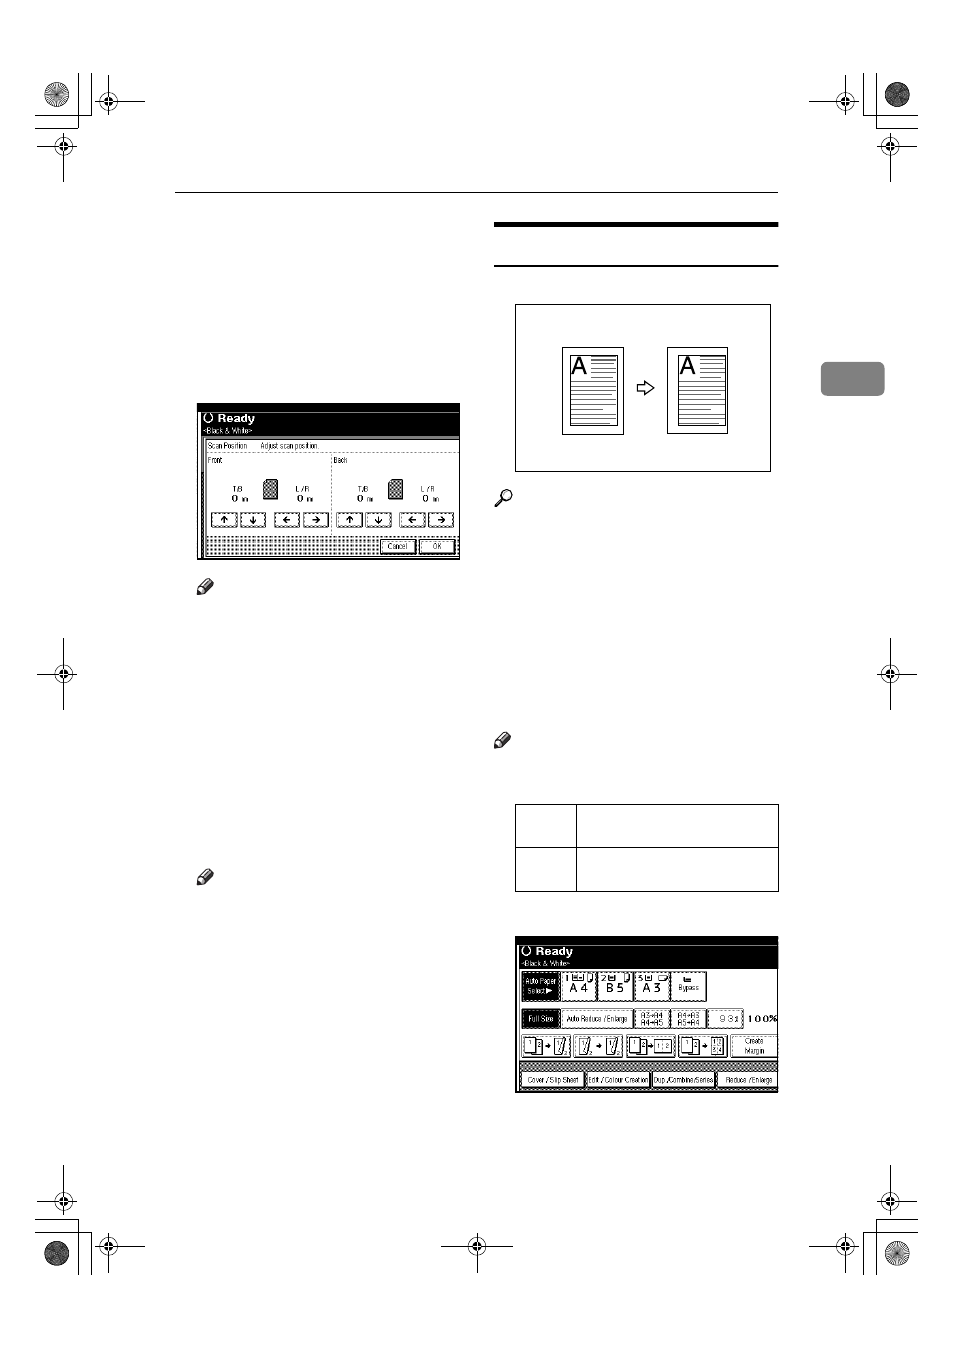
Margin Adjustment
You can make a binding margin.
Reference
Related default settings:
p.147 “Front Margin: Left / Right”
p.147 “Back Margin: Left / Right”
p.147 “Front Margin: Top / Bot-
tom”
p.147 “Back Margin: Top / Bot-
tom”
p.147 “1 Sided
→2 Sided Auto Mar-
gin: TtoT”
Note
❒ You can change the width of the
binding margin as follows:
AAAA
Press [Edit / Colour Creation].
BBBB
Press [Erase / Margin Adj.].
Metric
version
0–30 mm (increments of 1 mm)
Inch
version
0"–1.2" (increments of 0.1")
VenusC1_GB_Copy_F1_FM.book Page 67 Tuesday, January 17, 2006 3:43 PM