Touch up and autoconvergence, Align align from midposition, Eye-q – Runco DTV-940/943 User Manual
Page 60: Autoconvergence
10-10
EYE-Q
TM
Autoconvergence
TOUCH UP AND AUTOCONVERGENCE
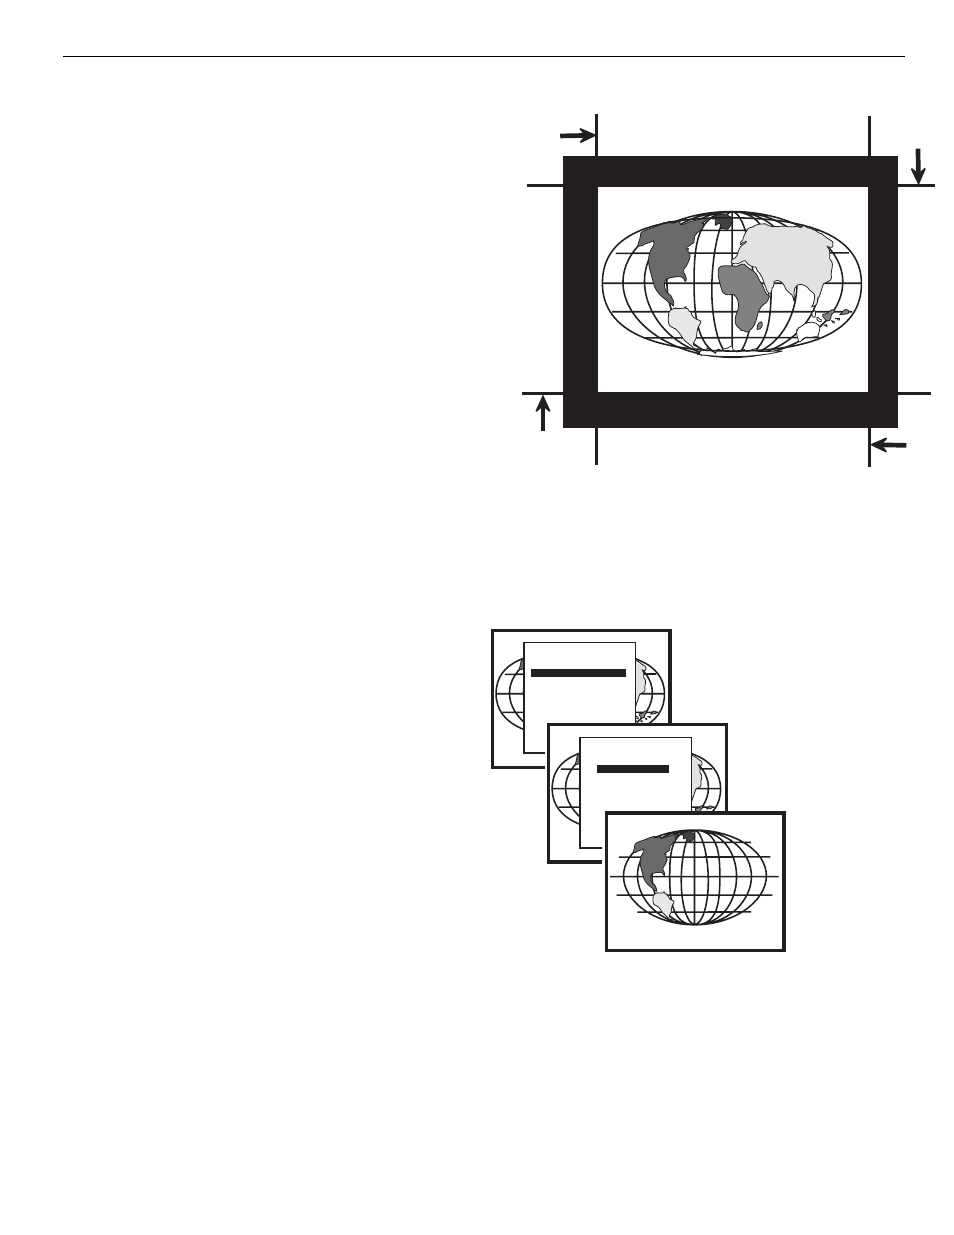
ADJUSTING SCREEN SIZE
In case the projection screen is not greater than the desired size or
the screen has a frame around it (i.e. projection impossible outside
the frame), the following blanking adjustments have to be done
before starting the automatic convergence:
When using a video source: adjust the top, bottom, left and
right blanking until the whole projected image of video is just
still visible;
When using a screen with a frame: adjust the top, bottom,
left and right blanking until the whole projected image is just
still visible.
So that the selected screen area after blanking adjustments corre-
sponds with the projected image size.
In this way, the screen size is set correctly to ensure the successful
convergence.
NOTE:
For blanking adjustments, please refer to the Projector Setup Man-
ual.
To enter the AUTOCONVERGENCE menu:
Highlight AUTOCONVERGENCE by pushing up or down
keys of the control disc;
Press the
The AUTOCONVERGENCE menu allows the automatic conver-
gence either on the currently selected source or on all sources (all
filled memory blocks of the projector).
ON CURRENT SOURCE
the on current source includes three options, the first of which is
selectable in the iris menu:
Touch Up EYE-Q
TM
Align
Align from midposition
Right
blanking
Bottom
blanking
Left
blanking
Top
blanking
ADJUSTMENT MODE
Select a path from below:
EYE-Q
GUIDED
RANDOM ACCESS
INSTALLATION
SERVICE
Source 1
Select with
then
or
EYE-Q
TOUCH UP
AUTOCONVERGENCE
QUICK AUTOPICTURE
FULL AUTOPICTURE
EYE-Q SETUP
EYE-Q DIAGNOSTICS
Select with
then
or