2preparing your heartstart fr2+ for use, Overview, Installing the battery – Philips M3860A User Manual
Page 15
2-1
P
h
ili
ps
Me
dic
a
l
Sy
s
tem
s
2
2
Preparing Your HeartStart FR2+ for
Use
Overview
There are a few basic steps to preparing your HeartStart FR2+ Defibrillator
for use:
Install data card (optional).
Install a battery.
Set the clock in the FR2+ (optional).
Run the battery insertion selftest.
Place the FR2+ with recommended accessories in a convenient
location.
The instructions presented here briefly describe the normal sequence of
preparation. It assumes that you are using a fresh battery, that the selftest
passes, that you are not using a data card, and that the factory default
settings will not be changed. Exceptions to this sequence are provided
elsewhere in this manual.
Installing the Battery
The HeartStart FR2+ Defibrillator is shipped with a M3863A standard,
long-life battery. The battery is enclosed in a gray plastic case. There is a
yellow latch at one end that holds the battery in place when it is correctly
installed in the FR2+. (The optional M3848A FR2+ rechargeable battery is
enclosed in a blue plastic case and also has a yellow latch. Except where
otherwise noted, the following information applies to both battery types.)
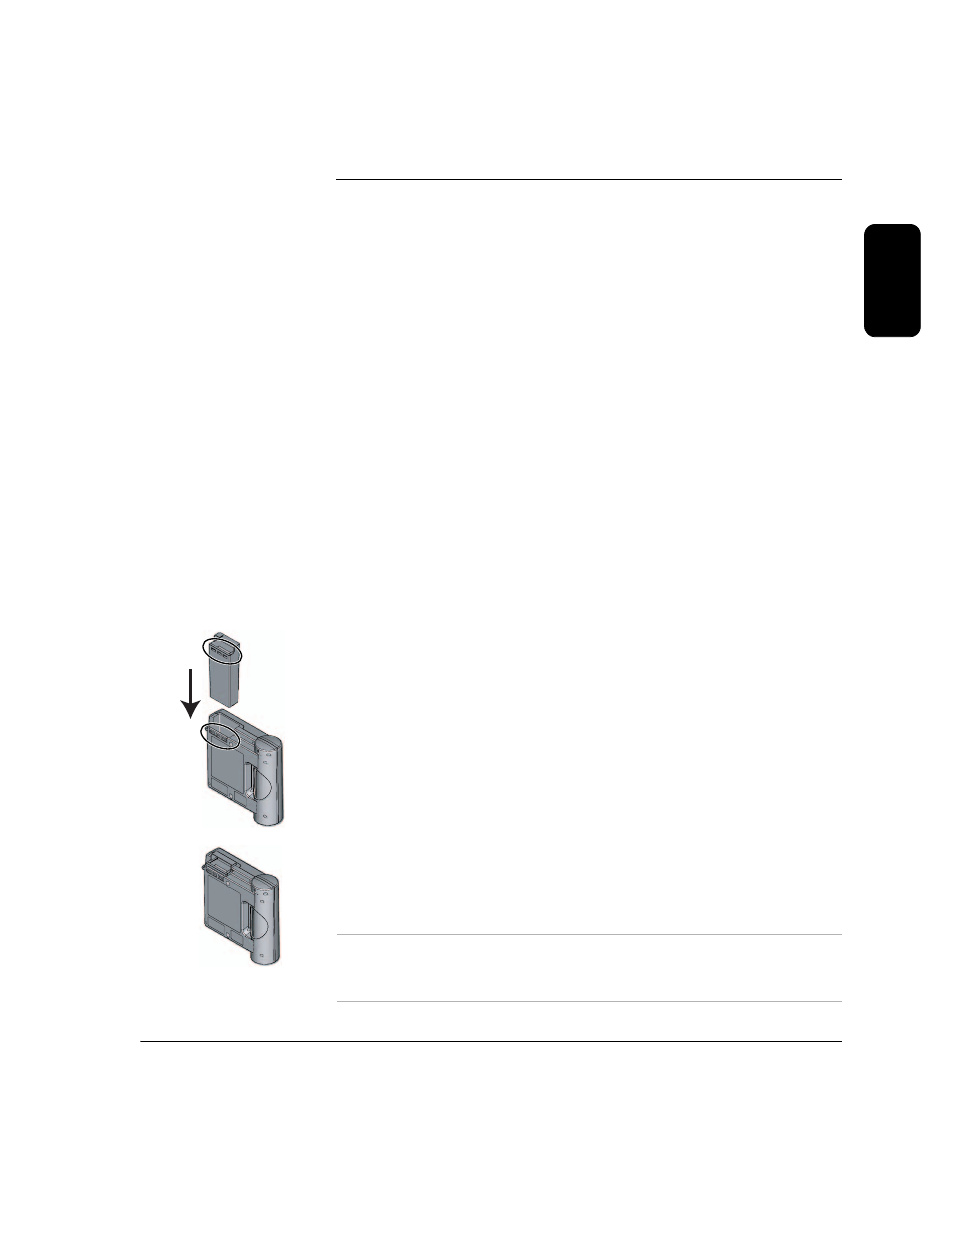
Before installing the battery, make sure the defibrillator pads are not
connected to the FR2+. To install the battery:
1.
Hold the battery by the latch end and slide it into the battery
compartment at the top of the FR2+.
2.
Slide the battery all the way into the opening, until the latch clicks into
place. The latch will click into place only when the battery is inserted
correctly.
C A U T I O N
:
Follow all instructions supplied with the HeartStart M3863A
standard battery. Install the battery before the install-by date shown on the
battery.