Kenwood RC-D710 User Manual
Page 29
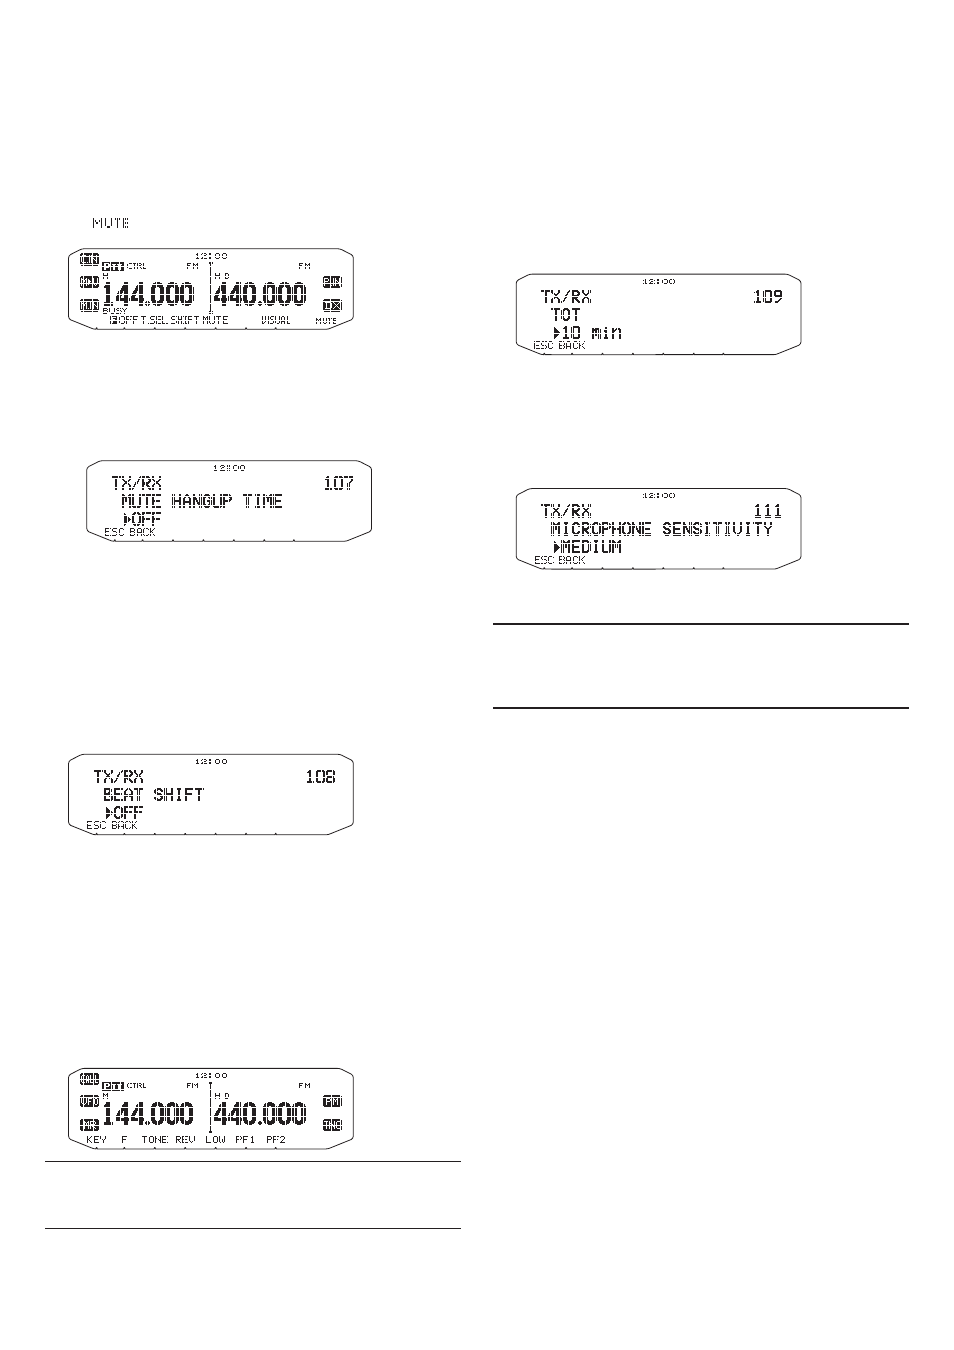
OTHER OP-
SPEAKER MUTE
While receiving or transmitting on the TX band, you may
not want to hear audio received on the other band. Use
this function to mute the speaker allocated to that band
(not the TX band).
While receiving, press
[F], [MUTE] to switch the mute
function ON or OFF.
• The
icon appears on the display when the function is
ON.
n
Mute Hang-up Time
When using Speaker Mute, you may want to adjust the
time interval between when you receive a signal and
when the speaker is muted.
1 Enter Menu mode and access Menu 107.
2 Set the hang-up time to 125, 250, 500, 750, or 1000
ms.
BEAT SHIfT
Since the transceiver uses a microprocessor to control
various transceiver functions, the CPU clock oscillator’s
harmonics or image may appear on some spots of the
reception frequencies. In this case, we recommend you
turn the Beat Shift function ON.
1 Enter Menu mode and access Menu 108.
2 Set the Beat Shift to ON or OFF.
SELECTING AN OUTPUT POWER
It is a good idea to select lower transmit power if
communications is still reliable. This lowers the risk of
interfering with others on the band. When operating from
battery power, you will enjoy more operating time before a
recharge is necessary.
Press
[LOW] to select high (H) (K, E types only), medium
(M), or low (L) power.
• You can program different power settings for bands A and B.
Note:
When the transceiver overheats because of
ambient high temperature or continuous transmission,
the protective circuit may function to lower transmit
output power.
TIME-OUT TIMER (TOT)
It is sometimes necessary or desirable to restrict a single
transmission to a specific maximum time. You may use
this function to prevent repeater time-outs when accessing
repeaters, or to conserve battery power.
When TOT times out (default is 10 minutes), the
transceiver generates beeps and automatically returns to
receive mode. To resume transmitting, release and then
press the microphone
[PTT] again.
1 Enter Menu mode and access Menu 109.
2 Set the timer to 3, 5, or 10 minutes.
MICROPHONE SENSITIVITY
The input level to the microphone can be configured.
1 Enter Menu mode and access Menu 111.
2 Set the Microphone Sensitivity to HIGH, MEDIUM or
LOW.
Note:
u
The higher the input level to the microphone is configured, the
easier to gain the surrounded sounds.
u
Depending on the TM-V71 firmware version, Menu No. 111 may
not be displayed. You may need to upgrade your firmware.