Kodak DCS 700 User Manual
Page 225
14-4
4
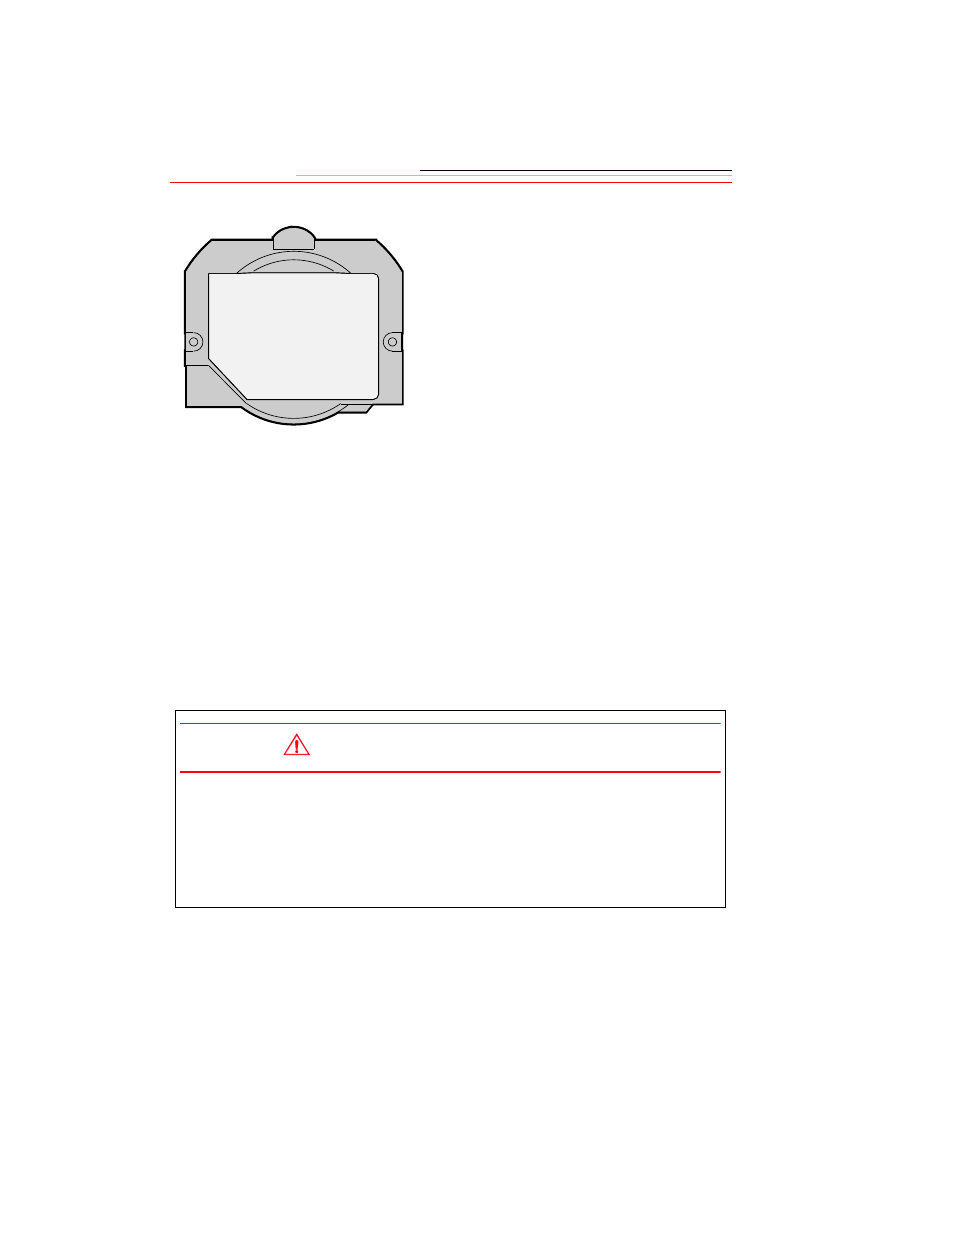
Carefully remove the filter
bracket from the camera.
5
Gently blow off the dust using
commercially available canned
air. If the filter is still dirty,
contact your dealer or service
representative.
6
To re-install, place the filter
bracket tabs into the upper two
notches on the camera lens
opening, and secure the screws
at the sides.
7
Carefully screw in the two
screws. Alternate the tightening
sequence so that each screw is
tightened a little at a time until
both screws are snug. Do not
overtighten or cross-thread the
screen.
8
Replace the camera lens. Refer
to “Mounting the Lens” on page
2-20.
CAUTION:
If you break the glass on the IR filter or anti-aliasing filter while it is in the
camera, call your service representative. The broken glass can damage the imager
and other parts of the camera.
Use only lenses listed in Appendix C. Other lenses can potentially break your
camera’s anti-aliasing filter.
- LS753 (73 pages)
- LS753 (64 pages)
- DX7590 (82 pages)
- CX7220 (72 pages)
- CX7220 (60 pages)
- C533 EN (67 pages)
- CX7330 (61 pages)
- LS443 (122 pages)
- Z760 (91 pages)
- Z760 (79 pages)
- DX3900 (105 pages)
- Z700 (78 pages)
- CD40 (79 pages)
- Z7590 (118 pages)
- Z7590 (104 pages)
- Z612 (101 pages)
- Z612 (90 pages)
- DC3400 (156 pages)
- CX4200 (106 pages)
- Z650 (94 pages)
- Z650 (77 pages)
- DX7440 (67 pages)
- LS755 (83 pages)
- LS755 (80 pages)
- V610 (106 pages)
- V610 (87 pages)
- Z740 (70 pages)
- CX7530 (83 pages)
- CX7530 (66 pages)
- CX7530 (67 pages)
- CX7525 (66 pages)
- CX7525 (83 pages)
- V530 (95 pages)
- V530 (73 pages)
- C643 (83 pages)
- EASYSHARE C603 (72 pages)
- C340 (74 pages)
- EasyShare C340 (74 pages)
- C340 (83 pages)
- V603 (91 pages)
- V603 (76 pages)
- DX3500 (92 pages)
- EasyShare C663 (74 pages)
- C663 (85 pages)
- Z730 (97 pages)